Applies To: Locally-managed Fireboxes
References to DNSWatch in this topic relate to the legacy DNSWatch UI. To learn about DNSWatch in WatchGuard Cloud, go to About DNSWatch in WatchGuard Cloud in WatchGuard Cloud Help.
This feature is intended to be used with static on-premise networks without a Firebox as part of your overall network protection plan. For portable protection, install the DNSWatchGO Client on your portable devices. To provide DNSWatch protection with a Firebox, go to Enable DNSWatch on Your Firebox.
You must have a DNSWatchGO license to add a network on the Protected Network page. For more information, go to Activate a DNSWatchGO or Passport License.
Step 1 — Create content filter policies to block domains by category
- Select Configure > Content Filtering Policies.
The Content Filtering Policies page opens with the Policies tab selected. - Click Create New Policy.
The Create Policy page opens. - In the Policy Name text box, type a descriptive name for the policy and click Save Policy.
- To enable Safe Search enforcement for a search engine, on the Safe Search tab, select the Enable Safe Search check box next to the search engine provider and click Save Safe Search.
- On the General tab, click Save Policy.
The Edit Policy: General page opens. - Select the Categories tab.
The Edit Policy: Categories page opens. - Select the check boxes for the categories you want to filter.
- To see subcategories, click the arrow next to the category name. If all subcategories are selected, the check box next to the top-level category is selected. If only some subcategories are selected, the top-level category displays a hyphen. If you do not want to block that category, clear the check box.
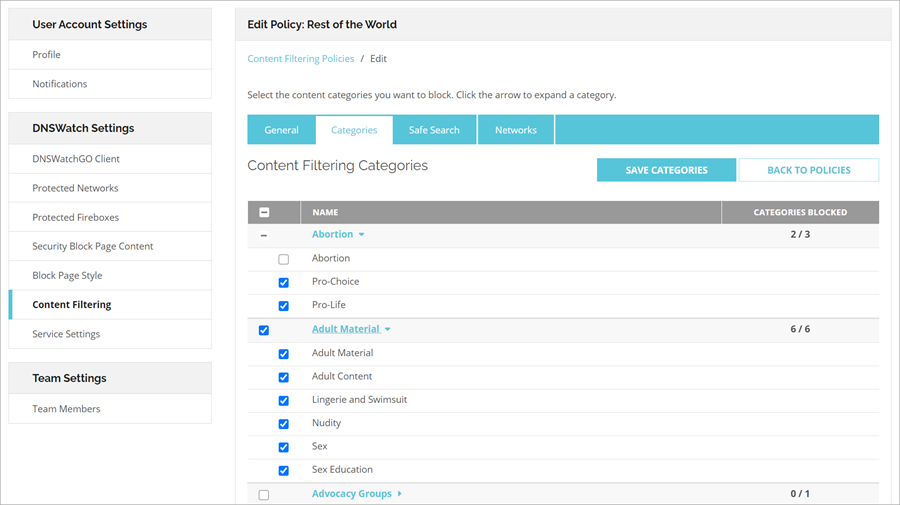
For a complete list of available categories and descriptions, go to About DNSWatch Content Filter Categories.
- Click Save Categories.
Step 2 — Configure your network to use DNSWatch as your network DNS resolver:
- Log in to DNSWatch in the WatchGuard website.
- Select Deploy > Protected Networks.
The Protected Networks page opens. - Click Add Network.
The Add New Network page opens. - Your current IP address appears in the IP Address text box automatically. If you want to protect a different network, type the public IP address of the network in the text box.
- Type a descriptive name for the network in the Description text box.
- From the Policy drop-down list, select a content filter policy to apply to the network. For information about policies, go to Manage User Access to Content in DNSWatch.
- To create a custom block page for this network:
- Select the Enable Custom Block Page check box. If you do not customize the block page, the network uses the default DNSWatch block page.
- In the Content text box, type the block page content in Markdown format.
- To preview the block page, click the Preview tab.
- Click Save Network.
The Protected Networks page opens. - Your network is not protected until you configure your local DNS server to use the DNSWatch resolvers. Follow the instructions for your DNS server to change the DNS resolvers to the DNSWatch resolver IP addresses. For more information about DNSWatch servers, go to About DNSWatch DNS Servers.
Your network is now protected by DNSWatch.
Step 3 - Test your DNSWatch protection
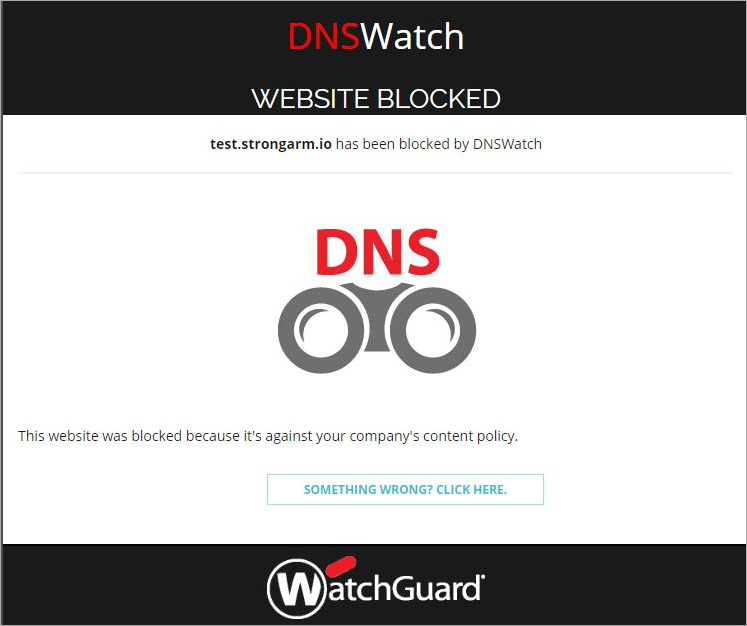
- In your browser, go to test.strongarm.io.
- Confirm the correct block page appears.
If DNSWatch correctly blocks the test domain, you see this block page:
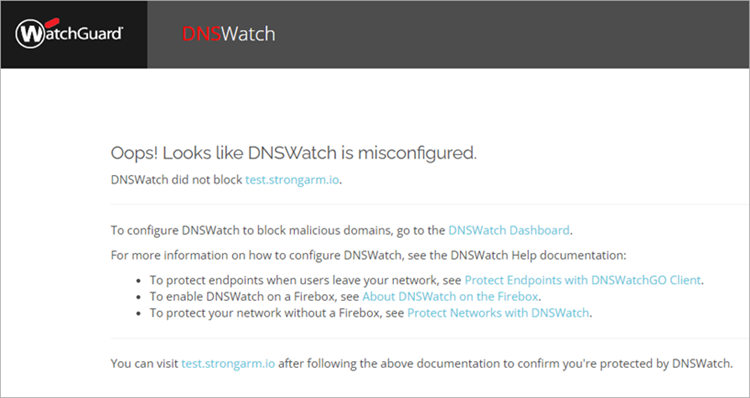
If DNSWatch does not operate correctly, you see this message:
Next Steps
To protect your devices when they are not on your network, go to Protect Endpoints with DNSWatchGO Client.