Applies To: WatchGuard Cloud-managed Access Points (AP130, AP330, AP332CR, AP430CR, AP432)
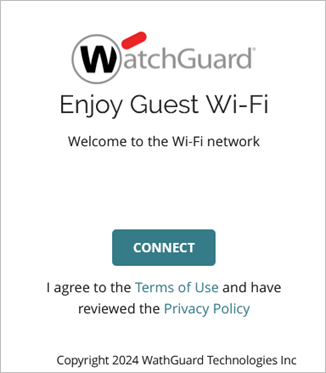
A captive portal is a web page that you redirect clients to when they connect to an SSID on your wireless network. The captive portal web page is called a splash page.
A splash page enables you to restrict Internet-only connectivity for guest wireless clients. You can also enforce policies so that wireless clients can access the Internet only after they review and accept the Terms of Use and Privacy Policy, or provide user details in a web form on the captive portal splash page.
For more information about captive portals, go to Configure an Access Point Captive Portal.
For a WatchGuard Cloud hosted captive portal, you can add up to 30 unique splash pages that you can use with multiple wireless SSIDs. You can customize the images and text for each splash page.
Add a Splash Page
To add a splash page:
- Select Configure > Splash Pages.
The Splash Pages management page opens.
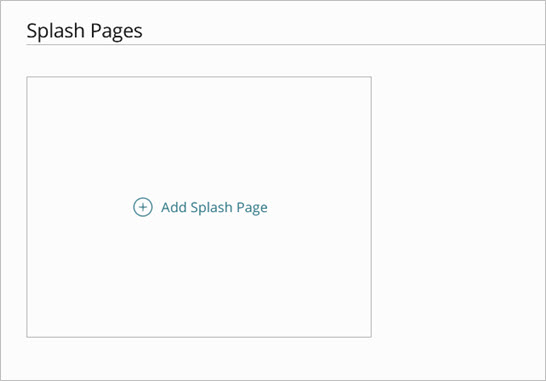
- Click Add Splash Page, or select an existing splash page to edit the settings for that page.
The Add Splash Page opens.
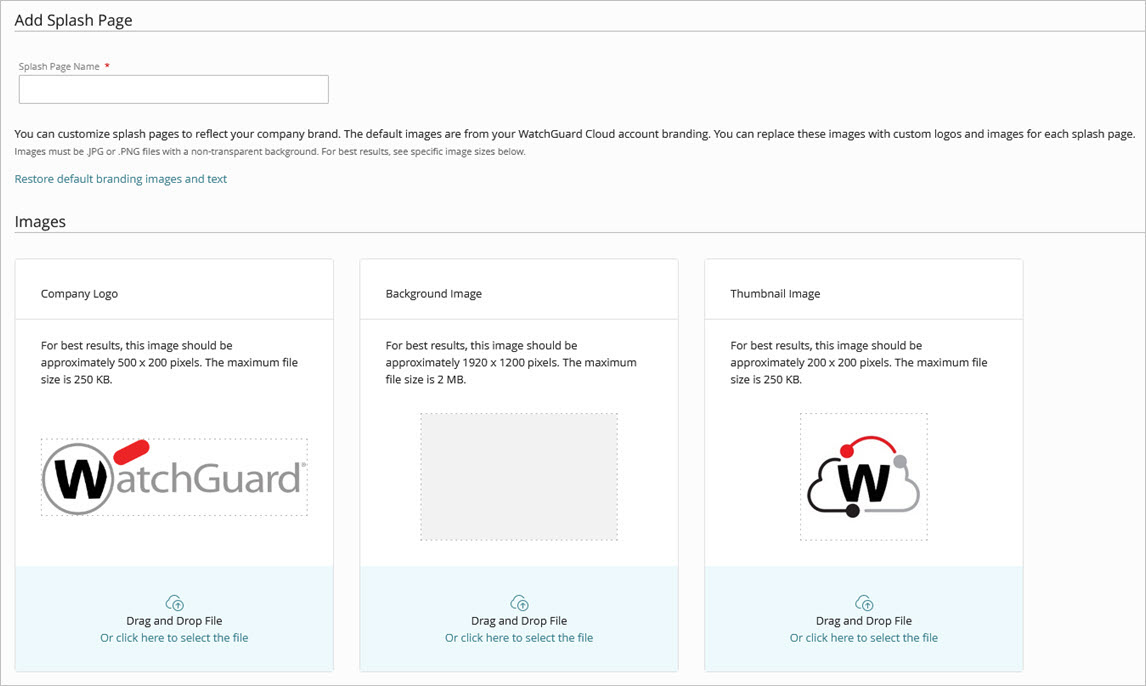
- Type a Splash Page Name.
The maximum length for the splash page name is 32 characters. - In the Images section, you can select the Company Logo, Background Image, and Thumbnail Image. The default images are from your WatchGuard Cloud account branding.
- Drag an image file from your computer to the appropriate tile, or click Or click here to select the file on the appropriate tile and select an image file.
- Click Restore default branding images and text to revert to the default images from your WatchGuard Cloud account branding.
- You can upload .JPG and .PNG file formats for custom logos and images. The images must have a non-transparent background.
- For best results, use these image specifications:
- Company Logo — Upload a rectangular image with a recommended width and height of 500 x 200 pixels. The maximum file size is 250 KB.
- Background Image — Upload a rectangular image with a recommended width and height of 1900 x 1220 pixels. The maximum file size is 2 MB.
- Thumbnail Image — This is the image for the tab icon in a web browser. Upload a square image with a recommended width and height of 200 x 200 pixels. The maximum file size is 250 KB.
- Customize your splash page text and settings:
- Header Title — Type the text that shows in the splash page header.
- Body Text — Type the text that shows on the body of the splash page.
- Web Form Text — You can define up to three text fields that guest users must complete before they can access the wireless network through the Captive Portal, such as a name, email address, phone number, date, or a custom value. The maximum length that a user can enter for each text web form field is 64 characters, and 16 characters for a phone number.
- Select the Required check box for each mandatory field.
- From the Type drop-down list, select the field type.
- In the Label text box, type a descriptive label for the field. You can enter a maximum of 48 characters.
You can view a report of your guest user data in the Access Point Guest Analytics Report. To view the Guest Analytics report, you must have a WatchGuard USP Wi-Fi Management license.
- Button Text — Type the text that shows on the button that a user clicks to proceed to the Internet. If you enable the Enforce acceptance of the Terms of Use and Privacy Policy option, the user must agree to the Terms of Use and Privacy Policy before the button becomes active.
- Enable Terms of Use — Select this option to enable the Terms of Use that a user can review before they connect. If you enforce the Terms of Use, the user must accept the Terms of Use before they are allowed access.
- Terms of Use Body — Type the text for the Terms of Use. You can drag and drop a file here or copy and paste the text. The file must be a plain text file with a maximum size of 250 KB.
- Enable Privacy Policy — Select this option to enable a Privacy Policy that a user can review before they are allowed access. If you enforce the Privacy Policy, the user must accept the Privacy Policy before they are allowed access.
- Privacy Policy Body — Type the text of the Privacy Policy. Drag and drop a file here or copy and paste the text. The file must be a plain text file with a maximum size of 250 KB.
- Enforce acceptance of the Terms of Use and Privacy Policy — Select this option to force a user to accept the Terms of Use and Privacy Policy before they are allowed access.
- Footer Text — Type the text that shows in the footer of the splash page.
- Landing Page URL — Type the URL of the website to which the user is redirected after they successfully connect through the splash page.
- Click Save.
Manage Splash Pages
To manage your captive portal splash pages, select Configure > Splash Pages.

To add a new page, click Add Splash Page.
On an existing splash page, click ![]() to perform one of these actions:
to perform one of these actions:
- Edit a splash page
- Copy a splash page
- Rename a splash page
- Delete a splash page
Configure a Captive Portal
To use the splash pages you create, you must enable a captive portal in an Access Point Site, and select the wireless network SSID and splash page to use for the portal. For more information, go to Configure an Access Point Captive Portal.
Configure Access Point SSID Settings