Applies To: Cloud-managed Fireboxes, Locally-managed Fireboxes
Custom branding enables you to brand WatchGuard Cloud with your own logos and images to communicate with clients and users and make sure they know who to contact in the event of service issues.
As a Service Provider, you can change the logo and Reply-to Email Address displayed on reports from the default WatchGuard logo and email address to the logo and email address of the partner you manage.
- With custom branding, the logo and email address seen by the customer show that it was sent from the partner account.
- Any custom branding for your account is inherited by the Subscriber accounts you manage, and you can customize each Subscriber as required.
As an operator with the Administrator or Owner role, you can customize these items:
- Logos and images that appear in reports and emails generated by WatchGuard Cloud
- Logos and images that appear in the IdP portal and emails generated by AuthPoint
- Reply-to email address for notification and report emails sent by WatchGuard Cloud
- Reply-to email address for emails sent by AuthPoint
- Logo and thumbnail on the set password and token activation web pages
- Contact information that appears in WatchGuard Cloud email and PDF report footers
- Logos and images that appear in the default captive portal splash page for access points and cloud-managed Fireboxes. For more information, go to Add Splash Pages for a Captive Portal.
- Logos and images that appear for Network Access Enforcement splash pages
Service Providers can hide the WatchGuard logo that shows in the upper-left corner of the WatchGuard Cloud user interface.
After you customize your branding options, click Save at the bottom of the page to save the changes. The changes are immediately applied to your WatchGuard Cloud account. This updates branding used by all Subscriber accounts that the current account manages unless they have configured custom branding for their account.
Your operator role determines what you can see and do in WatchGuard Cloud. Your role must have the Configure Branding permission to view or configure this feature. For more information, go to Manage WatchGuard Cloud Operators and Roles.
Upload Custom Logos and Images
You can upload .JPG and .PNG file formats for custom logos and images.
The images must have a non-transparent background.
The size of the images must match closely with the recommended image sizes below. Different images are used for different purposes, as shown in this table:
| Size | Description | Recommended Dimensions (width × height) |
|---|---|---|
|
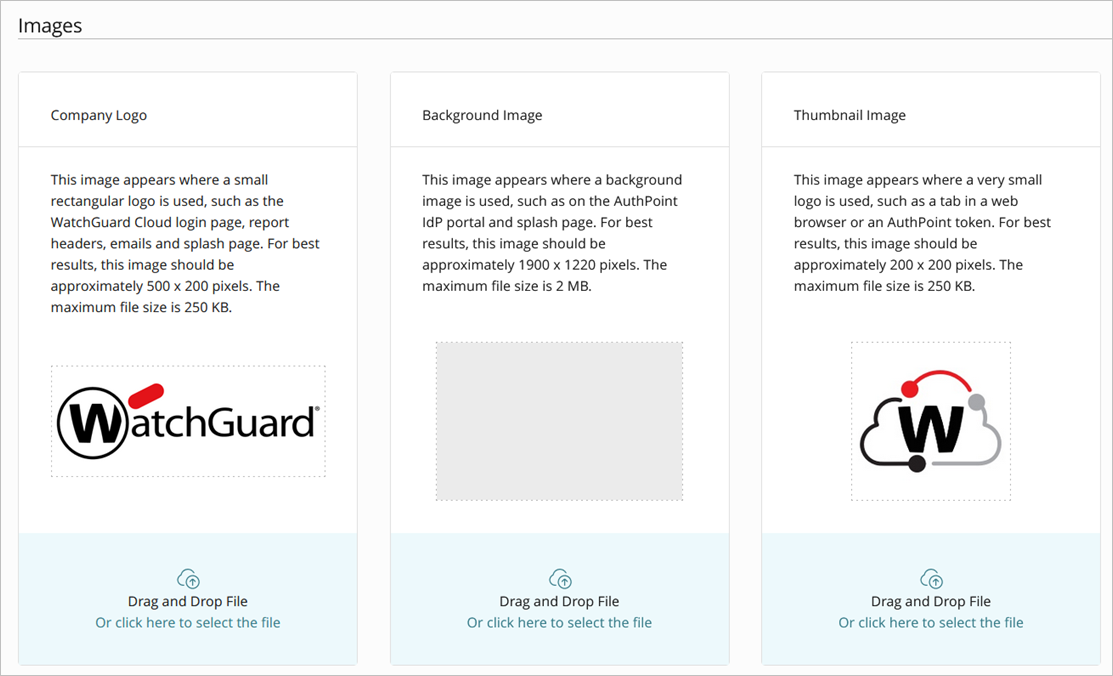
Company Logo |
Appears where a company logo is used:
For best results, upload a rectangular image that is approximately 500 x 200 pixels. The maximum file size is 250 KB. |
500 × 200 pixels |
|
Background Image |
Appears where a background image is used, such as on the AuthPoint IdP portal, default captive portal splash page, and Network Access Enforcement splash pages. For best results, upload a rectangular image that is approximately 1920 x 1200 pixels. The maximum file size is 2 MB. |
1920 × 1200 pixels |
|
Thumbnail Image |
Appears where a very small logo is used, such as the tab icon in a web browser or an AuthPoint token. For best results, upload a square image that is approximately 200 x 200 pixels. The maximum file size is 250 KB. |
200 × 200 pixels |
To hide the WatchGuard logo in the upper-left corner of the WatchGuard Cloud user interface, select the Hide WatchGuard Logo check box.
To upload a custom logo or image:
- Select the account you want to enable custom branding for.
- Select Administration > Branding.
The Branding page opens.
- Drag an image file from your computer to the appropriate tile, or click Or click here to select the file on the appropriate tile and select an image file.
- Click Save.
To remove the custom images and restore the WatchGuard default image files, click Restore Default Settings at the top of the page, then click Save.
Edit the Reply-to Email Address
You can change the reply-to email address for email messages sent by WatchGuard Cloud and AuthPoint. When users reply to the email, the custom reply-to email address displays in the To box.
If you delete a custom reply-to email address, the Reply-to Email Address value automatically resets to the default [email protected] email address.
To edit the reply-to email address:
- In the Reply-to Email Address text box, enter an email address.
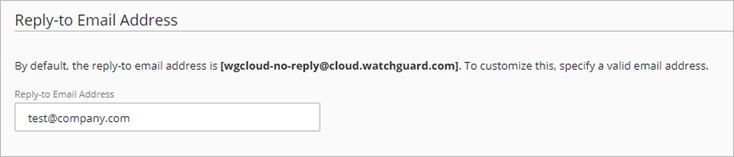
- Click Save.
Edit the Footer Contact Information for Email and PDF Reports
You can include custom contact information in the footer of email messages and PDF reports.
If you disable custom footer information, the WatchGuard contact information appears in the footer.
To edit the email and PDF report footers:
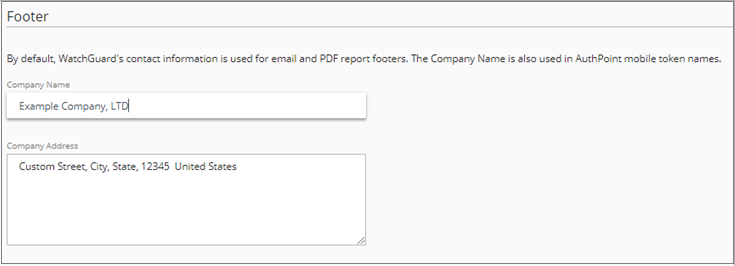
- In the Footer section, enter a Company Name.
By default, the system uses WatchGuard's contact information for email and PDF report footers. The Company Name is also used in AuthPoint mobile token names. - In the Company Address text box, enter the address to include in the footer.
- You can enter a maximum of 35 characters per line.
- You can enter up to a maximum of 5 lines.
- Click Save.
Restore the Default Settings
To remove any custom branding and use the default WatchGuard branding text and images:
- Click Restore Default Settings at the top of the page.
The Restore Default Settings link only appears if you have changed any of the default branding text or images. - Click Save.
All Subscriber accounts will use the default WatchGuard branding unless they have configured custom branding. If the account that manages the Subscriber account has custom branding, the Subscriber will default to these settings and not the default WatchGuard branding.