Applies To: Cloud-managed Fireboxes
This topic explains how to:
- Enable Mobile VPN with IKEv2
- Select a certificate
- Add a domain name or IP address
- Add allowed resources
- Add authentication domains
- Add users and groups
- Edit the virtual IP address pool
- Use an internal DNS server
- Delete a Mobile VPN with IKEv2 Configuration
Before You Begin
Before you enable Mobile VPN with IKEv2, make sure to configure authentication settings:
- Add an authentication domain to WatchGuard Cloud.
- Add groups and users.
- Add the authentication domain to the Firebox.
Mobile VPN with IKEv2 supports authentication through the local Firebox authentication database (Firebox-DB), RADIUS, and AuthPoint.
For information about how to configure authentication settings, go to Authentication Methods for Mobile VPN.
Enable Mobile VPN with IKEv2
To enable Mobile VPN with IKEv2, from WatchGuard Cloud:
- Select Configure > Devices.
- Select the cloud-managed Firebox.
- Click Device Configuration.
- In the VPN section, click the Mobile VPN tile.
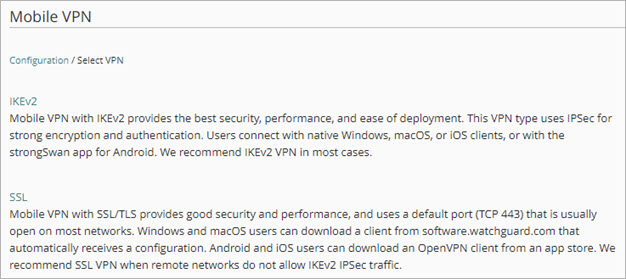
The Select VPN page opens.

-
Click IKEv2.
The Mobile VPN with IKEv2 configuration page opens.
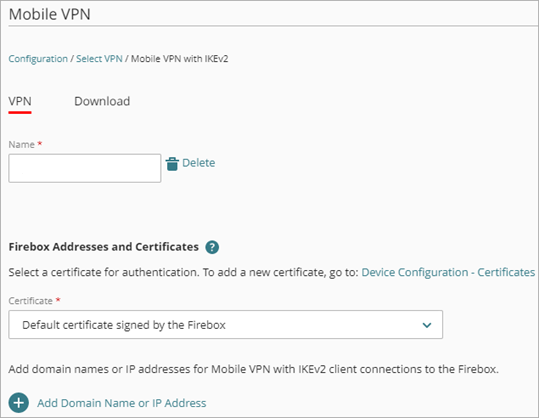
- In the Name text box, type the VPN connection name.
This name appears as the VPN connection name on the client.
Select a Certificate
In the Firebox Addresses and Certificates section, select a certificate. VPN clients use the certificate to authenticate the VPN server, which is the Firebox. You can select the default certificate signed by the Firebox or a third-party certificate. To use a third-party certificate, you must first add it to the device or to your WatchGuard account.
For more information about Mobile VPN certificates, go to Mobile VPN and Certificates and Manage Certificates in WatchGuard Cloud.
To select a certificate, from WatchGuard Cloud:
- Open the Mobile VPN with IKEv2 settings for the Firebox.
- In the Firebox Addresses and Certificates section, select a certificate from the drop-down list.

Example third-party certificate
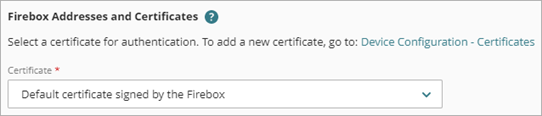
Default Firebox certificate
If you select a third-party certificate, the domain and IP address information in the certificate controls which names and addresses clients can connect to. If you select the default certificate signed by the Firebox, you must enter the IP address or fully-qualified domain name (FQDN) for connections from IKEv2 VPN clients to the Firebox.
Add a Domain Name or IP Address
To configure a domain name or IP address, from WatchGuard Cloud:
- Open the Mobile VPN with IKEv2 settings for the Firebox.
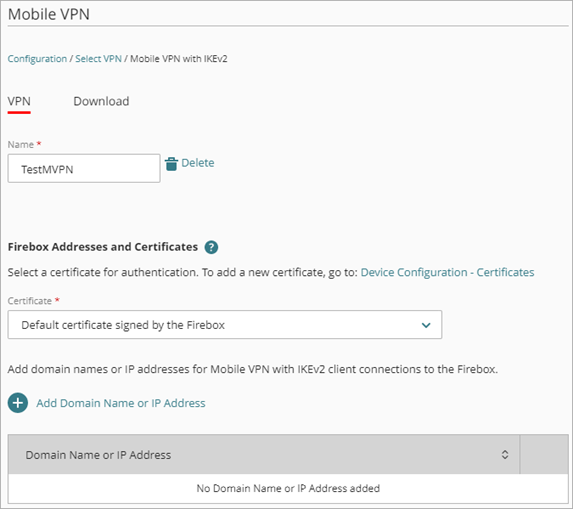
- If you selected Default certificate signed by the Firebox, Click Add Domain Name or IP Address.
The Add Domain Name or IP Address dialog box opens.
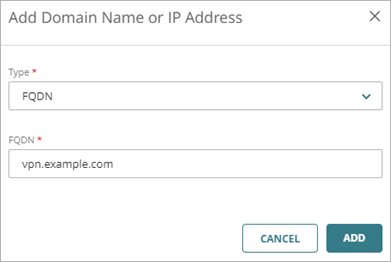
- From the Type drop-down list, select the IP address type.
- Host IPv4 — Specify an IP address for connections from IKEv2 VPN clients to the Firebox .
- FQDN — Specify a fully qualified domain name for connections from IKEv2 VPN clients to the Firebox.
- Type the host IPv4 address or domain name.
If your Firebox is behind a NAT device, specify the public IP address or domain name of the NAT device.
- Click Add.

Add Allowed Resources
By default, all traffic from IKEv2 VPN clients destined for the Internet and your local network goes through the VPN tunnel and your Firebox policies. This provides consistent security but reduces performance. This is known as full tunneling or default route. This is the default setting.
On Fireboxes that run Fireware v12.9 or higher, you can select to route all traffic from the VPN client to the Internet and your local network through an option known as split tunneling. A split tunnel offers better performance than a full tunnel because the Firebox processes less traffic. However, a split tunnel can affect security because the Firebox does not inspect traffic sent to the Internet from VPN clients or traffic sent to the remote VPN client network.
You can add a client tunnel route as a network resource. This option enables you to create a split tunnel configuration for traffic that is destined for a private network other than the internal networks of the Firebox. For example, you might add a client tunnel route to support a routed network through a static route, dynamic route, or BOVPN.
When you add a client tunnel route, Mobile VPN with SSL and Mobile VPN with IKEv2 configurations share the available allowed resources.
To add an allowed resource for split tunneling, from WatchGuard Cloud:
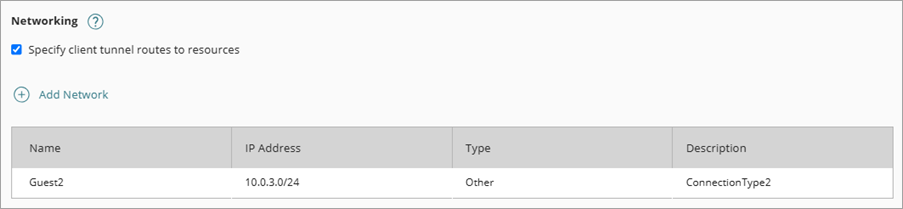
- In the Networking section, select Specify Client Tunnel Routes to Resources.
The Add Network section opens. - Click Add Network.
The Add Network page opens.
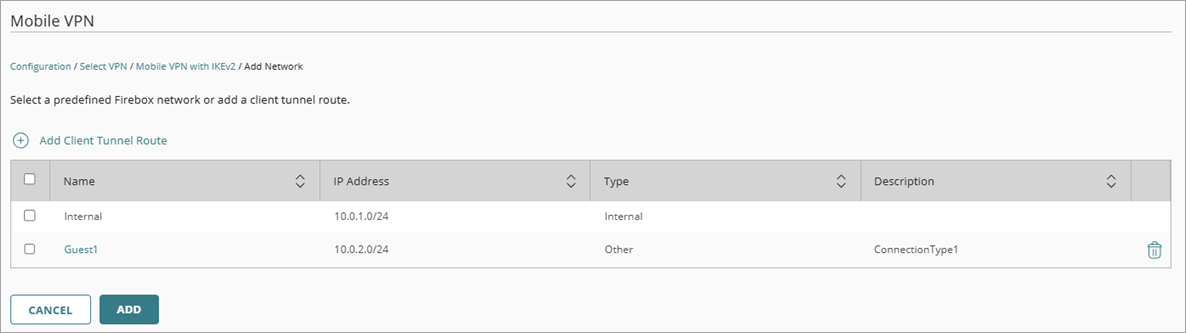
- (Optional) To add a client tunnel route, click Add Client Tunnel Route.
The Add Client Tunnel Route dialog box opens. - Type a Name, Network IP Address, and an optional Description.
- Click Add.
The client tunnel route becomes an available allowed Firebox resource.


The client tunnel route is an available allowed Firebox resource on the Add Network page for Mobile VPN with SSL and Mobile VPN with IKEv2 configurations.

- Select one or more networks or client tunnel routes configured on your Firebox.
- Click Add.
The allowed resource shows on the Mobile VPN with IKEv2 page.
If you edit the list of allowed resources after you download and install the client configuration files on user devices, download updated client configuration files and reinstall those on user devices. If you remove an allowed host or network from the list, but you do not install updated client configuration files on user computers, VPN clients can initiate traffic to that host or network, but the Firebox denies the traffic. For information about how to download client configuration files, go to Next Steps.
Delete a Client Tunnel Route
Before you can delete a client tunnel route, make sure that the route is not in use by Mobile VPN with SSL as a network resource, and make sure to save any Mobile VPN with SSL client tunnel route changes. For more information, go to Configure Mobile VPN with SSL for a Cloud-Managed Firebox.
To delete a client tunnel route, from WatchGuard Cloud:
- In the Networking section, select the Specify Client Tunnel Routes to Resources option.
The Add Network section opens. - Click Add Network.
The Add Network page opens.
A client tunnel route has a Type of Other.

- Select a client tunnel route and click
 .
.
The Delete Network dialog box opens. - Click Delete.
Add Authentication Domains
By default, Mobile VPN with IKEv2 uses the Firebox database for user authentication. You can also use a RADIUS server or AuthPoint for authentication.
Before you can configure Mobile VPN with IKEv2 to use an authentication domain, you must add the authentication domain to WatchGuard Cloud, add groups and users, and add the authentication domain to the Firebox. For more information, go to Authentication Methods for Mobile VPN.
To use AuthPoint for Mobile VPN user authentication on a cloud-managed Firebox, you must first add the Firebox as an AuthPoint resource, which requires Fireware v12.7 or higher.
To add an authentication domain:
- Open the Mobile VPN with IKEv2 settings for the Firebox.
- Click Add Authentication Domains.
The Add Authentication Domains page opens.
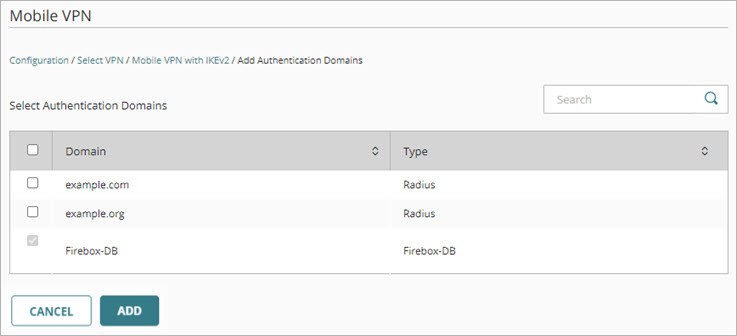
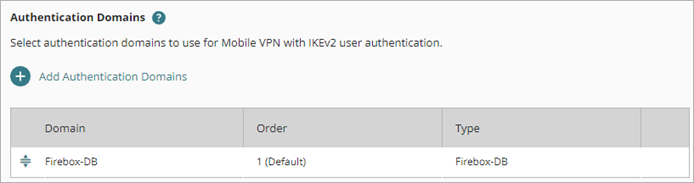
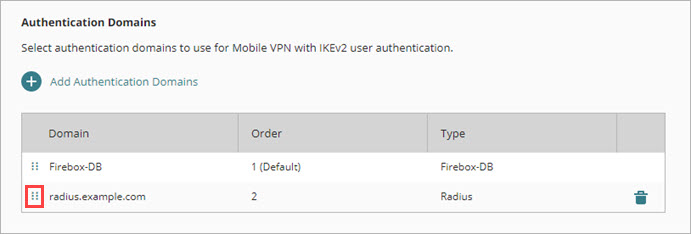
- Select the authentication domains you want to use for Mobile VPN with IKEv2 user authentication.
- The first server in the list is the default authentication server. To change the server order, click the move handle for an authentication server and drag it up or down in the list.
- Click Add.
Add Users and Groups
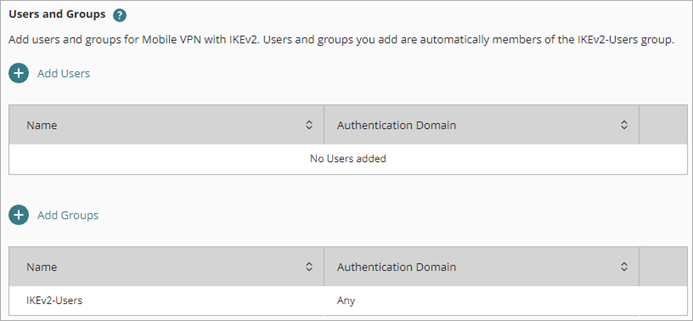
After you specify the authentication domains, select users and groups that can use a IKEv2 VPN client to connect to network resources protected by the Firebox.
When you add users and groups, you select from a list of users or groups on the authentication servers you added in the previous step. Users and groups you select are automatically added to the IKEv2-Users group.
To add users and groups to the Mobile VPN with IKEv2 configuration:
- Open the Mobile VPN with IKEv2 settings for the Firebox.
- To add groups to the Mobile VPN with IKEv2 configuration:
- Click Add Groups.

- Select the check box for each group to add.
- Click Add.
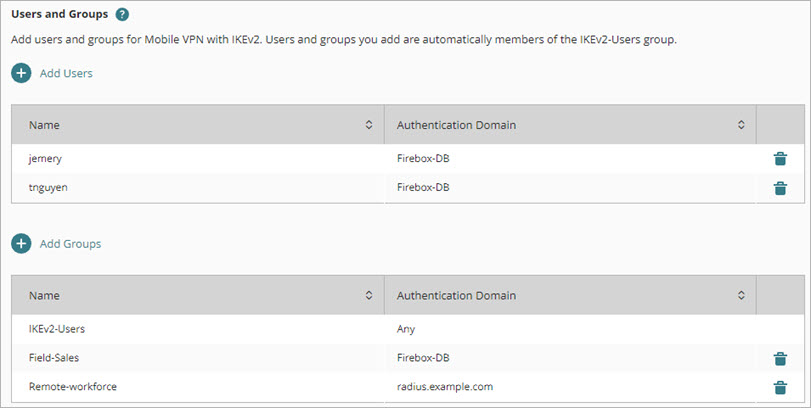
The selected groups are added to the groups list.
- To add users to the Mobile VPN with IKEv2 configuration:
- Click Add Users.
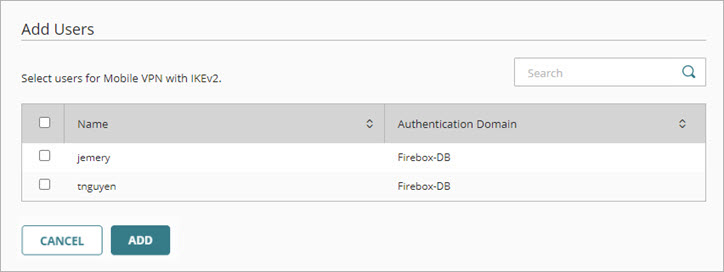
- Select the check box for each user to add to Mobile VPN with IKEv2.
- Click Add.
The selected users are added to the Users list.
- To remove a user or group from the Mobile VPN with IKEv2 configuration, in the row for that user or group, click
 .
.
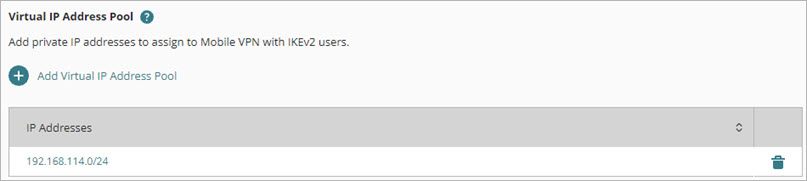
Edit the Virtual IP Address Pool
The virtual IP address pool is the group of private IP address the Firebox assigns to Mobile VPN with IKEv2 users. The default is 192.168.114.0/24. You can add other addresses to the pool and remove the default address.
Make sure the network IP addresses in the virtual IP address pool do not conflict with the IP addresses assigned to a Firebox network.
To update the virtual IP address pool:
- Open the Mobile VPN with IKEv2 settings for the Firebox.
- To add IP addresses to the pool:
- Click Add Virtual IP Address Pool.
The Add Virtual IP Address Pool dialog box opens.
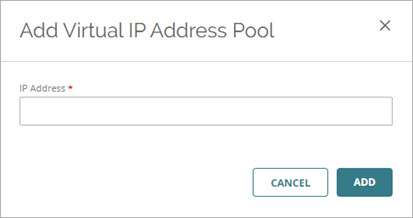
- Type an IP address and netmask.
- Click Add.
- Click Add Virtual IP Address Pool.
- To remove IP address from the pool, click .
Use an Internal DNS Server
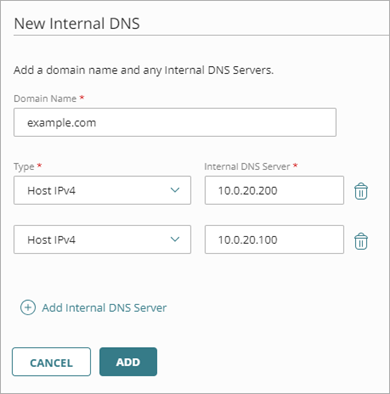
By default, Mobile VPN with IKEv2 clients use the DNS server specified on the client. If you configure an internal DNS server for your Firebox at Device Configuration > DNS > Internal DNS, you can select to use it for mobile VPN DNS resolution.
For Fireboxes with Fireware v12.9.2 or higher, the WatchGuard Mobile VPN with IKEv2 client profile includes the domain name suffix you enter in the internal DNS configuration. Clients use the domain name suffix to resolve local host names on your network through the VPN.
The Use Internal DNS setting appears only if your Firebox configuration includes an internal DNS server. For information about how to add an internal DNS server to the Firebox configuration, go to Configure Firebox DNS Settings.
To configure mobile VPN connections to use an internal DNS server:
- Select the Use Internal DNS check box.
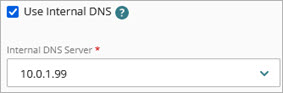
- From the Internal DNS Server drop-down list, select the IP address of an internal DNS server.
Next Steps
After you finish the Mobile VPN with IKEv2 configuration, click the Download tab and download the Mobile VPN with IKEv2 client profile, which contains information and setup files for IKEv2 VPN clients. For more information, go to Download the Mobile VPN with IKEv2 Client Profile.
Delete a Mobile VPN with IKEv2 Configuration
To delete a Mobile VPN with IKEv2 configuration, from WatchGuard Cloud:
- Select Configure > Devices.
- Select your cloud-managed Firebox.
- Click Device Configuration.
- In the VPN section, click the Mobile VPN tile.
The Select VPN page opens.
- Click IKEv2.
The Mobile VPN with IKEv2 page opens. - Click Delete.
