Deployment Overview
This integration provides instructions on how to use MailChimp with a WatchGuard Wi-Fi Cloud captive portal to collect emails for marketing.
Integration Summary
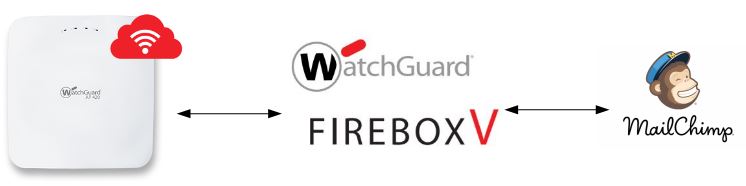
These devices and services were used in this integration guide:
- MailChimp
- WatchGuard AP420 managed by Wi-Fi Cloud
- WatchGuard FireboxV with Fireware v12.1
Test Topology
Configure MailChimp
To configure the MailChimp software:
- Log in to your MailChimp account at https://login.mailchimp.com.
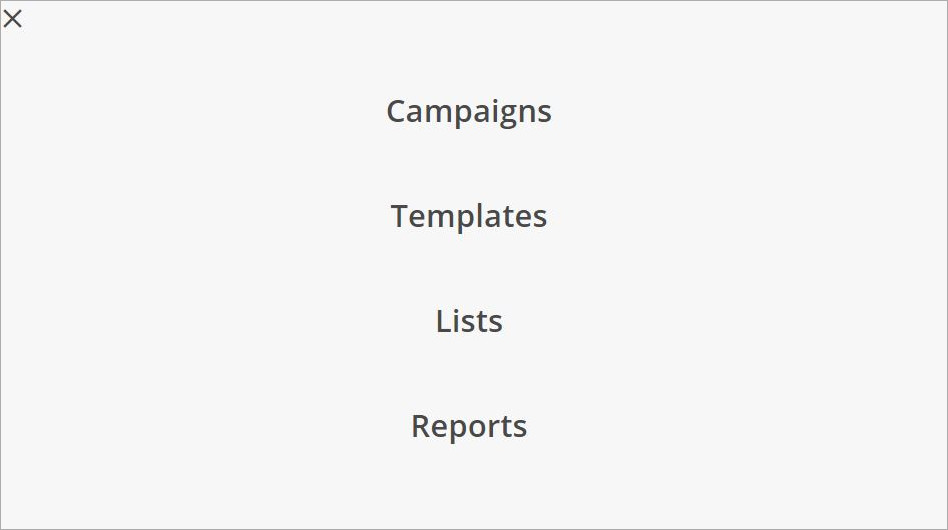
- Select the left-side menu icon.

- Select Campaigns from the menu options.
The Campaigns dialog page appears.
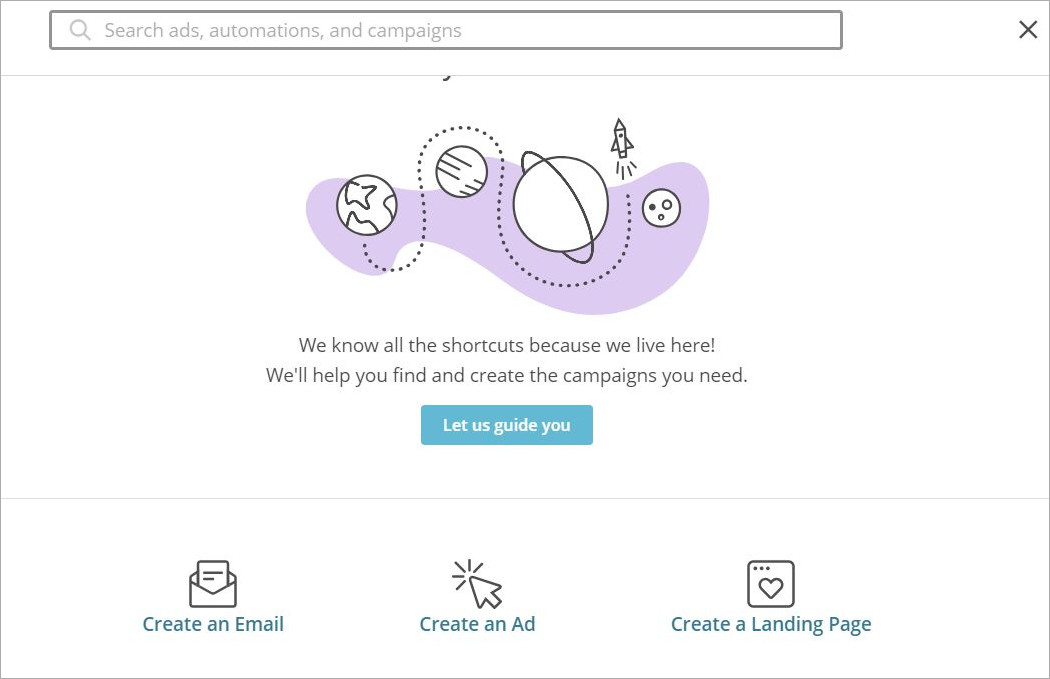
- Click Create Campaign.
- Select Create a Landing Page.
- The next option enables you to design a Signup page or Product page. For this example, we select the Signup Page.

- Click Begin.
The landing page builder appears.
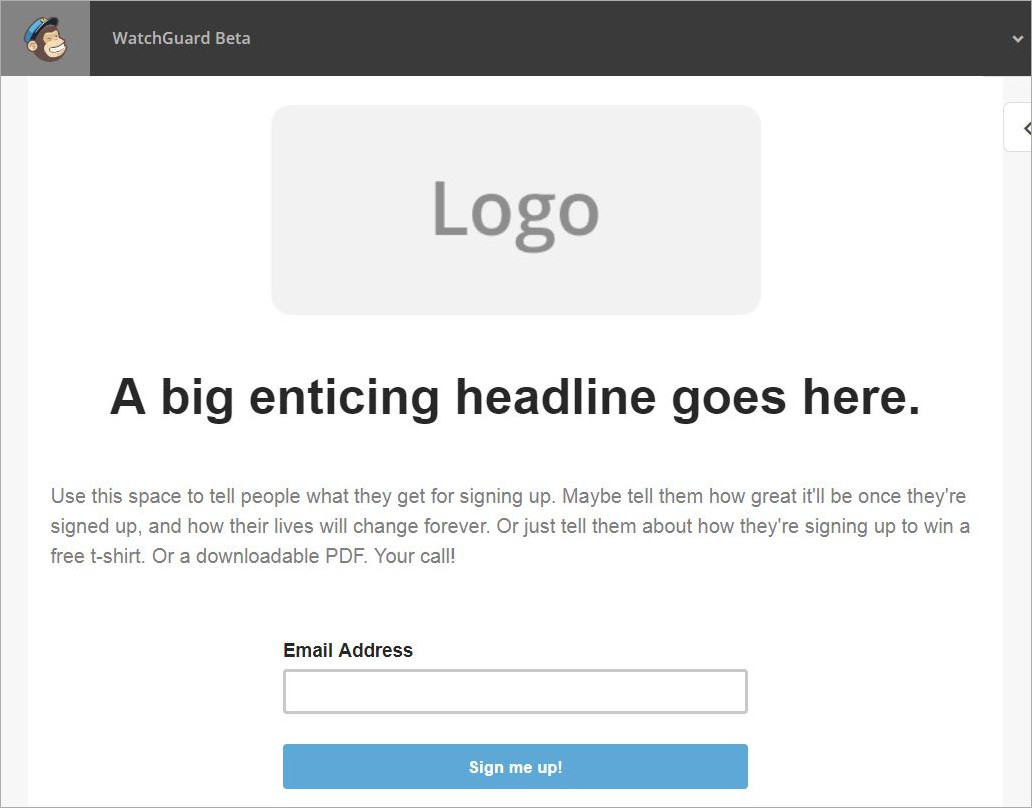
- Customize the logo, headline, description, and email address as required.
When you hover the mouse over Logo, Headline, and Description, the options for Drag to Reorder, Edit Block, Duplicate Block, and Delete Block are displayed.
When you hover the mouse over Email Address, the options for Drag to Reorder, Edit Block, and Delete Block are displayed.
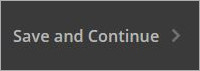
- Click Save and Continue.
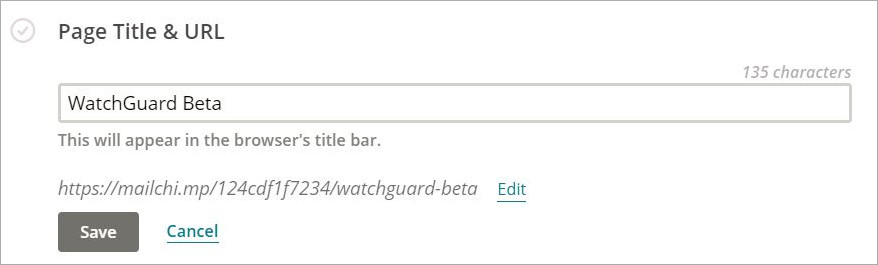
- Click Add Page Title & URL.

- Type the title to appear in the web browser's title bar, then click Save.
- The redirect page is now ready to publish with your default contact list for submitted emails. If you would like to edit the list or create a new one, use the menu button on the top right of the page and select Lists.
- After you confirm the page, title, and list, click Publish.

- The displayed page contains the URL to use in the WatchGuard Wi-Fi Cloud captive portal configuration. Copy this URL.

WatchGuard Wi-Fi Cloud Basic Configuration
For detailed information on WatchGuard Wi-Fi Cloud AP deployment, see the Getting Started Guide.
These instructions use Manage for the Wi-Fi Cloud configuration. You can now also perform these configuration steps with the Discover application. For more information, see About Discover.
Configure WatchGuard Wi-Fi Cloud Captive Portal
To configure the captive portal settings in Wi-Fi Cloud:
- Log in to your Wi-Fi Cloud account at https://dashboard.watchguard.cloudwifi.com
- Open Manage.
- Select the location appropriate to your deployment.
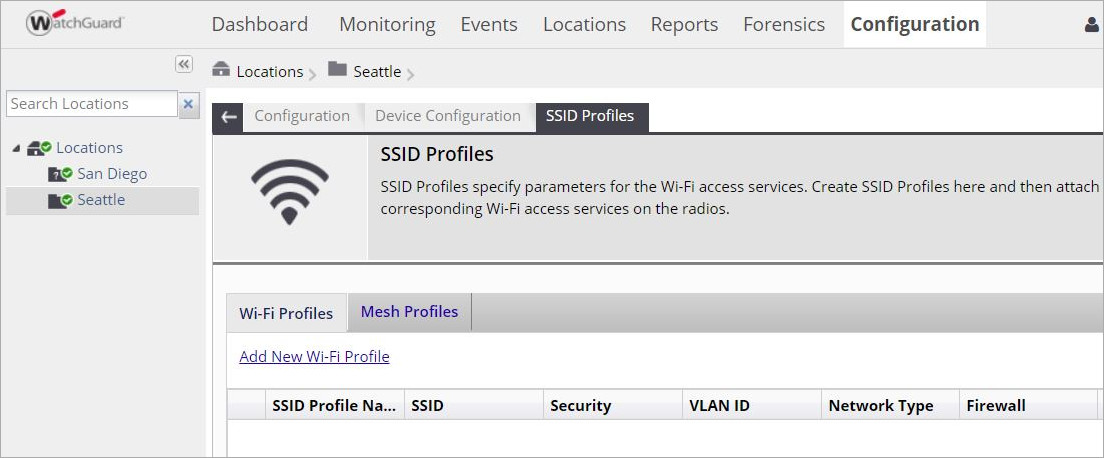
- Select Configuration > Device Configuration > SSID Profiles.
- Click Add New Wi-Fi Profile or edit an existing SSID Profile.
- Type the Profile Name and SSID.
- Expand the Security section.
- Select a Security Mode from the drop-down list and configure the required settings. WatchGuard recommends you use WPA2.
- Expand the Captive Portal section, then select the Enable Captive Portal check box.
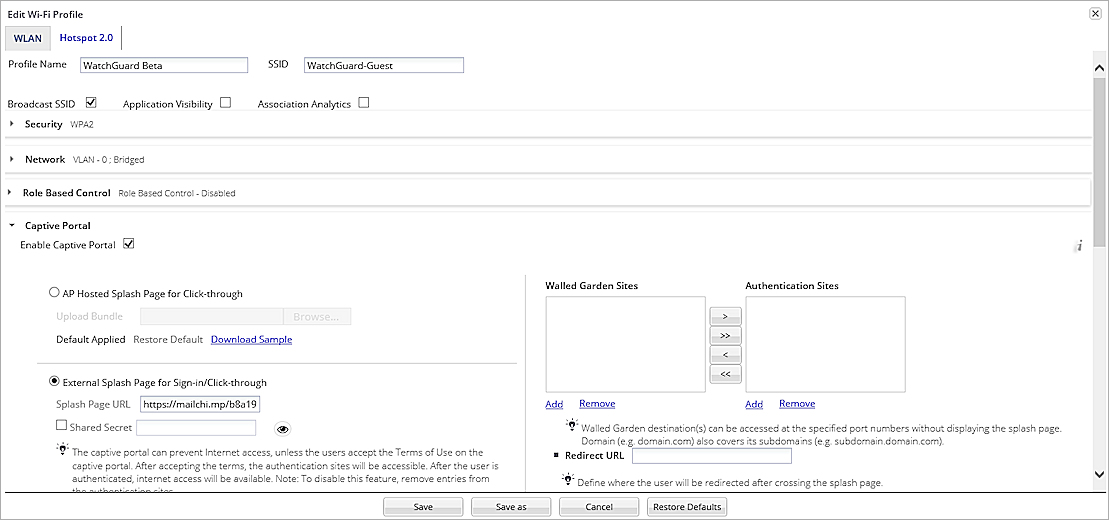
- Select External Splash page for Sign-in/Click-through.
- In the Splash Page URL text box, copy and paste the URL you received from the MailChimp configuration.
- Click Save.
Make sure you apply the SSID Profile configuration to a Device Template to propagate the configuration to your APs.
Test the Integration
To verify the integration:
- Associate a client to an AP with the configured SSID.
- Open your default web browser.
The Captive Portal page will appear. - Type an email address in the text box on the portal page.
- The email address will be sent to the configured users list in MailChimp.