Applies To: Locally-managed Fireboxes
WatchGuard Dimension is distributed as an .OVA file for installation on Proxmox Virtual Environment (VE). For information about supported Proxmox versions, go to the WatchGuard Dimension Release Notes.
For information about Dimension system memory allocation and disk size, go to Install WatchGuard Dimension.
Before You Begin
Before you can deploy the Dimension .OVA file to Proxmox VE, you must:
- Download the WatchGuard Dimension .OVA file.
From the WatchGuard Software Downloads Center, find and download the file to install WatchGuard Dimension on your Proxmox VE host. - Have a DHCP server configured in the network you choose for the Dimension virtual machine if you want to use a DHCP server to get the initial IP address for Dimension. You can also manually set a static IP address for Dimension. You then use this initial IP address to connect to Dimension to run the Dimension Setup Wizard and complete your Dimension configuration.
- Install Proxmox VE on a device. Before you can create a Proxmox VE host for Dimension, you must first install and configure Proxmox VE on a device. For more information, go to the Proxmox documentation:
Create a Proxmox VE Host for Dimension
To create a host for the Dimension virtual machine, from the Proxmox VE web UI:
- From the left sidebar, select the node where you want to create the virtual machine.
- Click Create VM from the toolbar.
The Create Virtual Machine window opens. - Select the General tab.
- From the Node drop-down list, select a node.
- From the VM ID drop-down list, select an ID.
- In the Name text box, enter a name.
- Keep the default value in the Resource Pool drop-down list.

- Click Next.
The OS tab opens. - Select Do Not Use Any Media.
- In the Guest OS section, from the Type drop-down list, select Linux.
- From the Version drop-down list, select 6.x - 2.6 Kernel.
- Click Next.
The System tab opens. - From the Graphic Card drop-down list, select Default.
- From the Machine drop-down list, select Default.
- From the BIOS drop-down list, select Default.
- From the SCSI Controller drop-down list, select a controller.
- Click Next.
The Disks tab opens. - From the Bus/Device drop-down list, select a device.
- In the Disk Size text box, enter 0.
- Click Next.
The CPU tab opens. - In the Sockets text box, enter 1.
- In the Cores text box, enter 1.
- From the Type drop-down list, select x86-64-v2-AES.

- Click Next.
The Memory tab opens. - From the Memory drop-down list, select 4096.
- Click Next.
The Network tab opens. - From the Bridge drop-down list, select your network bridge.
- From the Model drop-down list, select your model.
- Click Next.
The Confirm tab opens. - Review the configuration settings and click Finish.

Deploy the Dimension Virtual Machine
When you deploy the OVF template to install the Dimension VM, the template automatically configures the amount of system memory for the VM. If you manually change the system memory value in the VM settings, make sure to specify a value of 4GB or higher.
To deploy the Dimension virtual machine to the Proxmox VE host:
- Get the .OVA file from the WatchGuard Software Downloads Center.
- Configure a Secure Shell (SSH) session from your computer to the Proxmox VE host. For more information, go to Connect Using SSH (external link).
- Upload the watchguard-dimension_2_3.ova file to the Proxmox/tmp directory.
scp /path/to/local/file user@proxmox_ip_address:/tmp/ - Log in to the Proxmox VE web UI at: https://<IP address of the Promox VE host>:8006
- Click Shell and run this command:
tar xvf watchguard-dimension_2_3.ova
This command extracts .ovf, .mf, and .vmdk files. - In the Shell window, run these commands to convert the .VMDK files to the QEMU Copy-on-Write (QCOW2) format:
- qemu-img convert -f vmdk watchguard-dimension_2_3-disk1.vmdk -O qcow2 disk1.qcow2
- qemu-img convert -f vmdk watchguard-dimension_2_3-disk2.vmdk -O qcow2 disk2.qcow2
- In the Shell window, run these commands to import the QCOW2 disks:
- qm importdisk <vmid> disk2.qcow2 <storage> -format qcow2
- qm importdisk <vmid> disk1.qcow2 <storage> -format qcow2
vmid is the ID of your virtual machine, and storage is the storage location of the virtual machine.
- In the Proxmox VE web UI of the host, select Hardware and verify that the unused disks are listed.
- Select each of the QCOW2 disks to attach them to the virtual machine.
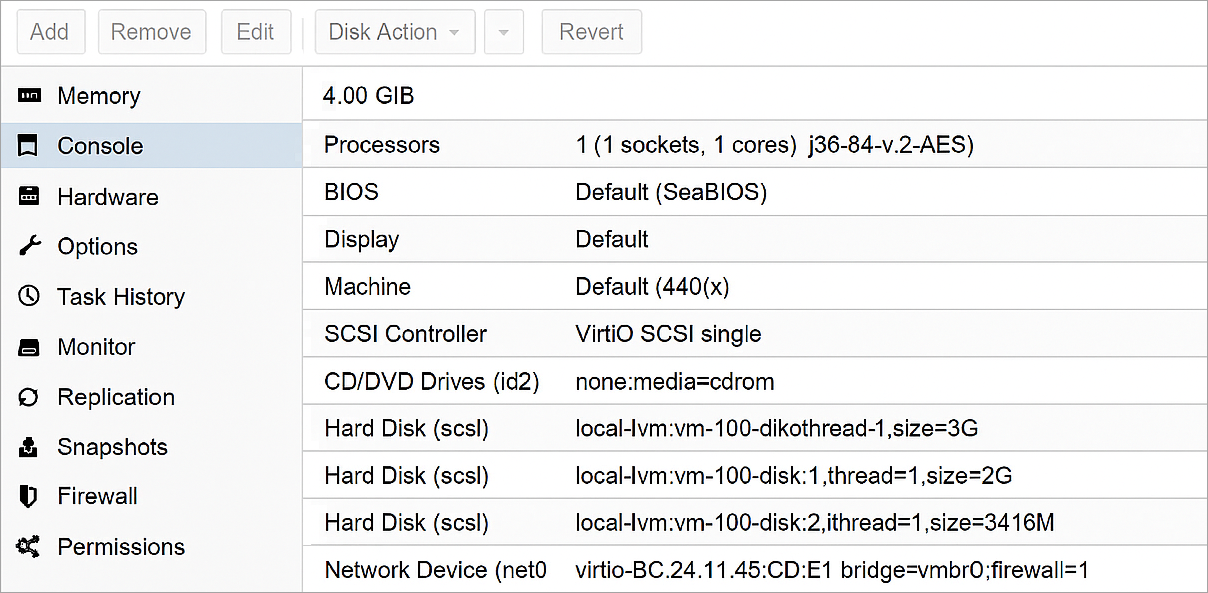
- From Hardware > Options > Boot Order, edit the boot order to prioritize the boot disk. In most cases, disk1 is the boot disk.
- Start the Dimension virtual machine.
Find the External IP Address
If the external network has a DHCP server, the Dimension external interface is automatically assigned an IP address. To find the IP address to connect to Dimension, you can use the Dimension VM command line.
The first time you make a console connection to Dimension, you must change the default password for the wgsupport user.
To use the command line to find the IP address for Dimension:
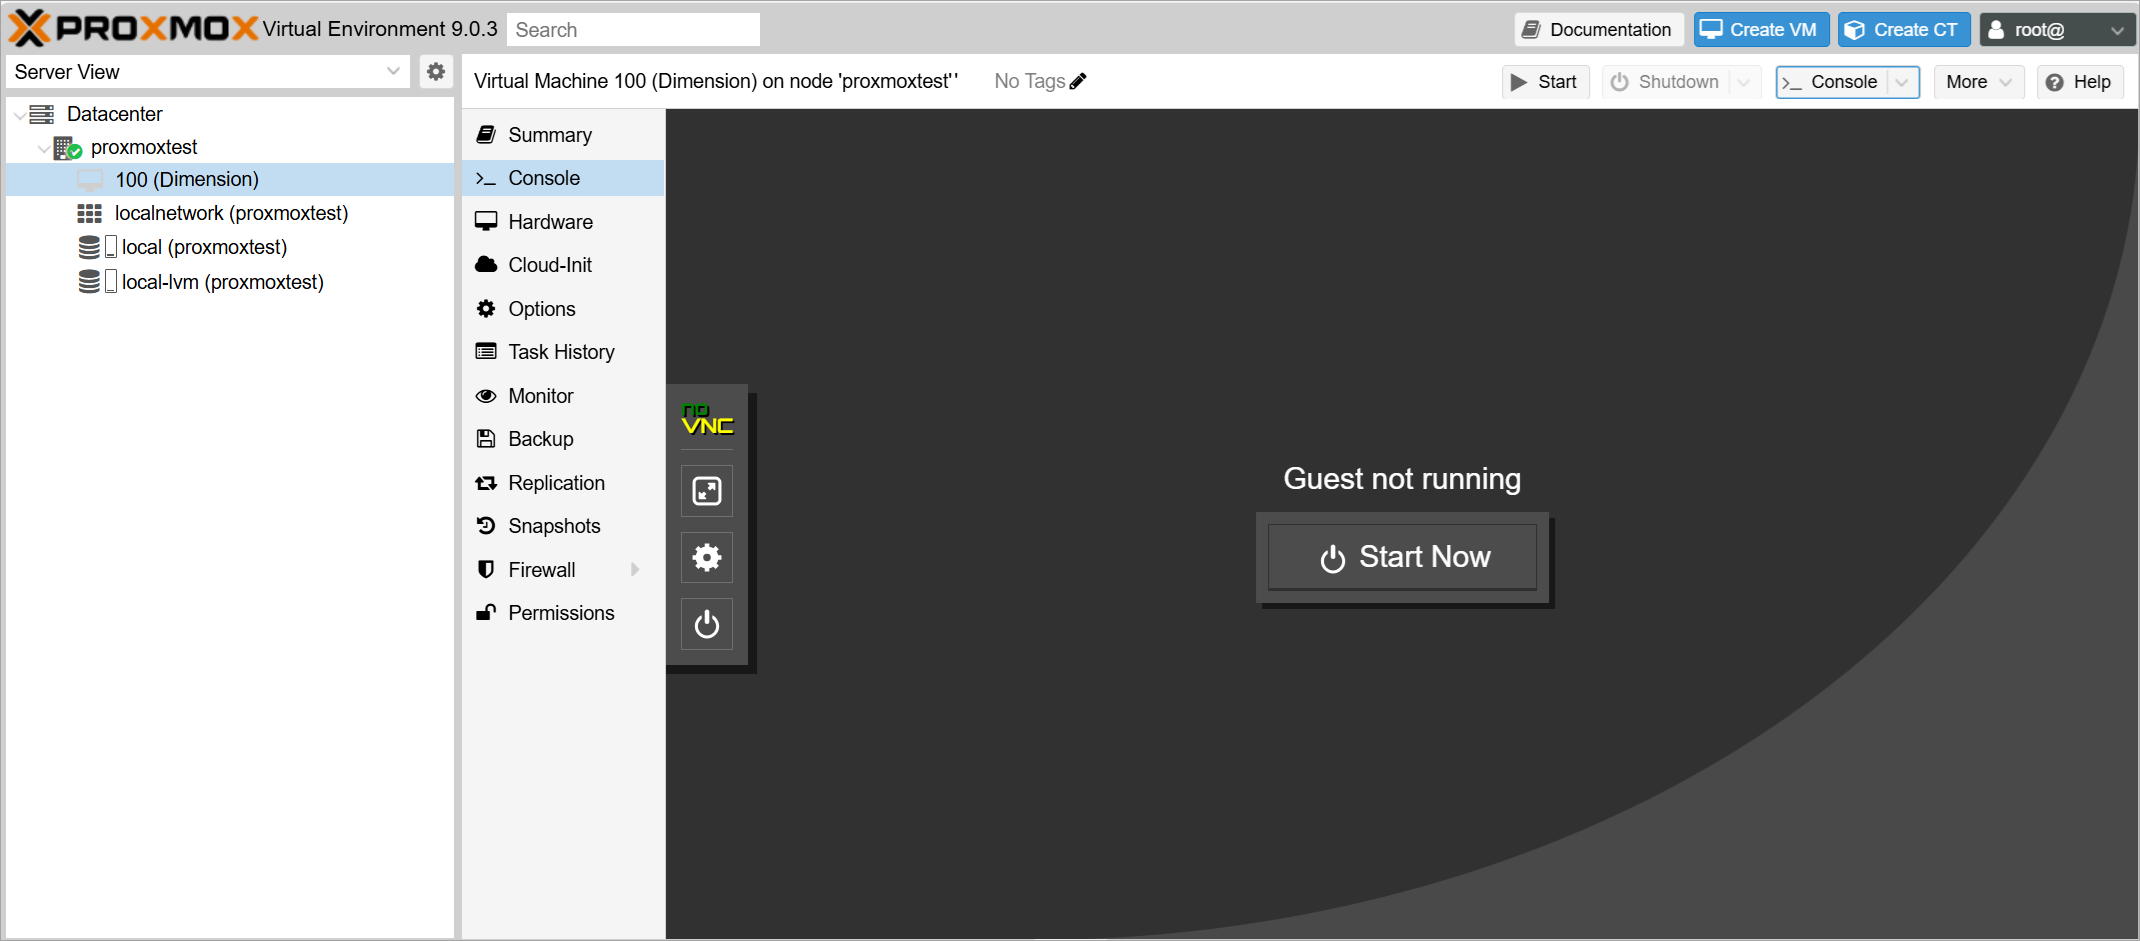
- From Proxmox VE, select the Dimension VM.
- From the Dimension VM, select Console.
- Click Start Now to start a console connection to your Dimension VM.
- At the login prompt, type wgsupport. Press Enter on your keyboard.
- At the passphrase prompt, type readwrite. Press Enter on your keyboard.
This is the default admin account passphrase. A prompt to change the password opens. - Type the new passphrase to use for the wgsupport account. Press Enter on your keyboard.
The passphrase is changed. - Record the IP address that shows on the screen. If the IP address does not show for the external interface, type ifconfig. Press Enter on your keyboard.
The IP address for the external interface appears. - To log out, type exit. Press Enter on your keyboard.
If you cannot manage the Dimension server from Proxmox VE, make sure that IP forwarding is enabled and set the Promiscuous Mode of the network to Accept.
Set a Static IP Address for Dimension
If you do not have a DHCP server, you must set a static IP address for the Dimension external interface. This is the IP address you use to connect to Dimension and run the Dimension Setup Wizard. To set a static IP address, you make a console connection to Dimension with the wgsupport credentials and specify the IP address for the Eth0 interface.
The command tool that you use to change the IP address is located in the /opt/watchguard/dimension/bin directory. To change the IP address, you must specify this directory, run the wg_ip_addr.sh command, and type the new IP address and default gateway for the interface.
To make a console connection to Dimension and configure Dimension with a static IP address:
- From Proxmox VE, select the Dimension VM.
- From the Dimension VM, select Console.
- Click Start Now to start a console connection to your Dimension VM.
- At the login prompt, type wgsupport. Press Enter on your keyboard.
- At the passphrase prompt, type your passphrase. If previously unchanged, the default is readwrite. Press Enter on your keyboard.
- To set the static IP address for Dimension, at the command line, type:
/opt/watchguard/dimension/bin/wg_ip_addr.sh -i <IP address> -m <mask> -g <gateway>.
For example, to configure Dimension with a static IP address of 203.0.113.201/24 and a gateway of 203.0.113.1, type:
/opt/watchguard/dimension/bin/wg_ip_addr.sh -i 203.0.113.201 -m 24 -g 203.0.113.1.
- Press Enter on your keyboard.
Run the WatchGuard Dimension Setup Wizard
After your Dimension VM is set up and powered on, you can connect to Dimension to run the Dimension Setup Wizard and complete the configuration for your Dimension system.
Before you start the Setup Wizard, make sure you have this information to add in the wizard:
- Host name for Dimension Tip!
- IPv4 settings for the Eth0 interface
- Log Authentication Key
- Administrator passphrase
To run the Dimension Setup Wizard:
- Open a web browser and connect to Dimension at https://<Dimension IP address>.
For example, if the IP address assigned to your instance of Dimension is 203.0.113.201, you connect to Dimension at https://203.0.113.201.
The login page opens. - Type the default user credentials:
- User Name – admin
- Passphrase – readwrite
- Complete the wizard to configure Dimension.
After you finish the wizard, the Dimension login page opens. - To log in to Dimension, use the new administrator passphrase that you specified in the wizard.
You can change the administrator passphrase when you run the Setup Wizard.
After you have completed the wizard and logged in to Dimension, you can complete the configuration settings for your Dimension system and Log Server, create report schedules, and manage users, as described in these topics:
- Manage Dimension System Settings
- Dimension Server Management
- Schedule Dimension Reports
- Manage Dimension Users and Groups