Applies To: AuthPoint Total Identity Security
This help topic shows you how to set up and deploy these AuthPoint Total Identity Security features:
- Corporate credentials
- Dark Web Monitor
- Password management for end-users
This deployment guide provides information for accounts that have already deployed AuthPoint Multi-Factor Authentication. For a complete overview of how to set up and deploy all AuthPoint features, see the AuthPoint Deployment Guide.
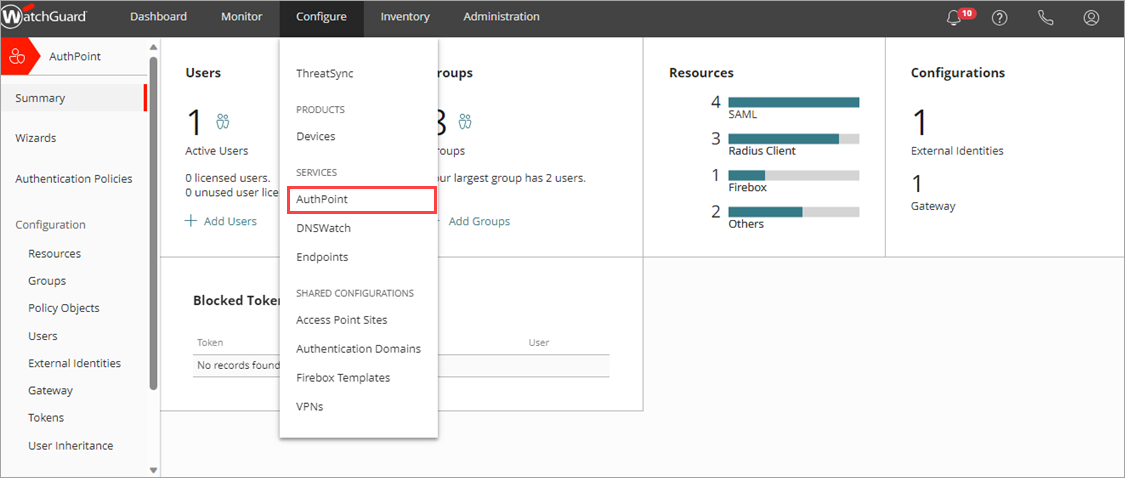
You configure and manage AuthPoint from the Services section of the Configure menu in WatchGuard Cloud.
To navigate to the AuthPoint management UI in WatchGuard Cloud:
- Log in to WatchGuard Cloud at http://cloud.watchguard.com/.
The WatchGuard Cloud Dashboard page opens. - From the navigation menu, select Configure > AuthPoint. If you have a Service Provider account, you must select an account from Account Manager.
The AuthPoint Summary page opens.
You can create corporate credentials to share a direct link to a specific website with specific user groups in the IdP portal. You might do this for websites or applications that do not support SAML or that your company does not manage. For example, you might create corporate credentials to provide users with a link in the IdP portal to the website they use to manage their benefits information.
When you create corporate credentials, you can choose to share the login credentials for that website or account with specified user groups. For example, you might share the credentials to a corporate social media account with your marketing team.
Corporate credentials are available in the IdP portal for users who are members of the groups that the corporate credentials are shared with. If you choose to share login credentials, the corporate credentials are also available in the password vault of the relevant users. For more information about password vaults, see Password Management.
If you share login credentials, each user must accept the shared corporate credentials in the AuthPoint Password Manager.
To add corporate credentials, from the AuthPoint management UI:
- Select Corporate Credentials.
The Corporate Credentials page opens.
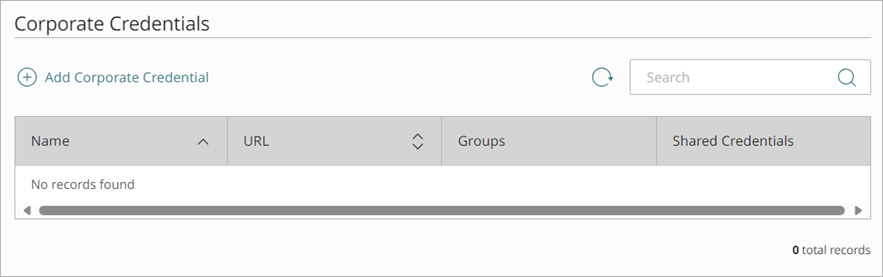
- Click Add Corporate Credential.
The Add Corporate Credential page opens.
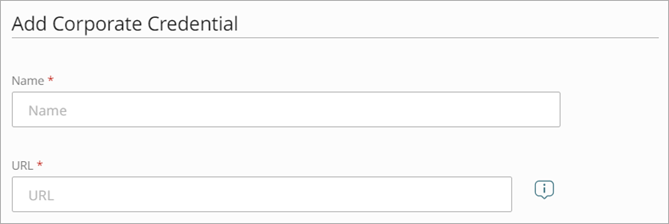
- In the Name text box, enter a name to identify this corporate credential to users in the IdP portal and their password vault.
- In the URL text box, enter the URL for the application or service. If you do not specify a protocol in the URL, AuthPoint uses HTTPS by default.
- To upload an image to identify the corporate credential in the IdP portal, drag an image file from your computer to the Image box, or click Select a file to import and select an image file.
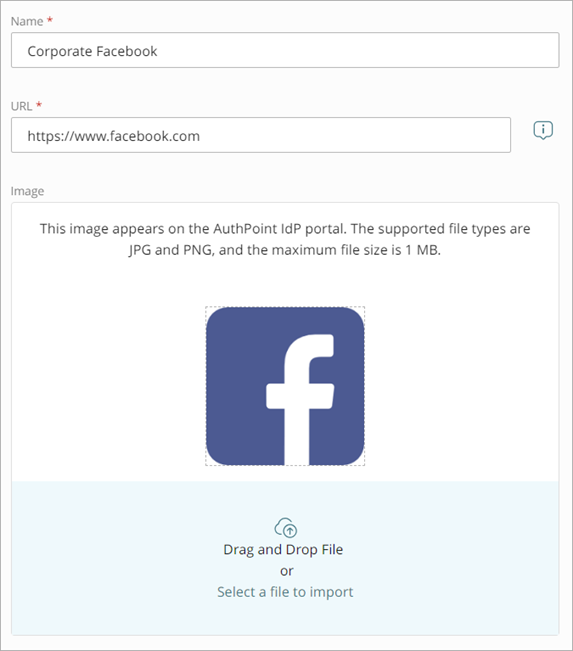
- From the Groups list, select the groups this corporate credential is available to.
You can select more than one group. To make this corporate credential available to all groups, select All Groups. - To share login credentials so that users can log in to a specific account, select the Share credentials for this corporate credential check box. When you select this option, the corporate credential is available in the password vault of specified users in addition to the IdP portal. If you select this option, when users click the link in the IdP portal, they log in to the specified website automatically with the login credentials that you specify.
After you save the corporate credential, you cannot change whether the credentials are shared.
- If you chose to share credentials, enter the User Name and Password for the account.
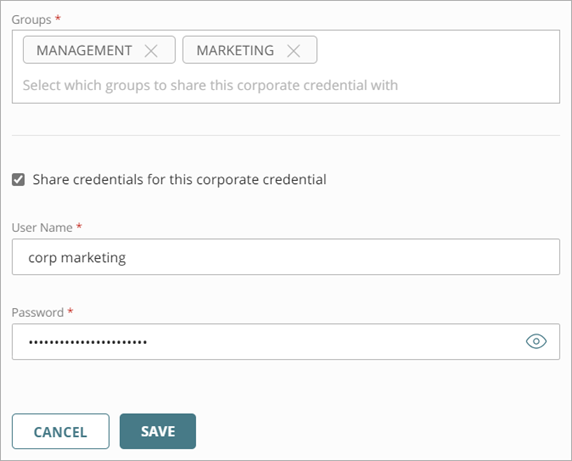
- Click Save.
The Corporate Credentials page opens.
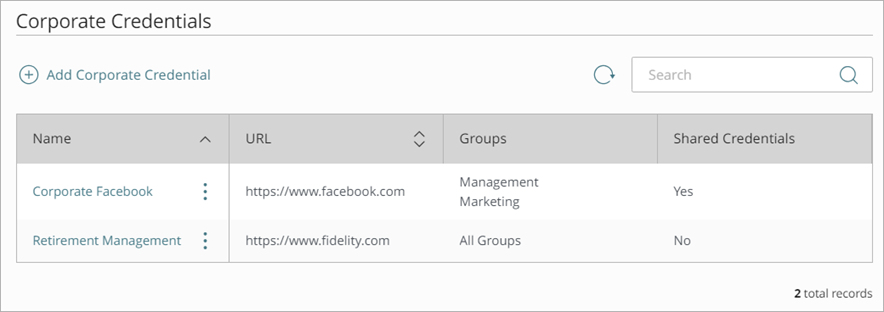
After you save the corporate credentials, a new tile shows in the IdP portal for users who are members of the groups you shared the corporate credential with. Users can click the tile to go to the URL you specified.
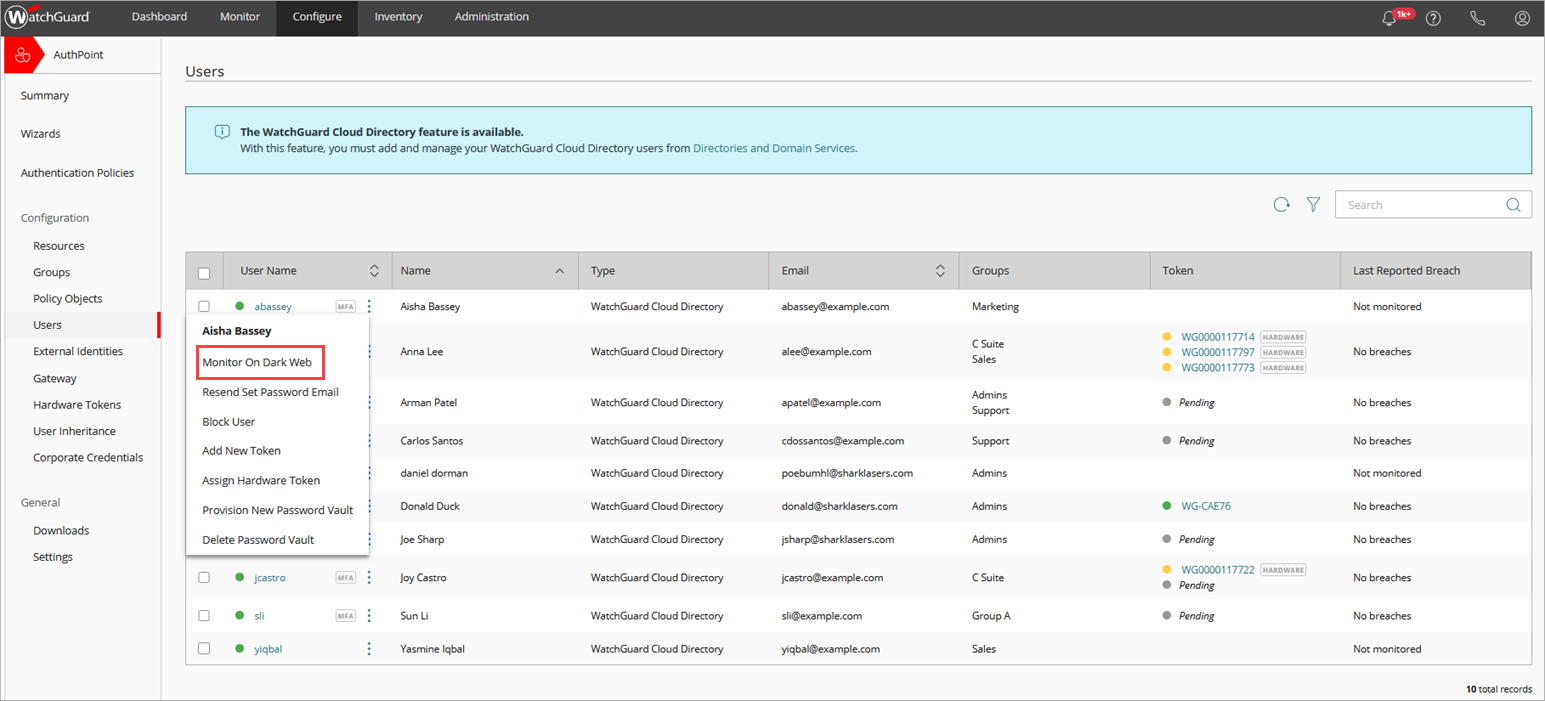
AuthPoint Total Identity Security includes a Dark Web Monitor service to help you monitor and protect your domains. With the Dark Web Monitor service, WatchGuard actively monitors data breaches for up to three of your domains. If a data breach is found to include your email addresses or domains, you receive a notification.
When you add a domain to monitor, you must select one of these email addresses for authorization requests:
- security@<yourdomain>
- webmaster@<yourdomain>
- postmaster@<yourdomain>
- hostmaster@<yourdomain>
To make sure that you own the domain, WatchGuard sends an authorization request to the email address you select. You cannot specify a custom email address for authorization requests. If you do not have any of these email addresses for the domain, you must create one.
To configure Dark Web Monitor for a domain, in WatchGuard Cloud:
- Select Administration > Dark Web Monitoring.
The Dark Web Monitoring page opens.
- Click Add Domain.
The Add Domain page opens.
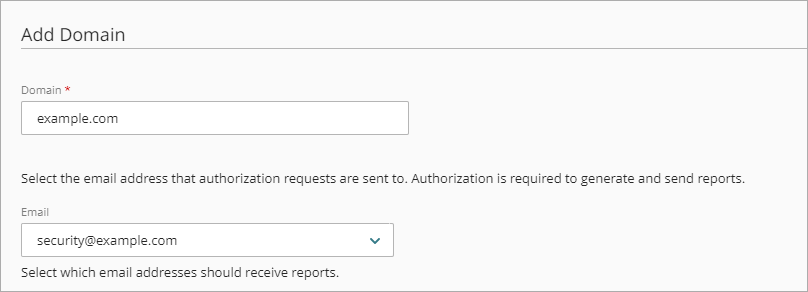
- In the Domain text box, enter your domain name, such as example.com.
- From the Email drop-down list, select the email address you want to send authorization requests to. Authorization is required to monitor data breaches for the domain, and to update Dark Web Monitor domain settings in WatchGuard Cloud.
You cannot specify a custom email address for authorization requests. If none of the listed email addresses exist, you must create one.
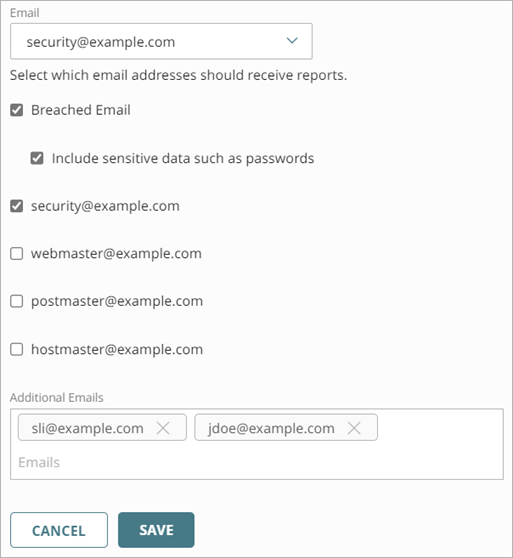
- Select the email addresses you want to receive notifications when Dark Web Monitor detects a data breach that includes an email address from your domain. You must select at least one email address.
If you select the breached email address, the UI gives you the option to include the exposed password (and any other sensitive data) in the email message that is sent to the breached email address. If you choose to include the exposed password, this information is not sent to any other selected email addresses.To send a notification to the authorization email address, you must select the check box next to that email address.
- (Optional) To send notifications to other email addresses, in the Additional Emails text box, type the email address and press the Enter key. You can specify up to 10 email addresses to send notifications to.
- Click Save.
With AuthPoint password management, end-users can save their login credentials in a personal password vault that is available from the AuthPoint mobile app and the AuthPoint browser extension. With this feature, the only password users have to remember is the password to their vault, and they can use the AuthPoint app and browser extension to autofill their credentials when they log in.
Password management is available to all users as soon as your account has an AuthPoint Total Identity Security license. To learn how to get started with AuthPoint password management as a user, see Password Management.
You can also download and distribute the Get Started with AuthPoint Password Management Quick Start Guide. This PDF guide for end-users introduces the AuthPoint Password Manager and includes steps to get started.
If you block an AuthPoint user account, that user cannot use their password vault or export their passwords. If you delete an AuthPoint user account, their password vault is also deleted.
Every user that has a password vault must have a unique email address.