Applies To: WatchGuard CloudDR
By default, WatchGuard CloudDR email notifications come from a WatchGuard email address. If you want notifications to come from a different sender, you can add custom email integrations for applications such as Google Gmail and Microsoft Outlook. When you integrate an email provider, you can configure the sender email address for notifications.
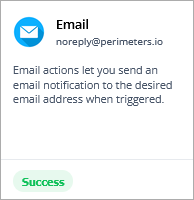
The default email address shows in the Email widget on the Integrations > Response & Automation page.
Add a Custom Email Integration
Before you add a custom Gmail or Outlook provider, you must enable an app password. For more information, go to:
Enable Gmail App Password
To enable an app password for your Gmail account:
- Open Google Account Security Settings.
- Below Signing in to Google, enable 2-Step Verification.
- Follow the steps to enable 2-step verification for the account.
This can include the addition of a mobile number for SMS verification. - Open the App Passwords page: https://myaccount.google.com/apppasswords.
- Log in to your Google account, if prompted.
- Go to the Select App section.
- Select Mail or Other (Custom).
- Enter a custom name (for example, CloudDR Email).
- In the Select Device section, select your device or leave it as the default.
- Click Generate.
A 16-character app password shows. - Copy the password.
Enable Outlook App Password
To enable an app password for an Outlook account:
- Go to your Microsoft Account Security Settings.
- In the Advanced Security options, go to Two-Step Verification.
- Click Turn On.
- Follow the prompts to enable Two-Step Verification.
You will need a secondary authentication method, such as a mobile phone number or authenticator app. - Go to Microsoft Account Security Settings.
- In the Advanced Security options, go to App Passwords.
- Click Create a New App Password.
A 16-character app password shows. - Copy the password.
Add a Custom Email Provider in CloudDR
To add a custom email provider:
- Open the Integrations > Response & Automation page.
- (Service Providers) Review existing client organization integrations. To add a custom email provider for an organization, from the Select Integrations View, select Self Integrations.
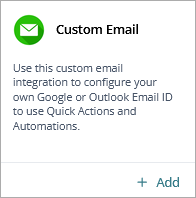
- In the Custom Email widget, click Add.
- Click Start Integration.
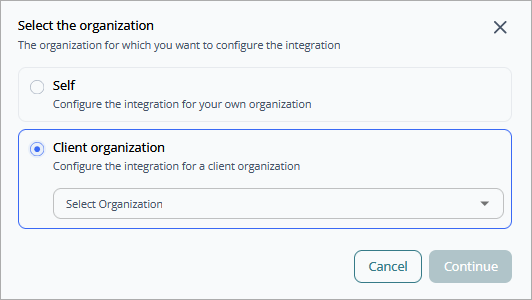
- (Service Providers) Select the organization you want to configure the integration for.
- From the Select Provider drop-down list, select Gmail, Outlook, or SMTP Setup. For information on how to set up an SMTP provider, go to Add a Custom SMTP Email Provider .
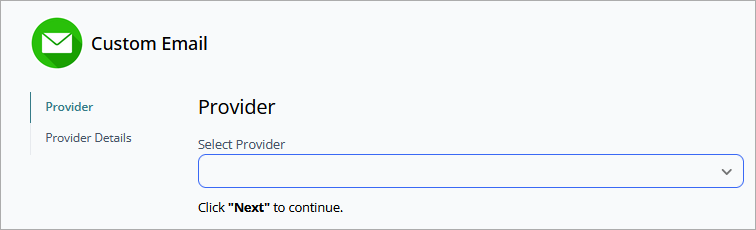
- Click Next.
- Enter the email address you want to use as the sender and the app password you copied previously.
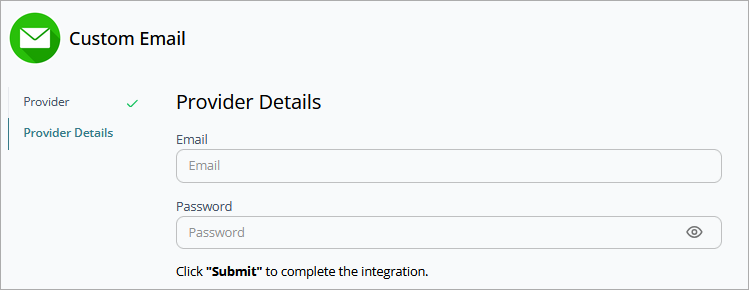
- Click Submit.
Add a Custom SMTP Email Provider
To set up an SMTP provider for your custom email, complete these steps:
- On the Integrations > Response & Automation page, in the Custom Email widget, click Add.
- Click Start Integration.
- (Service Providers) Select the organization you want to configure the integration for.
- From the Select Provider drop-down list, select SMTP Setup.
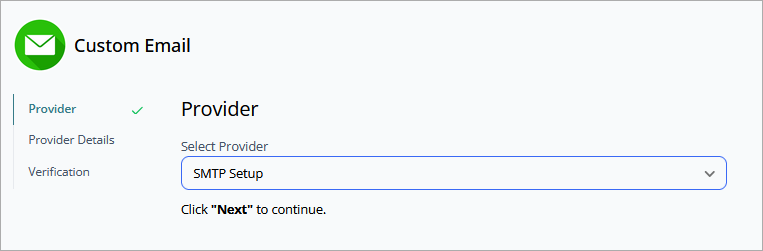
- Click Next.
- In the Email box, enter the sender email address.
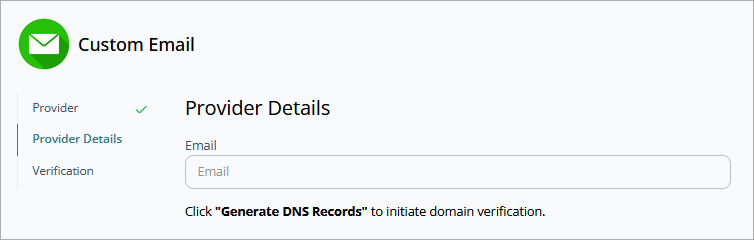
- Click Generate DNS Records.
This initiates domain verification. If DNS records are already added for the domain, click Next to proceed. Domain verification can take 24 hours to 48 hours to complete.
When CloudDR has successfully verified the domain, it generates DNS records (.TXT, .CNAME, .SPF). Add the generated DNS records to your DNS provider (for example, GoDaddy, Cloudflare, and Route 53). You can begin to use the custom email integration to schedule notifications.