You configure your WatchGuard Firebox to support RADIUS Single Sign-On (RSSO) for Aruba AP devices. This document describes the steps to integrate an Aruba AP device for RSSO with your WatchGuard Firebox.
Platform and Software
The hardware and software used to complete the steps outlined in this document include:
- WatchGuard Firebox
- Aruba IAP205 with version 6.4.2.3-4.1.2.1_49445
- FreeRADIUS version 2.1.10 on Ubuntu 12.04.1
Test Topology and Workflow
This diagram shows the test topology for this integration.

You can connect to either an Optional or Trusted interface.
Authentication workflow:
- A mobile device connects to the AP device with WPA/WPA2 enterprise authentication.
- User authenticates with credentials that exist on the RADIUS server.
- AP interacts with the RADIUS server to authenticate the user.
- Mobile device connects to the network.
- AP device sends accounting message to the Firebox. These messages include the user name and client IP address.
- The Firebox creates an SSO session for this user.
Set Up the Firebox
Log in to the Fireware Web UI to do the configuration steps described below.
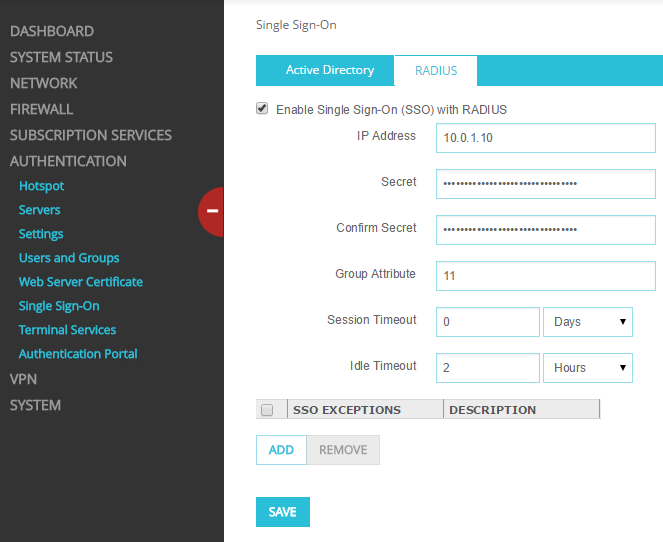
- Select Authentication > Single Sign-On > RADIUS.
- Select the Enable Single Sign-On (SSO) with RADIUS check box.
- In the IP Address text box, type the IP address of the RADIUS server.
- In the Secret and Confirm Secret text boxes, type the secret to use for messages to the RADIUS server.
- Do not change the other settings.
- Enable the DHCP server in the settings for the trusted interface, so that the Firebox can provide an IP address to the Aruba AP.
Set Up the Aruba AP
Log in to the Aruba AP Web UI to set up RADIUS authentication and accounting servers on the Aruba AP.
- Select Security at the right top of the home page.

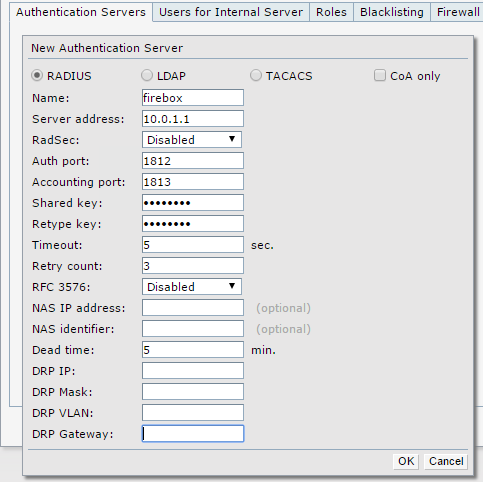
- On the Authentication Server page, add a new RADIUS server.
- Configure the RADIUS server with the settings shown below. The Server address is the IP address of the RADIUS server.

- From the Authentication Server page, add another new RADIUS server.
- Configure it with the settings shown below. The Server address must match the Firebox interface IP address.
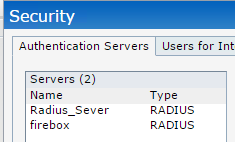
- After both servers are configured, you can see the two added servers in the Authentication Servers tab.
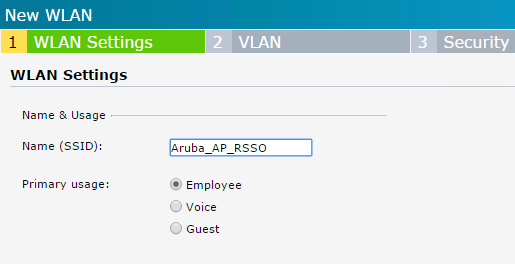
- Click New on the home page to add a new network.

- In the Name text box, type the wireless network SSID.
- Select the Primary usage for this network.
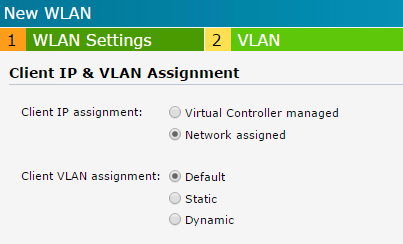
- Configure the Client IP assignment and Client VLAN assignment settings.
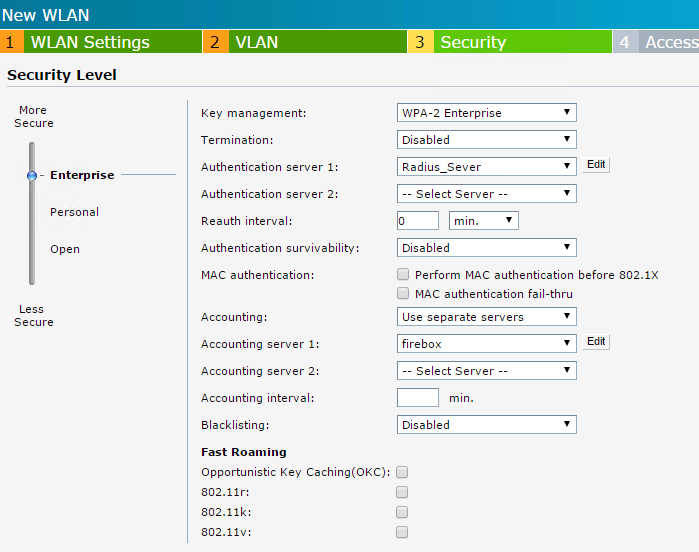
- Configure the Enterprise security level settings as shown below. Use the two authentication servers you configured earlier.
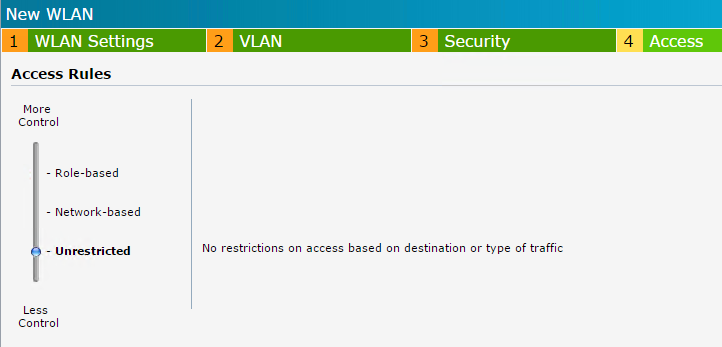
- Configure the Access Rules for this network.
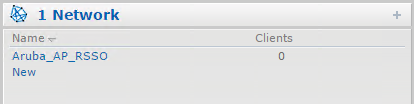
- After the network is added, it is shown in the list of networks.
Test the Integration
Use a phone or tablet to make a WiFi connection to the SSID you configured. In our example, this is SSID: Aruba_AP_RSSO. Once you are connected, specify the credentials of a user who exists on the RADIUS server.
For our integration example, we used these credentials:
- Username: admin
- Password: password
To verify that the user was automatically authenticated to the Firebox:
- Log in to Fireware Web UI.
- Select System Status > Authentication List.
The list of authenticated users appears.
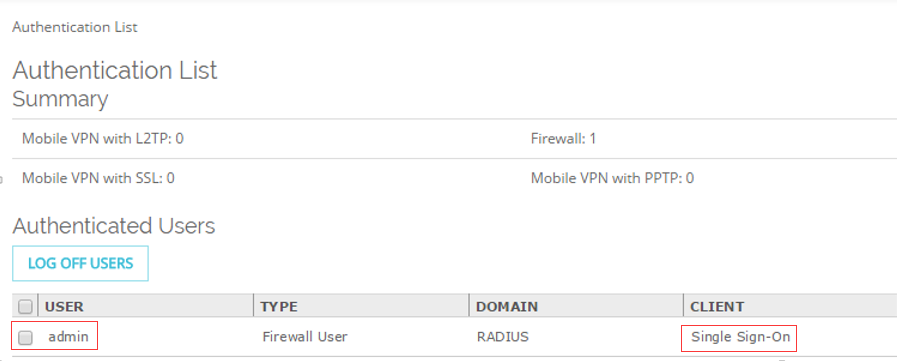
- Verify that the user name appears in the Authenticated Users list, with the Client listed as Single Sign-On.
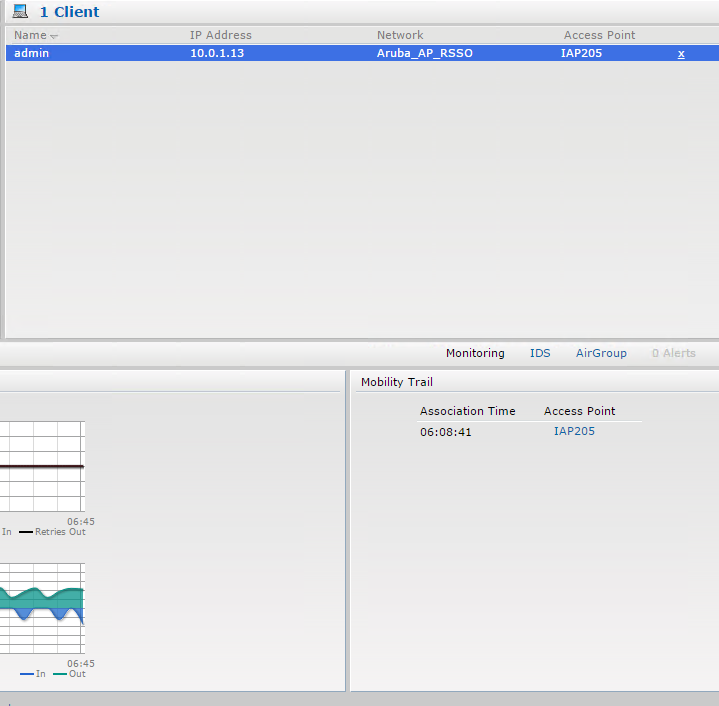
To see information about the authenticated user on the Aruba AP:
- Log in to the Aruba AP Web UI.
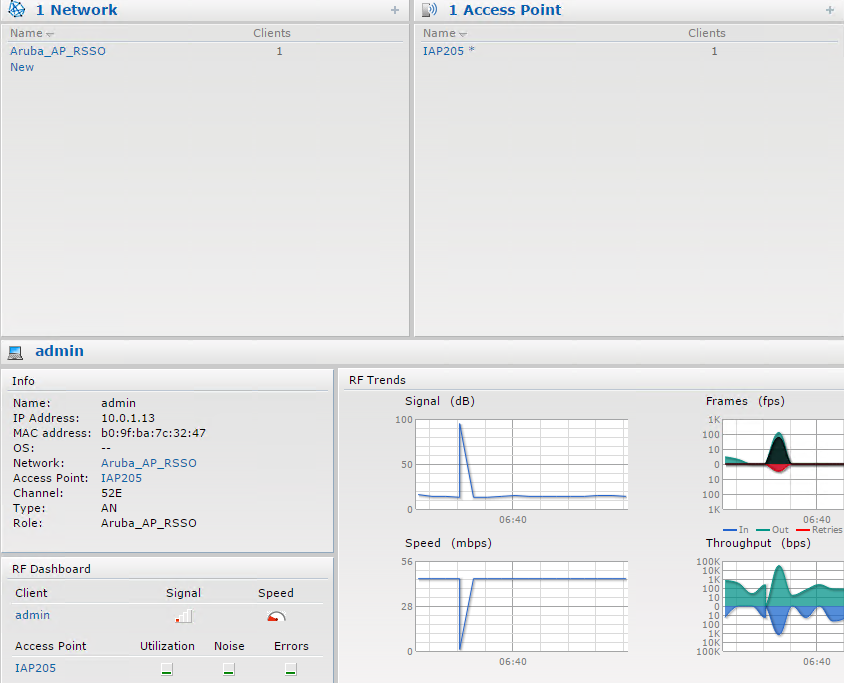
- Verify that the user name appears in the Client list.