NetWitness® is a security intelligence product that audits and monitors all traffic on a network. It creates a comprehensive log file of all network activities in a format that network engineers and non-engineers alike can quickly understand.
Platform and Software
The hardware and software used to complete the steps outlined in this document include:
- WatchGuard Firebox
- RSA SA ESI 10.6
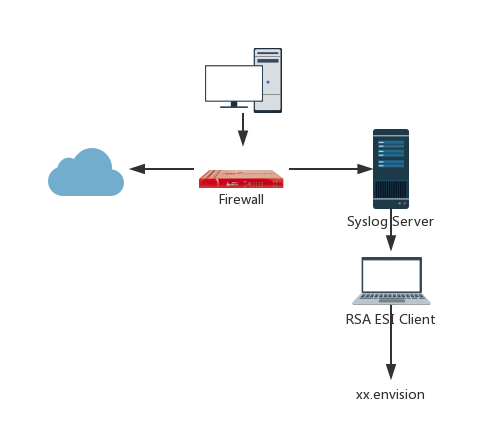
Test Topology
Configure WatchGuard Firebox
To configure your WatchGuard Firebox:
- Log in to Fireware Web UI (https://<your firebox IP address>:8080).
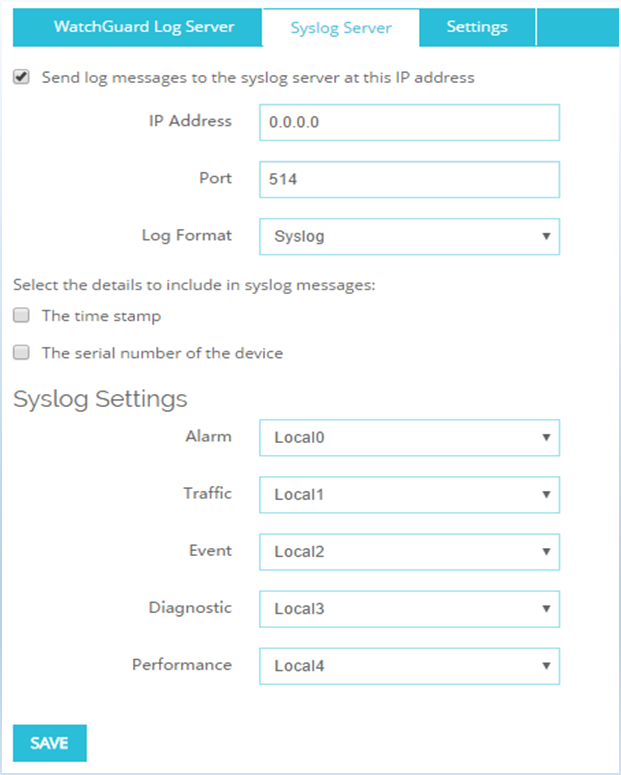
- Select System > Logging > Syslog Server.

- Select the Send log messages to the syslog server at this IP address check box.
- Type the IP Address and Port of your syslog server.
- From the Log Format drop-down list, select Syslog.
- Click Save.
Configure RSA ESI
After you configure the Firebox, the Firebox sends syslog messages to your syslog server. In RSA ESI, you can use the syslog file to define a new parser.
- Select New Parser.

- Type the Device name and specify the File location.
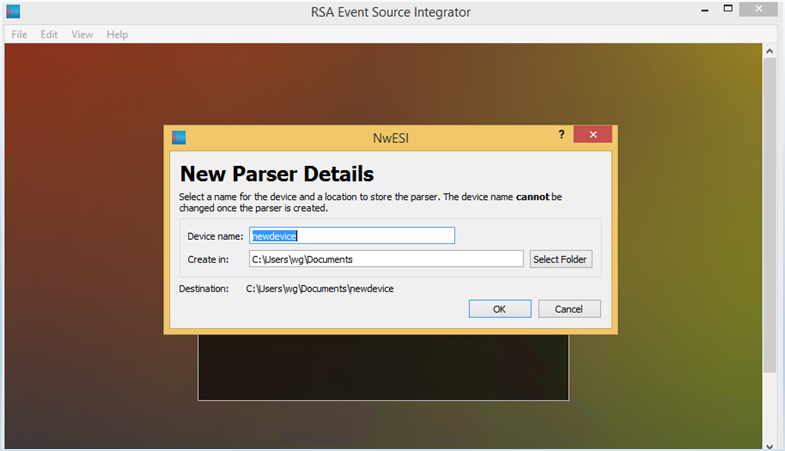
- Click OK.
- In the Device Type text box, type a device name.
- From the Device Class drop-down list, select Firewall.
- In the Display Name text box, type a display name.
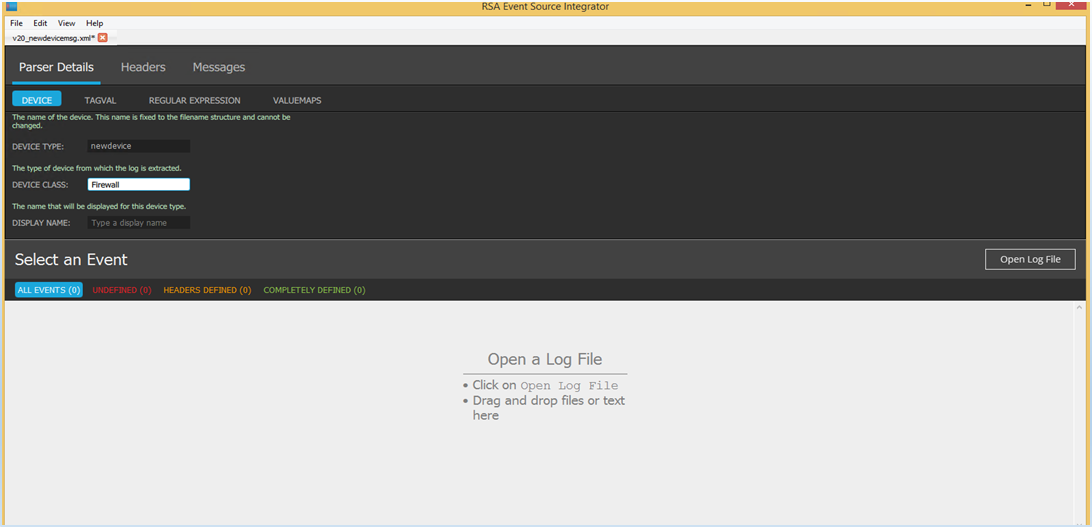
- Click Open Log File.
- Select your syslog file and click Open.
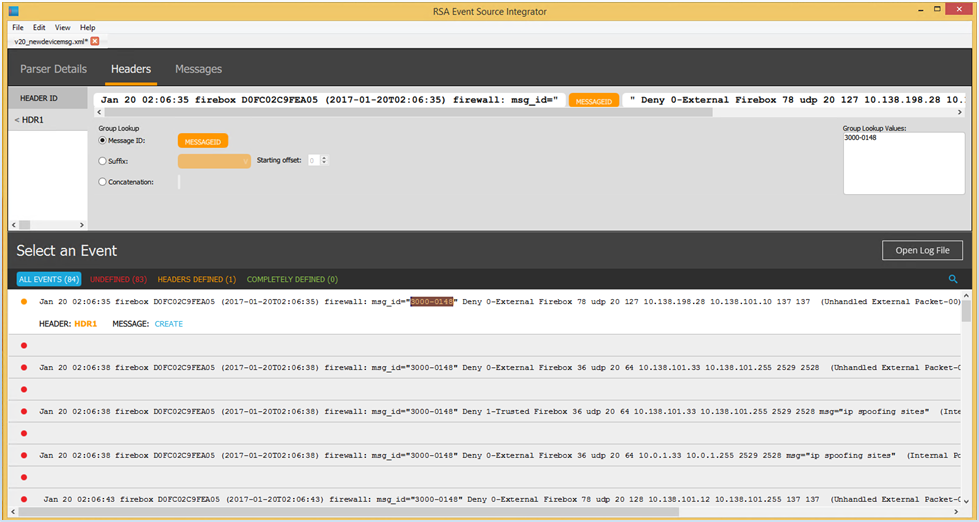
The content of the syslog file appears.

- In the first log message, select the message ID in msg_id="3000-0148" as shown below.

- Below the log message, click Create.
The log message appears in the Headers tab with the highlighted MESSAGEID.
- Select the date and time that appear before "firebox".
- Press Ctrl+K. Type HDATE.

- Select the time that appears in parentheses.
- Press Ctrl+K. Type HTIME.

- Delete the information that appears after the MESSAGEID. Press Enter.
- Click Headers Defined.
The log messages that match the defined header appear.

- Below the log message, click Create.
The message details appear in the Messages tab. - You can change the default name MSG1 to match the message ID. For this example, we changed it to 3000-0148.

- To define how to parse this message:
- Select “Deny” and press Ctrl+K. Type ACTION.
- Select “0-External” and press Ctrl+K. Type SINTERFACE.
- Select “Firebox” and press Ctrl+K. Type DINTERFACE.
- Select “udp” and press Ctrl+K. Type PROTOCOL.
- Select the first IP address and press Ctrl+K. Type SADDR.
- Select the second IP address and press Ctrl+K. Type DADDR.
- Select the first port and press Ctrl+K. Type SPORT.
- Select the second port and press Ctrl+K. Type DPORT.
- Select “Unhandled External Packet-00” and press Ctrl+K. Type RULENAME.

- There are three additional parameters to define. In our example, we label these FLD, FLD1, FLD2.
- Select the first field and press Ctrl+K. Type FLD.
- Select the second field and press Ctrl+K. Type FLD1.
- Select the third field and press Ctrl+K. Type FLD2.
- From the Event Category drop-down list, select Network.Denied Connections.

- Select File > Export Parser.
- Specify a file name. Click Save.
