This document describes how to configure a WatchGuard Firebox to send log data to Sentinel® Enterprise and monitor events with Sentinel Enterprise.
Test Topology
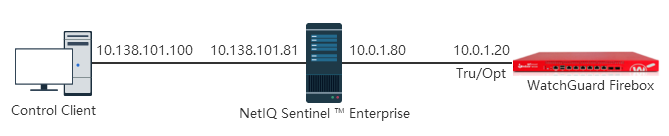
This diagram shows the test topology for this integration.
Platform and Software
The hardware and software used to complete the steps outlined in this document include:
- Firebox device
- NetIQ Sentinel Enterprise version 8.0.0.0
- Sentinel Plugin of WatchGuard Firewall version 2011.1r1
- Java 8
Configuration
To complete this integration, you must have:
- WatchGuard Firebox
- NetIQ Sentinel™ Enterprise
- Sentinel Plugin of WatchGuard Firewalls
Configure NetIQ Sentinel Enterprise
To Configure NetIQ Sentinel Enterprise:
- Log in to Sentinel Web Console interface (https://<IP_Address/DNS_Sentinel_server:8443>).
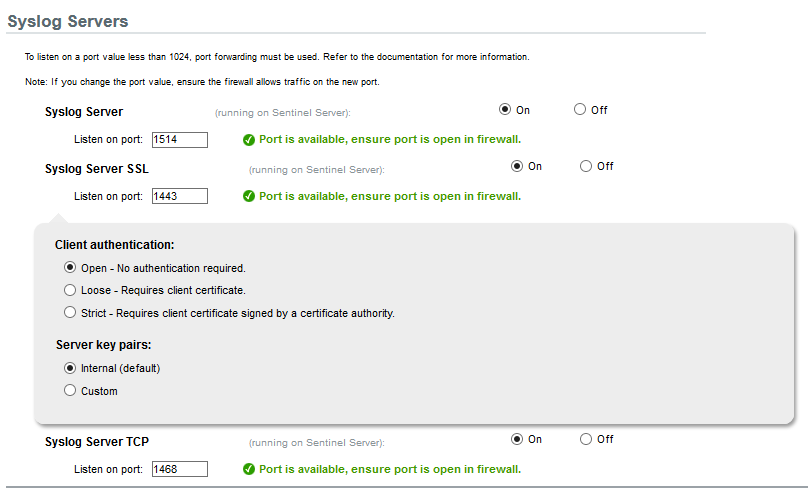
- Select Collection > Event Source Servers.

- Confirm that the Syslog Servers are on, the Syslog Server UDP port is available, and that the port number is 1514 (default setting).
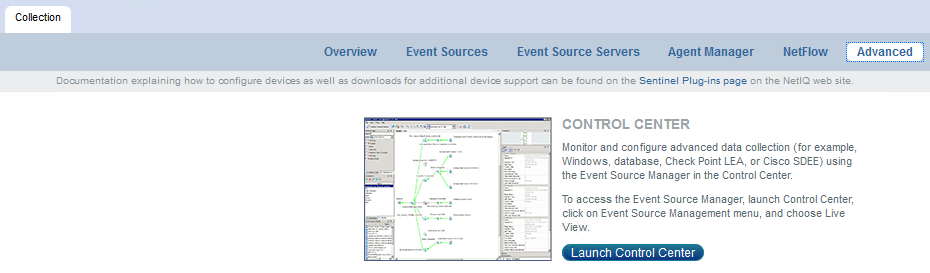
- Select Collection > Advanced.
- Click Launch Control Center.
The Sentinel Control Center appears.
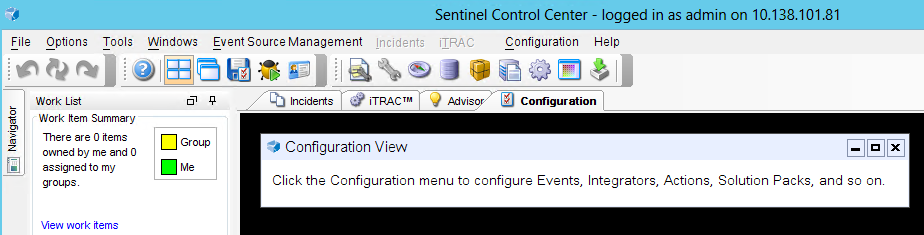
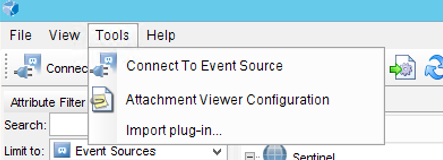
- Select Event Source Management > Live View.
The Event Source Management Center appears. - Select Tools > Import plug-in.
The Import Plug-in Wizard appears.
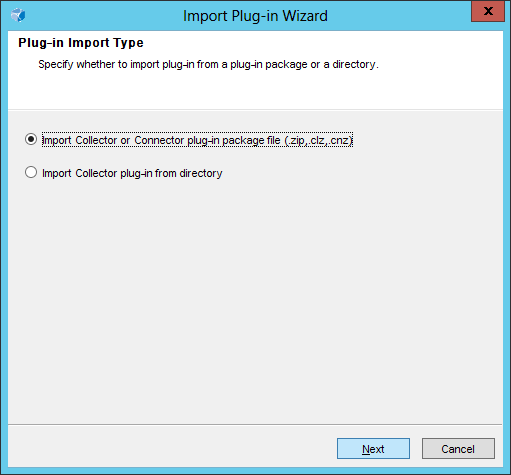
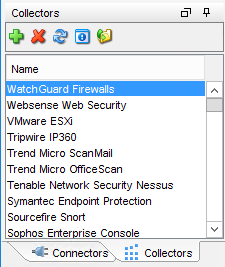
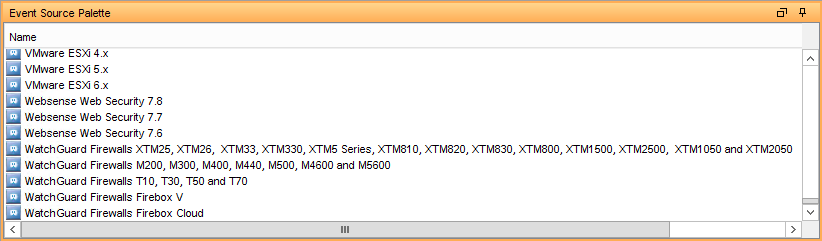
- Click Next to complete the plug-in import. The WatchGuard Firewalls plug-in is listed in the Collectors tab and in Event Source Palette.
Configure Firebox to Send Syslog Messages to Sentinel Server
- Log in to Firebox Web UI at https://<IP address of Firebox>:8080.
- Select System > Logging.
- Select the Syslog Server tab.
- Select the Send log messages to the syslog server at this IP address check box.
- In the IP Address text box, type the Sentinel Enterprise IP address. In our example, that IP address is 10.0.1.80.
- In the Port text box, type the port configured in Sentinel to receive syslog sourced messages.
- From the Log Format drop-down list, select Syslog.
- The other settings are optional. In this example we enabled the time stamp and the serial number of the device.
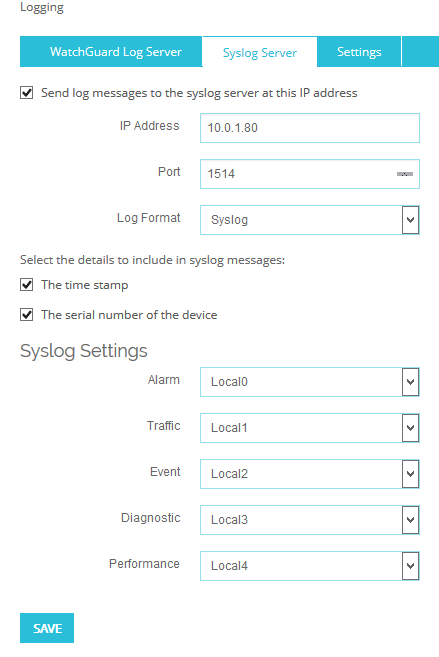
- Click Save.
Configure Java 8
You must install Java 8 for the Sentinel Web Console interface.
Test the Integration
- Log in to Sentinel Web Console interface (https://<IP_Address/DNS_Sentinel_server:8443>)
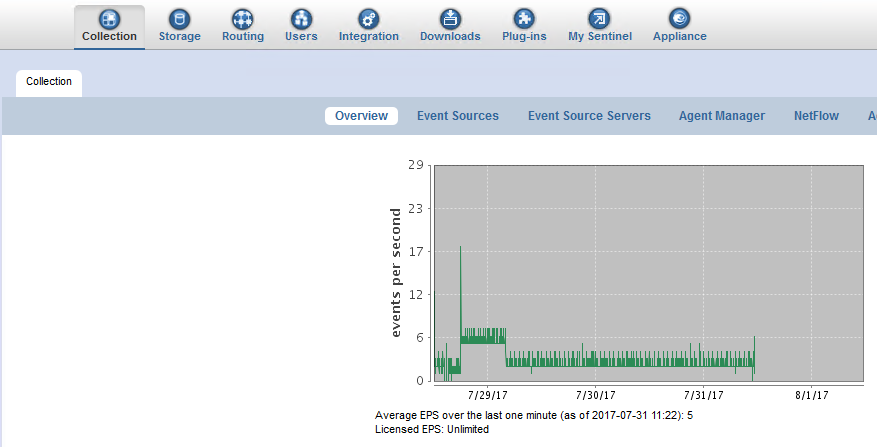
- Select Collection > Overview to display events.
- Select Event Sources.
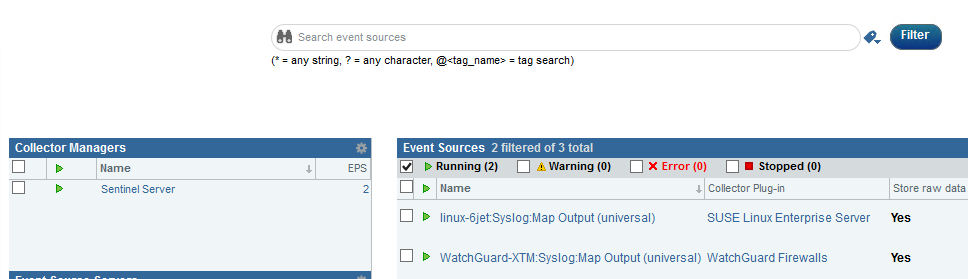
- Select the Advanced tab.
- Click Launch Control Center.
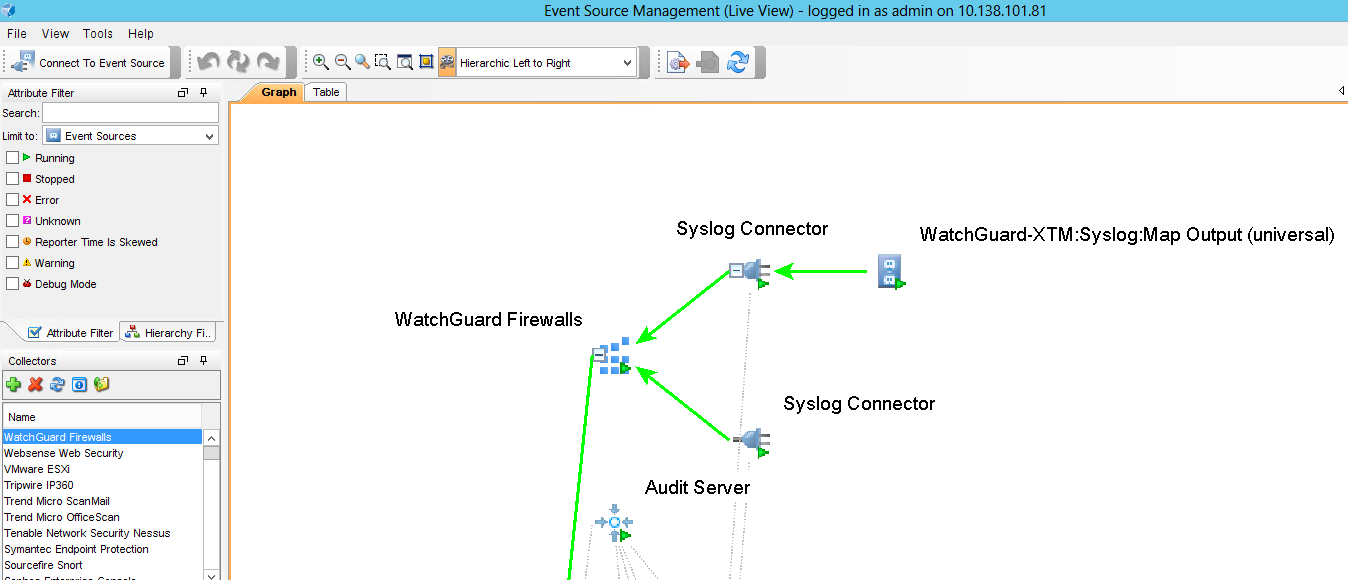
- Select Event Source Management > Live View.
The Event Source Management Center appears.
- Select the Table tab.
- Select Sentinel > Sentinel Server > Syslog Connector.
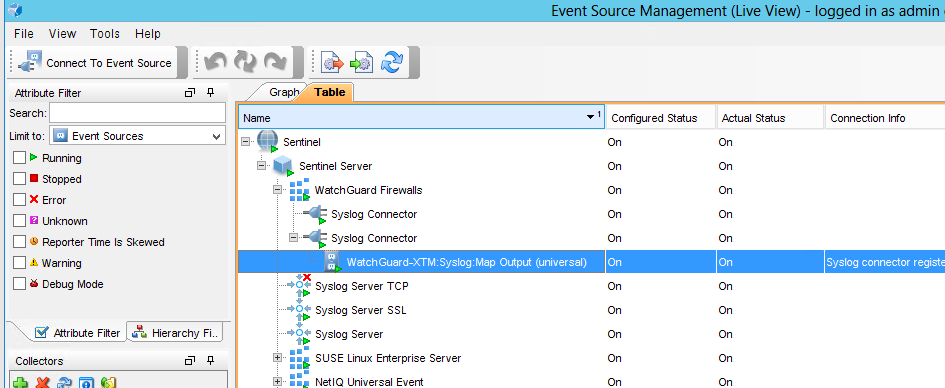
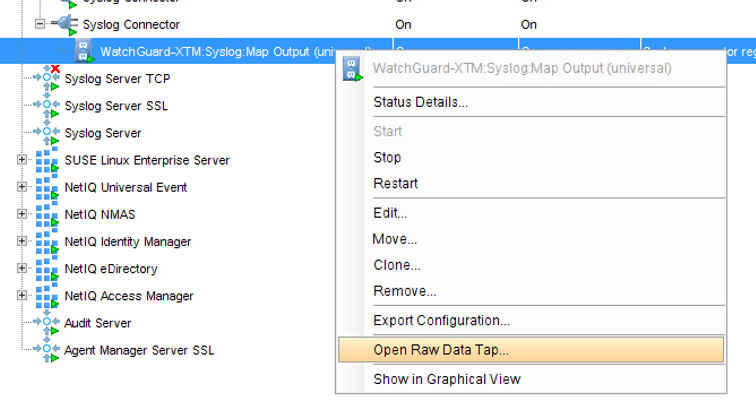
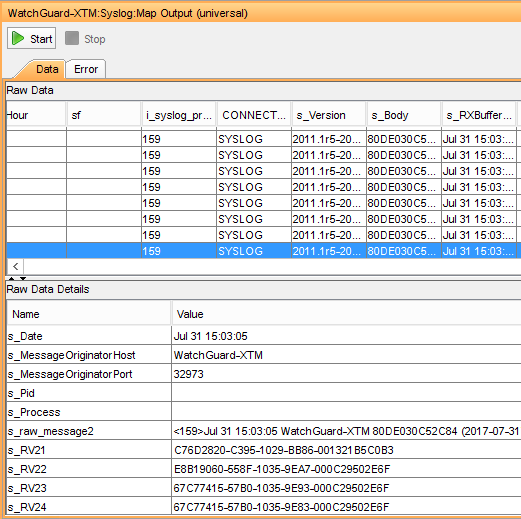
- Right-click WatchGuard-XTM:Syslog:Map OutPut (universal) and select Open Raw Data Tap.
Raw Data Tap displays syslog details.
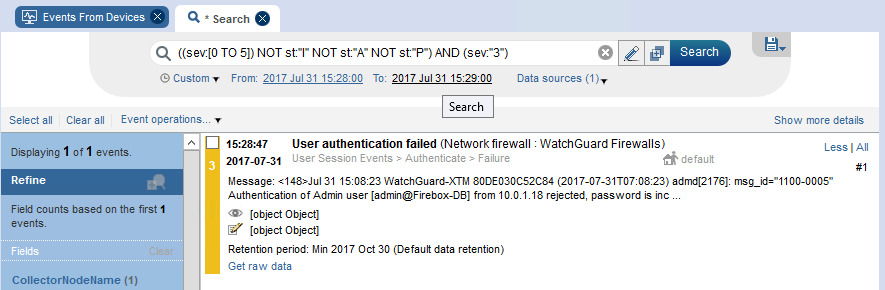
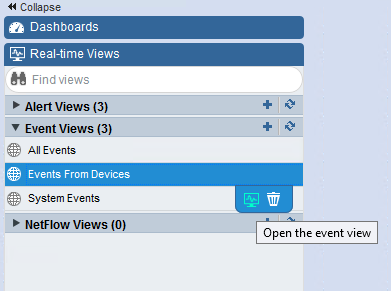
- In the Sentinel Web Console, select Real-time Views > Events From Devices.
The event view summary appears.
- Click on one summary in a time range.
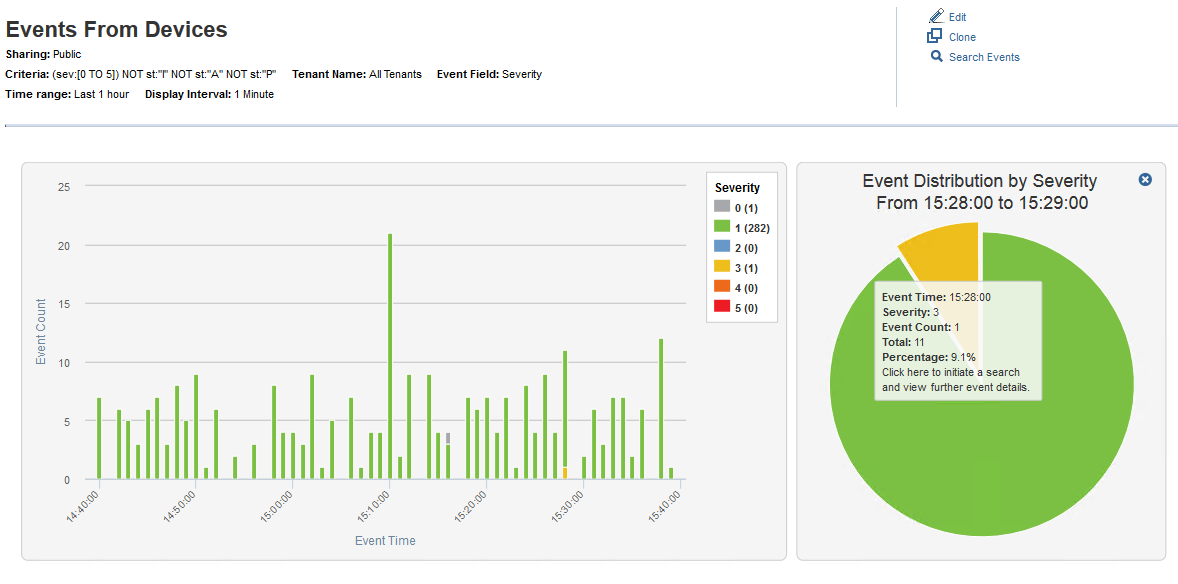
- Click the sector diagram for details.