This document describes the steps to integrate the CloudMask browser plug-in to protect Gmail and Google Drive content with your WatchGuard Firebox.
Platform and Software
The hardware and software used to complete the integration steps outlined in this document include:
- WatchGuard Firebox installed with Fireware v12.5
- Client computer installed with Windows 10 (64-bit)
- CloudMask v2.0.985
- Chrome v75.0.3770.142 (Official Build) (64-bit)
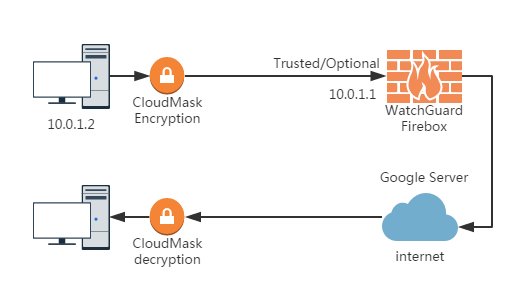
Test Topology and Workflow
This diagram shows an overview of the setup for CloudMask. You can use either a trusted or optional interface on your Firebox for this integration.
Set Up the Firebox
To integrate CloudMask with your Firebox, complete these steps in the Fireware Web UI:
- Create a proxy action
- Add a proxy policy
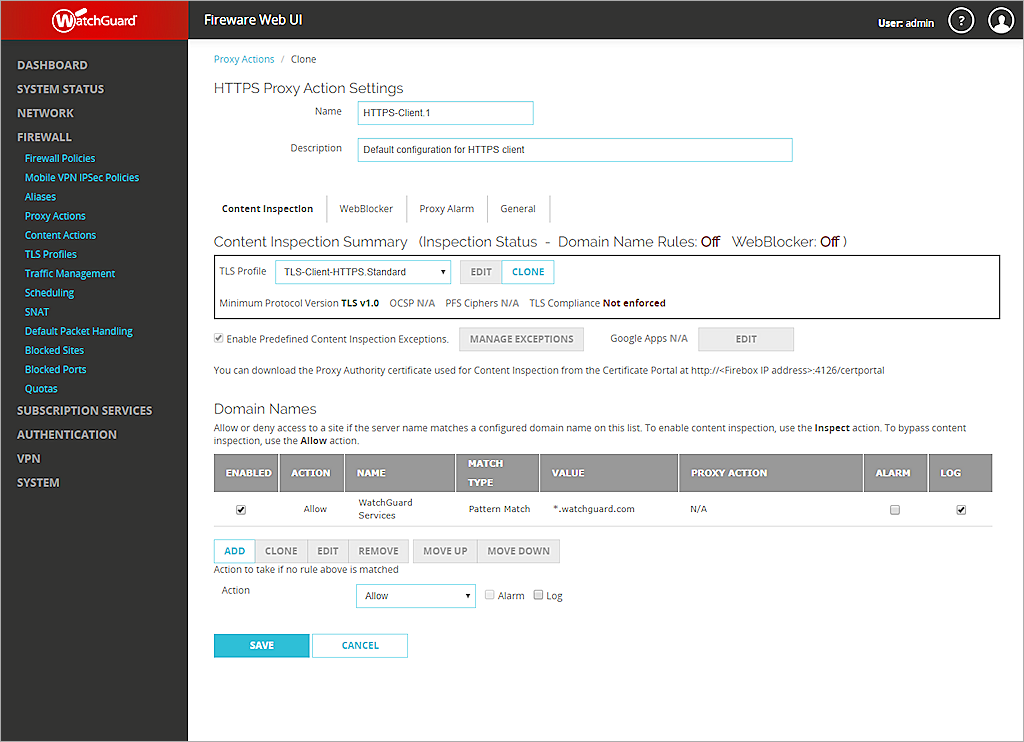
To create a proxy action:
- Select Firewall > Proxy Actions.
- Select a predefined HTTPS-Client proxy action to clone. Click Clone.
- In the Name box, type a new name for the proxy action.
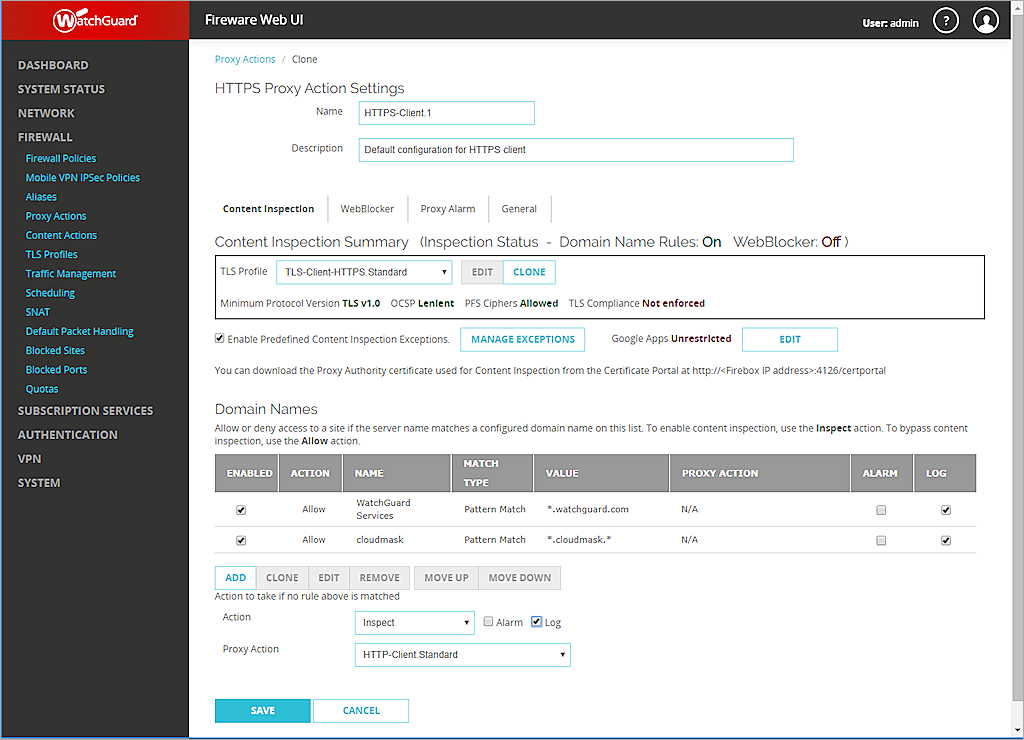
In this example, the new proxy action is HTTPS-Client.1. - Select the Content Inspection tab.
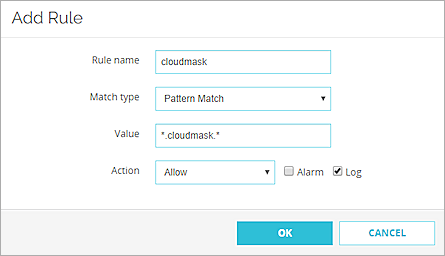
- In the Domain Names section, click Add.
The Add Rule dialog box appears.
- In the Rule name text box, type the object name.
In this example, the name is cloudmask. - In the Value text box, type *.cloudmask.*.
- Keep all other settings as the default values.
- Click OK.
- From the Action drop-down list, select Inspect.
- Select the Log check box.
- Click Save.
To add a proxy policy:
- Select Firewall > Firewall Policies.
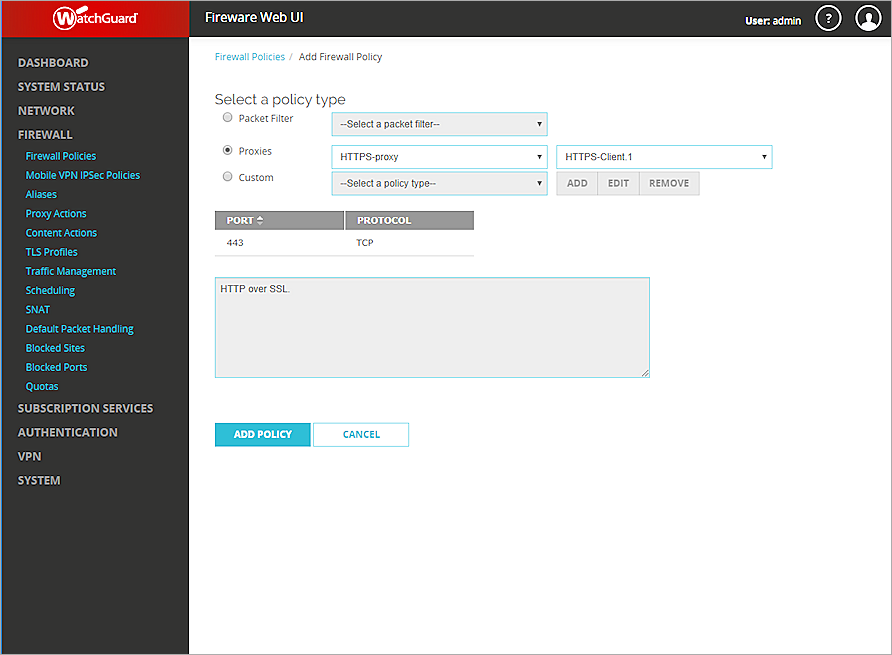
- Click Add Policy.
- Select the Proxies option and, from the Select a proxy drop-down list, select HTTPS-proxy.
- From the Select a Proxy action drop-down list, select the proxy action you created in the previous procedure.
In this example, the proxy action is HTTPS-Client.1. - Click Add Policy.
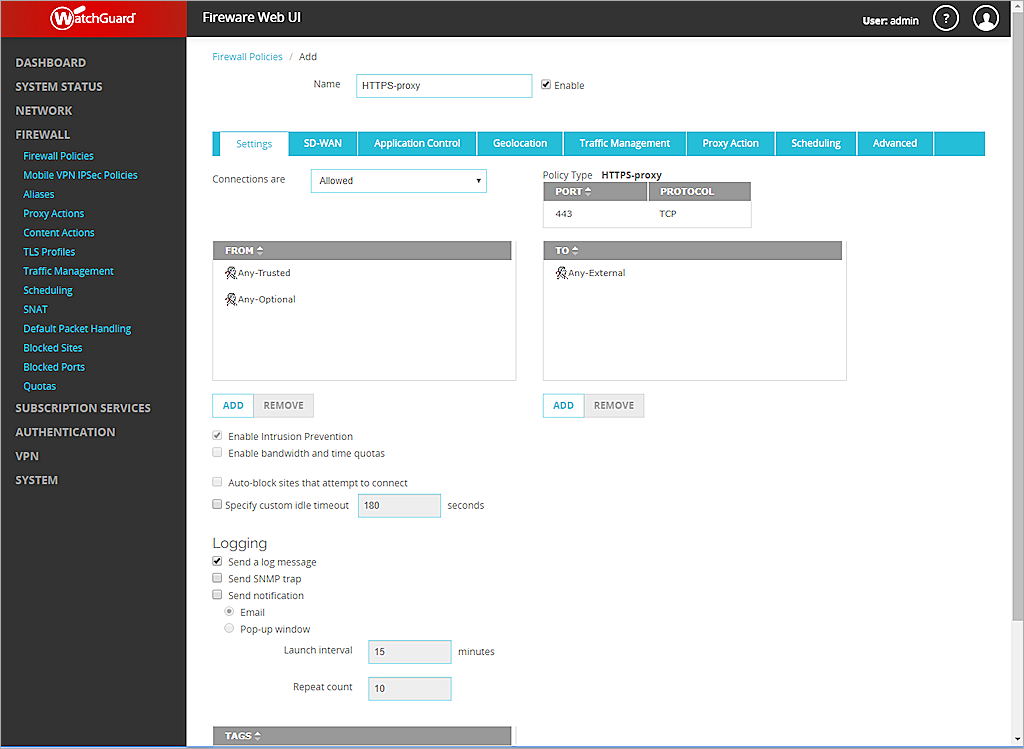
- From the Connections are drop-down list, select Allowed.
- Configure the HTTPS-proxy policy to allow traffic from Any-Trusted and Any-Optional to Any-External.
- Click Save.
Install CloudMask
Install CloudMask in your Chrome browser. When the installation is successful, you see the CloudMask icon  in the browser extensions list.
Test the Integration
To test the integration with Gmail:
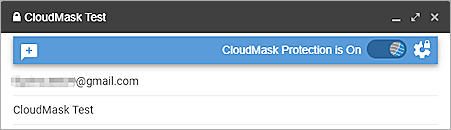
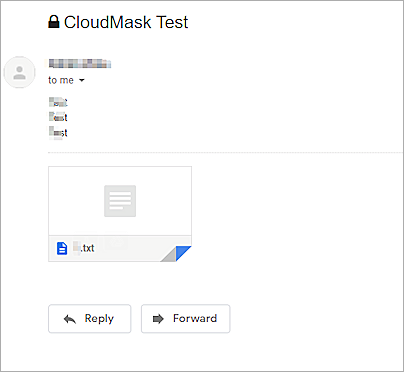
- With CloudMask protection enabled, use Gmail to send an encrypted email with an attachment.
- With CloudMask protection enabled, use Gmail to open an encrypted email. Make sure that it opens correctly and the attachment is still attached.
- Download the attachment and make sure that it displays correctly.
- With CloudMask protection disabled, use Gmail to open an email with an encrypted attachment.
- Download the attachment and make sure that it does not open correctly.

To test the integration with Google Drive:
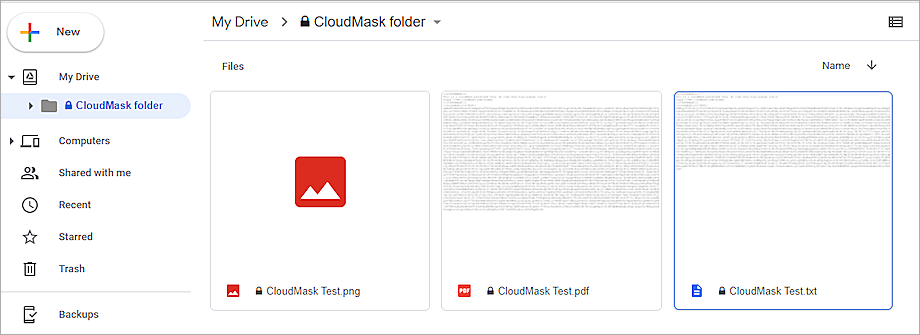
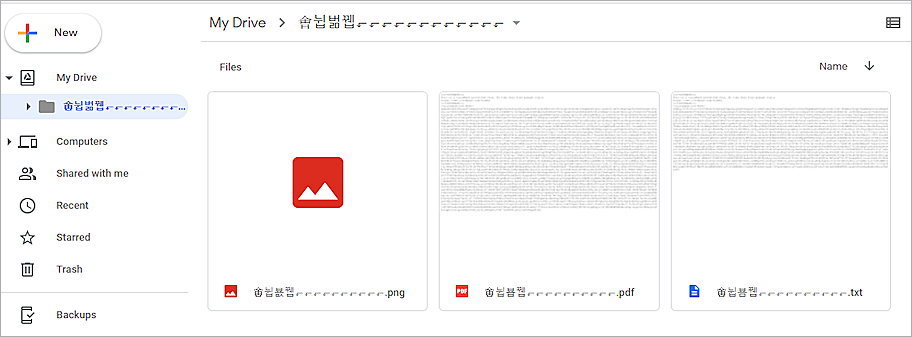
- With CloudMask protection enabled, open Google Drive and make sure that you can successfully update and save files.
- With CloudMask protection disabled, open Google Drive and make sure that files you updated do not display correctly.
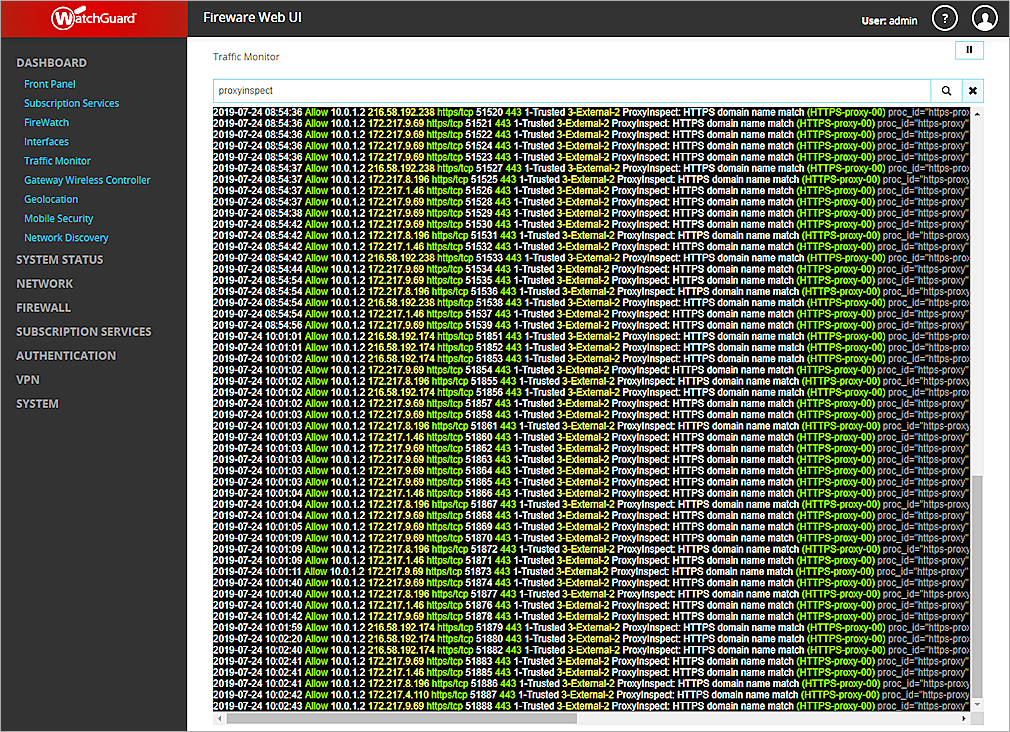
To confirm the content inspection rules are applied:
- From Fireware Web UI, select Dashboard > Traffic Monitor.
- Confirm that log messages similar to the ones in this image are visible.