Deployment Overview
SolarWinds Network Performance Monitor (NPM) provides hardware health overviews for your monitored devices. You can quickly view the current node count, filter by device status (Up, Warning, Critical, and Undefined), and drill down to find unavailable or offline nodes.
Before you start monitoring, you must discover network devices. SolarWinds NPM includes an SNMP-based device scanner that regularly runs network discoveries and creates a comprehensive inventory.
This document describes how to use SolarWinds to discover and monitor Wi-Fi in WatchGuard Cloud access points.
Platform and Software
The hardware and software used to complete the steps outlined in this document include:
- SolarWinds Orion Network Performance Monitor
- Wi-Fi in WatchGuard Cloud access point with firmware v1.1.24 or higher
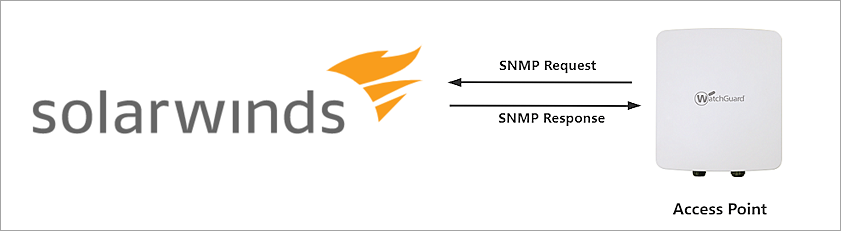
Test Topology
This diagram outlines the topology used for the SolarWinds and Wi-Fi in WatchGuard Cloud access points integration.
Before You Begin
Before you begin, make sure that:
- SolarWinds Orion installer is deployed on a Windows Server computer (additional charges might apply for the use of SolarWinds)
- The SolarWinds Orion installer must be installed somewhere on your network that has Internet access and can connect to your access point
- The access point is activated with a WatchGuard USP Wi-Fi Management license and registered with WatchGuard Cloud
Configure SNMP for Access Points
Before you can use SolarWinds to discover a WatchGuard access point, you must configure the SNMP settings for the device.
For more information about how to configure SNMP for your access points in WatchGuard Cloud and view the details of the SNMP MIB file, see Configure SNMP for Access Points.
- Log in to WatchGuard Cloud with the account that manages the access point.
- Select Configure > Devices.
- In the device list, select the access point.
The Device Settings page opens.
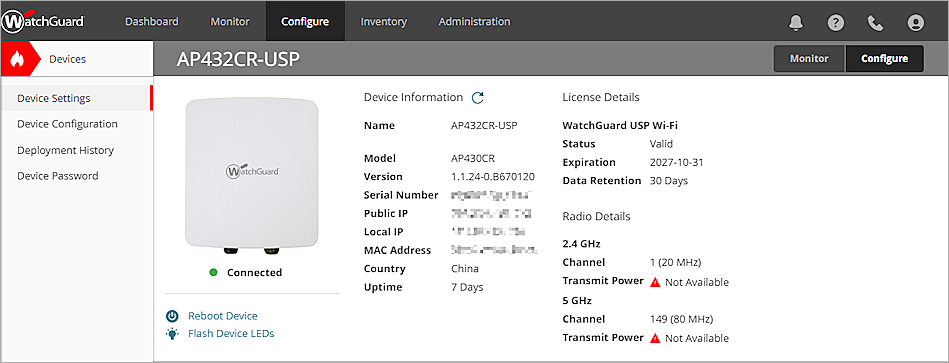
- Select Device Configuration.
- In the Settings tile, select Advanced Settings.
- Enable SNMP.
- From the Version drop-down list, select v1/v2.
- In the Read-Only Community String text box, type the community string. In this example, we use public which is the default community string for SolarWinds.
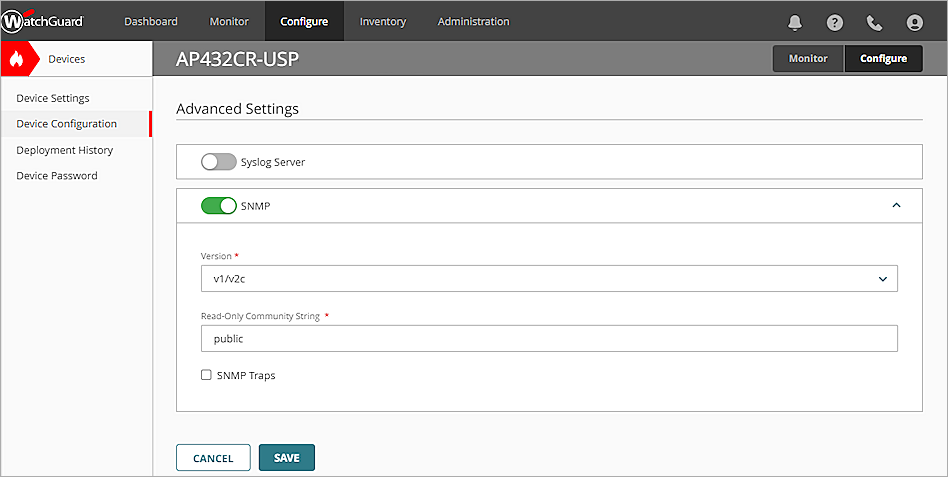
- Click Save.
Configure Network Discovery in SolarWinds
After you configure the access point, you must configure Network Discovery in SolarWinds.
- Log in to the SolarWinds Orion web console with your admin account.
- Select Settings > Network Discovery.
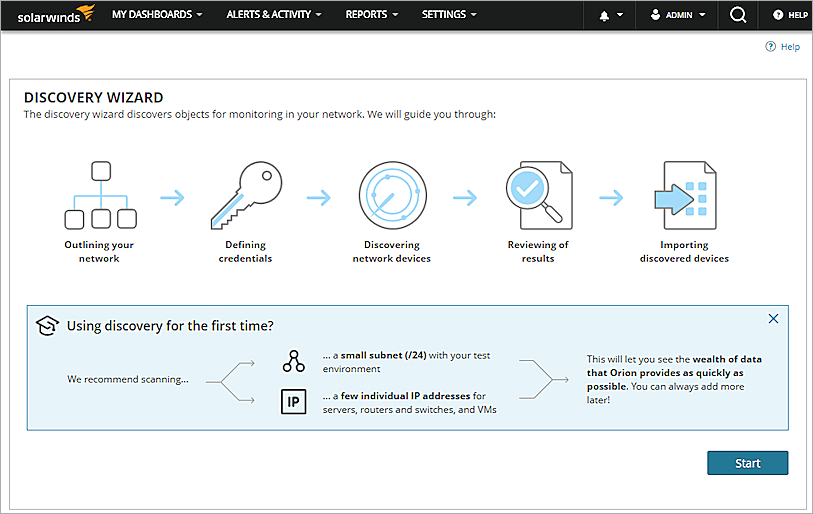
- Click Start.
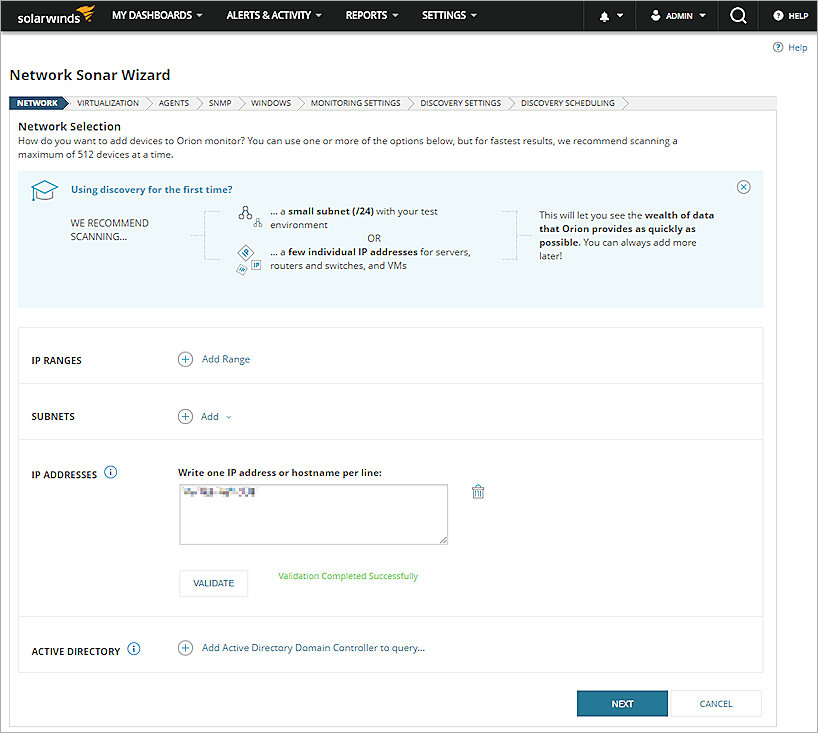
- In the IP Address option, type the IP address of the access point.
You can also use other options to add the access point. For more information, see Discover your network for the SolarWinds Platform with the Discovery Wizard.
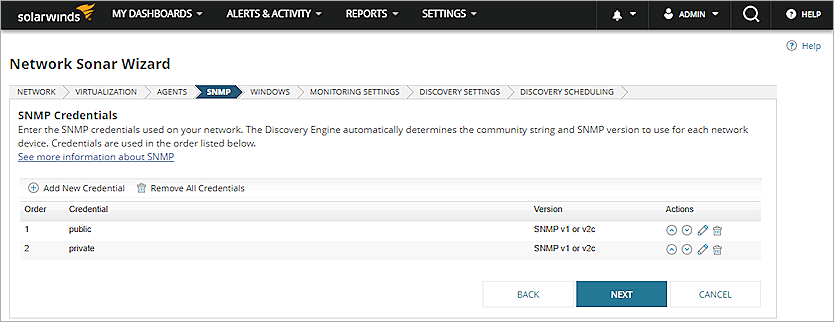
- Click Next until the SNMP page appears.
- Configure the SNMP credentials for your device.
The SNMP credentials must be the same as you configured in the access point SNMP configuration. In this example, we use the default values.
- Click Next for the subsequent steps until the Discovery Scheduling page appears.
- Click Discover.
The discovery process begins.

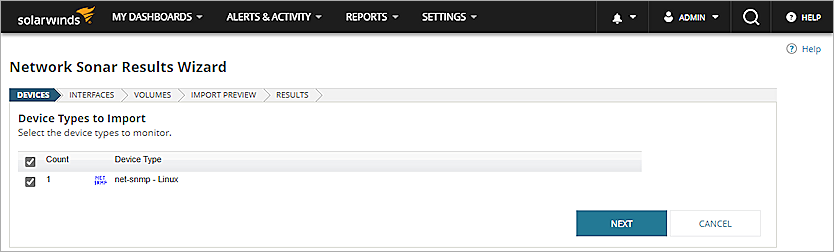
- Click Next to view the Interfaces discovery results.
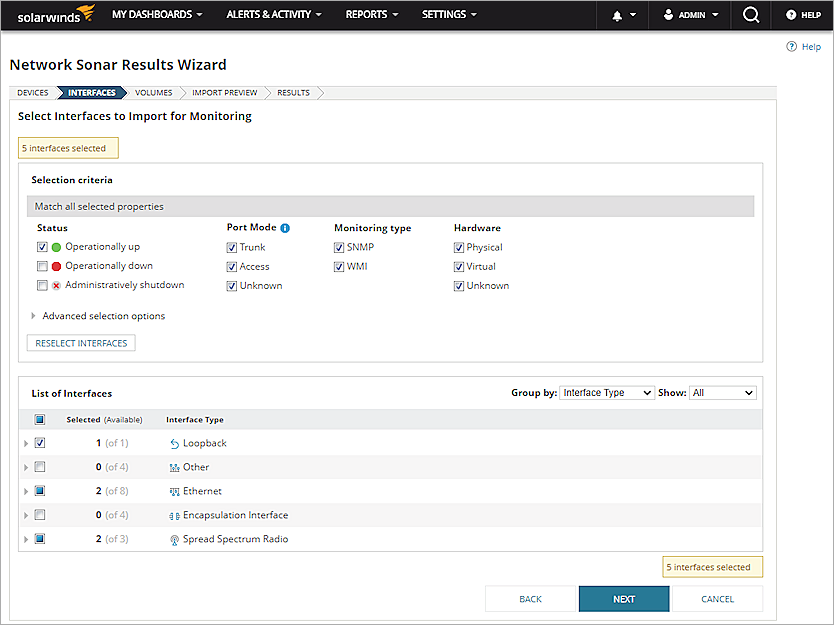
- Click Next to view the Volumes discovery results.
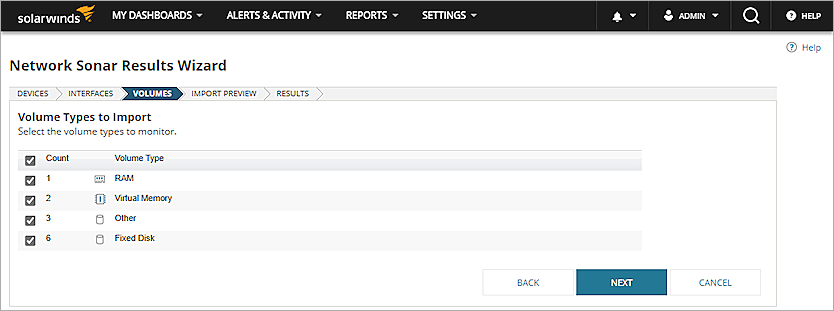
- Make sure you select the volume types you want to monitor, then click Next.
- Click Import.
- Click Finish to import the devices.
- Select Settings > Manage Nodes.
- From the Group by drop-down list, select Vendor, then click net-snmp.
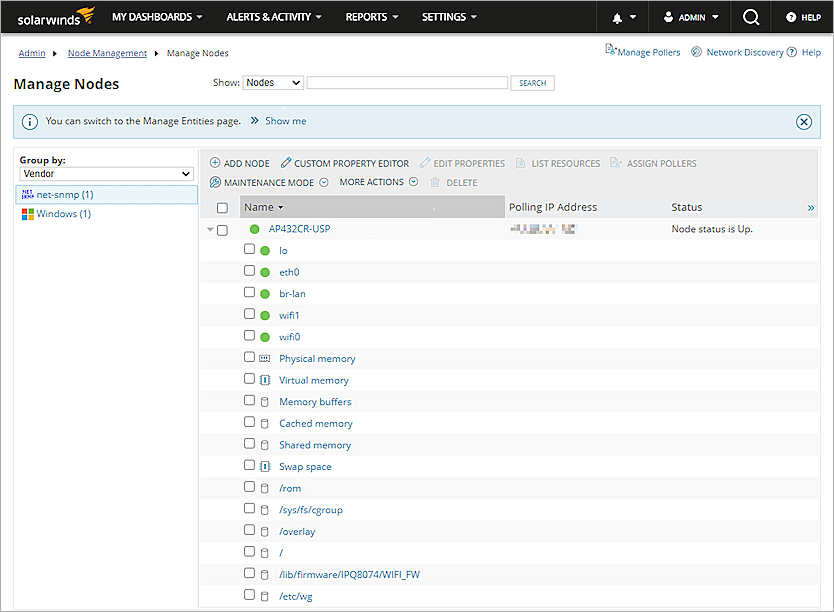
- Select the node, then click List Resources.
- In the Status & Response Time section, select SNMP.
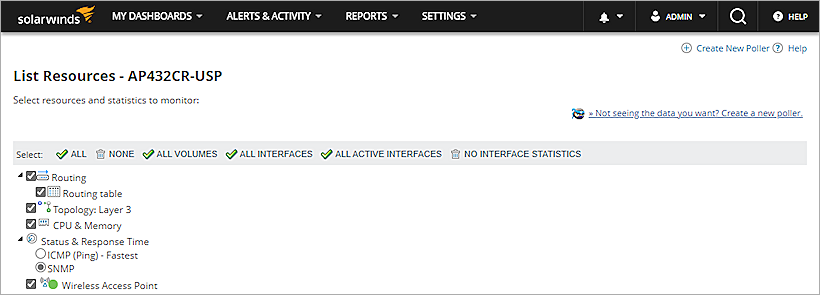
- Click Submit.
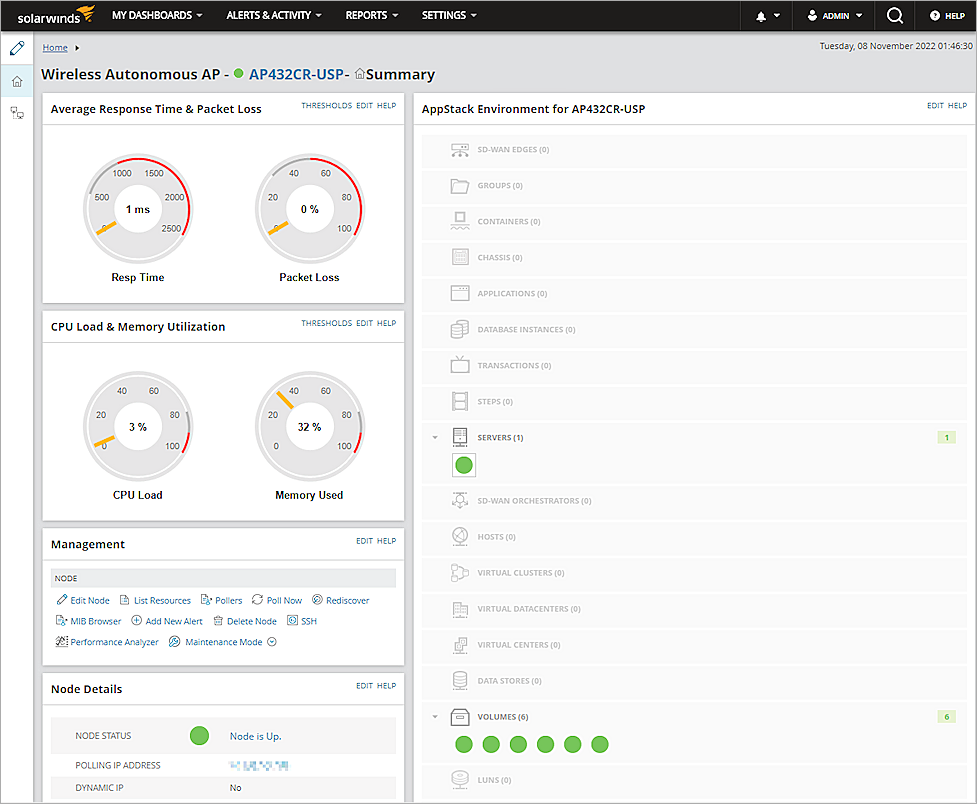
Test the Integration
To test the integration, in SolarWinds:
- Select Settings > Manage Nodes.
- From the Group by drop-down list, select Vendor, then click net-snmp.
- Select the node to see the access point details.