Google Workspace is a suite of business productivity and collaboration tools based on Google Identities (Google Accounts). Google Workspace includes the functionality provided by Cloud Identity for user management. Google Accounts provides access to Google products and services, including Google Cloud.
Both Google Workspace and Google Cloud Identity support SAML 2.0 protocols, in this example, we use Google Workspace to serve as the identity provider. If you are not using Google Workspace, Cloud Identity is available as a standalone product that can be used as an identity provider.
This document describes how to set up multi-factor authentication (MFA) for FireCloud with Google Workspace as an identity provider.
Contents
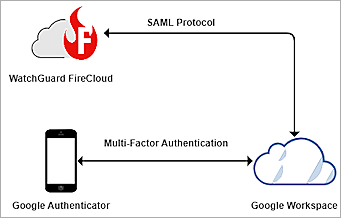
WatchGuard FireCloud Authentication Data Flow with Google Workspace
Google Workspace communicates with various cloud-based services and service providers with the SAML protocol. This diagram shows the data flow of an MFA transaction for WatchGuard FireCloud.
Before You Begin
Before you begin these procedures, make sure that:
- You have a Google Workspace Super Admin account.
- You have a WatchGuard Cloud account.
- You have created a user in Google Workspace and a token is assigned to the user in Google Authenticator.
Additional charges might apply to use Google Workspace.
Configure Google Workspace
Complete the steps in this section to configure Google Workspace as your FireCloud identity provider.
Create a Group in Google Workspace
- Log in to the Google Admin Console with your super admin account.
- Select Directory > Groups > Create group.
The Group information page opens. - Enter a Group name and Group email.
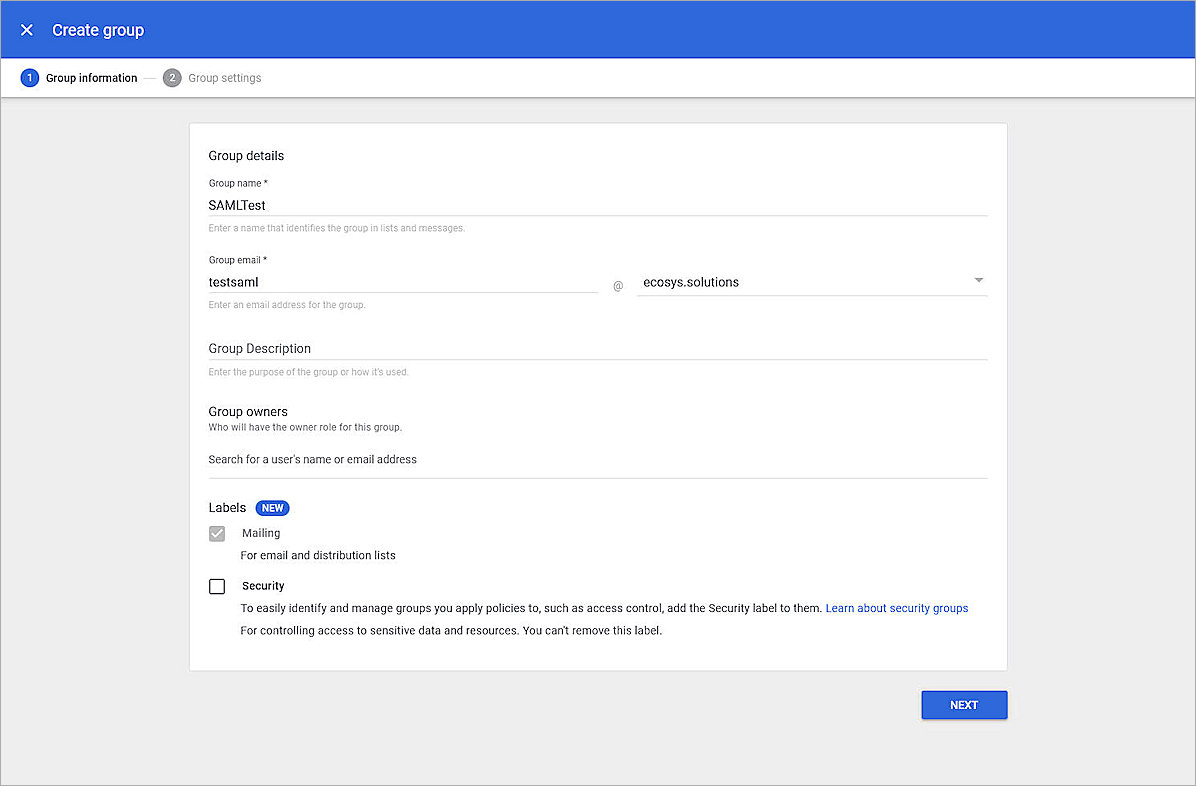
- Click Next.
The Group settings page opens.
- In the Access type section, select one of the available access types. In our example, we use the default Public access type.
- Leave the default value for all other fields.
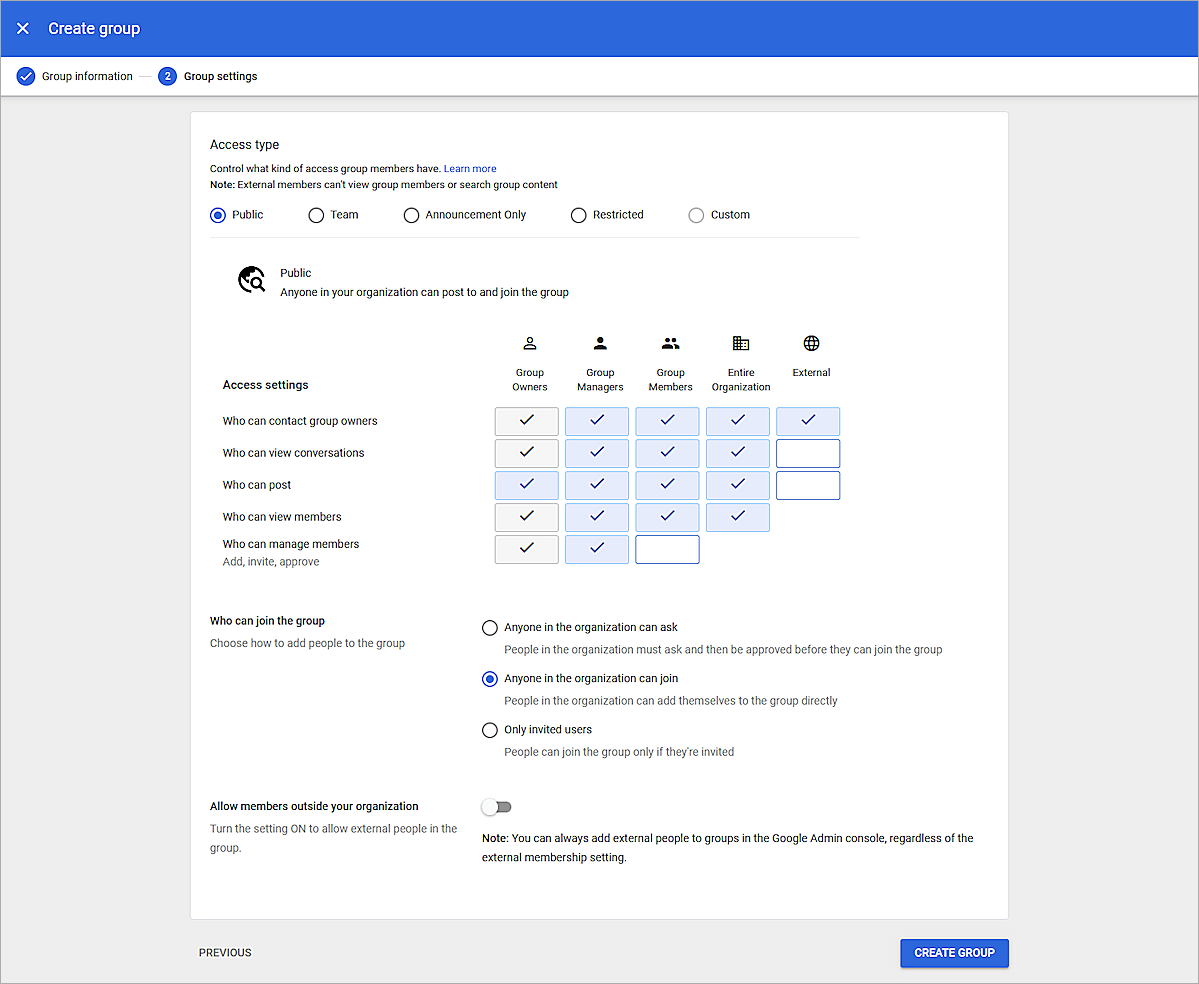
- Click Create Group.
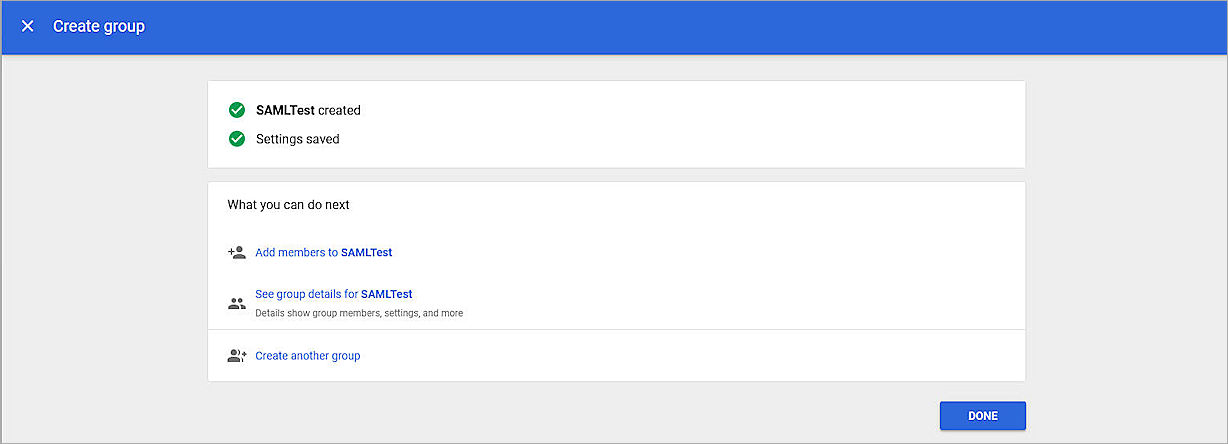
- Click Add members to Group name.
- Click Add members.
- Enter the email address of the users that you want to add to this group.
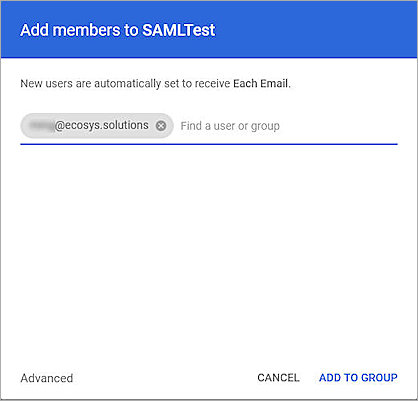
- Click Add To Group.
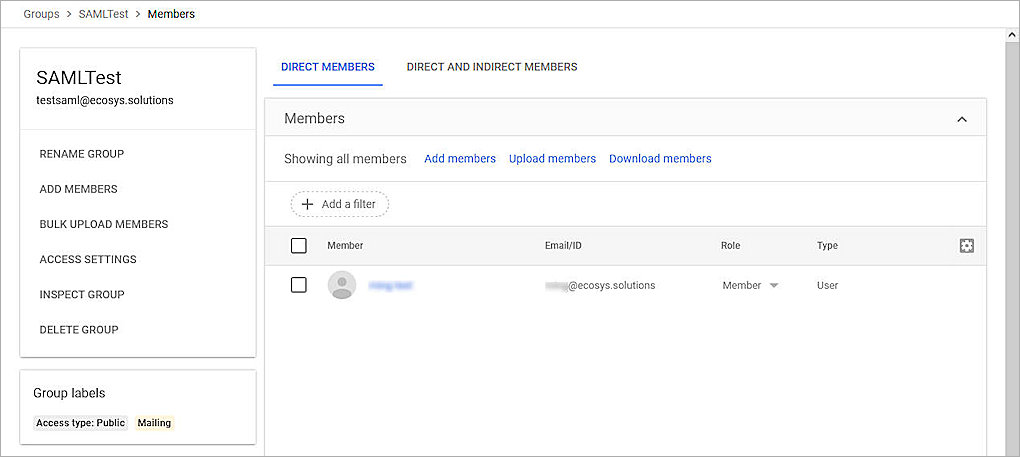
It might take some time for the changes to reflect. You can refresh your browser window to see the results.
Enable 2-Step Verification in Google Workspace
Before you configure the 2-Step Verification policy for your group, make sure users in that group are enrolled in 2-step verification. Users who do not have second steps sign-in options will not be able to sign in to their accounts when 2-step verification enforcement is enabled for their group.
For information on how to enable 2-step verification for your Google account, go to Turn on 2-Step Verification in the Google documentation.
- Log in to the Google Admin Console with your super admin account.
- Select Security > Authentication > 2-Step verification.
The 2-Step Verification page opens. - In the Security Settings section, click
 to expand the Groups, search, and then select the group you created in the previous section.
The Apply policies to security groups window opens.
- Click Close.
- In the 2-Step Verification section, select the Allow users to turn on 2-Step Verification check box.
- For Enforcement, select On.
- Leave the default value for all other fields.

- Scroll down to the bottom of the page and click Save.
Configure Google Workspace as a SAML Identity Provider
To configure Google Workspace as a SAML identity provider:
- Log in to the Google Admin Console with your super admin account.
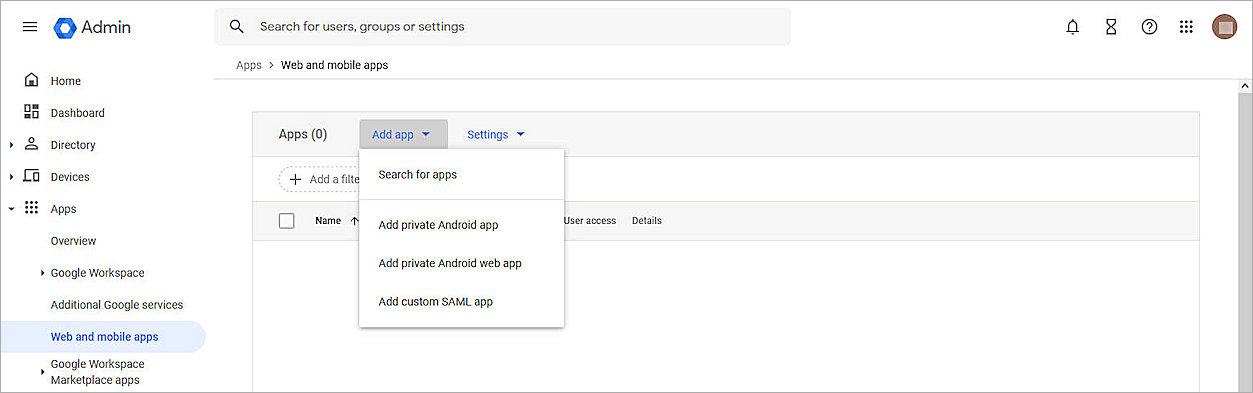
- Select Apps > Web and mobile apps.
- From the Add app drop-down list, select Add custom SAML app.
The Add custom SAML app page opens.
- in the App name text box, type a name for the app.
- (Optional) In the Description text box, type a description for the app.
- (Optional) Upload an app icon.
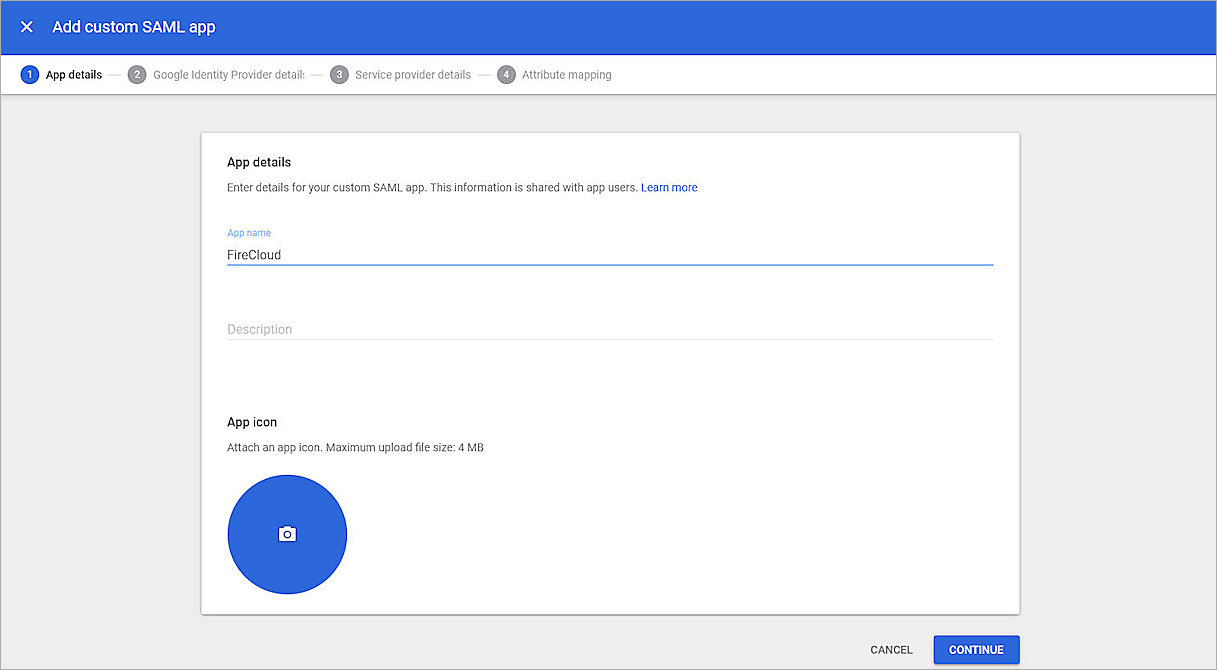
- Click Continue.
The wizard continues to the Google Identity Provider details page. - On the Google Identity Provider details page, copy the SSO URL and Entity ID values. You need these values when you set up FireCloud.
- In the Certificate section, click
 to download the Google certificate. You need this certificate when you set up FireCloud. If there is no certificate, or if the certificate has expired, go to Security > Authentication > SSO with SAML applications to add a new certificate for your service provider. For more information, go to Maintain SAML certificates in the Google documentation.

- Click Continue.
The wizard continues to the Service provider details page. - In the ACS URL text box, type https://authsvc.firecloud.your WatchGuard Cloud region.cloud.watchguard.com/v1/acs
To find your account region, log in to WatchGuard Cloud and go to Administration > My Account. Your region is listed under the Data Zone heading. To get the associated region code, refer to WatchGuard Cloud URLs and Network Access Requirements.
- In the Entity ID text box, type a value to identify FireCloud as your service provider. You must use this value when you configure FireCloud. In our example, we type WatchGuardFireCloud.
- Leave the default value for all other fields.
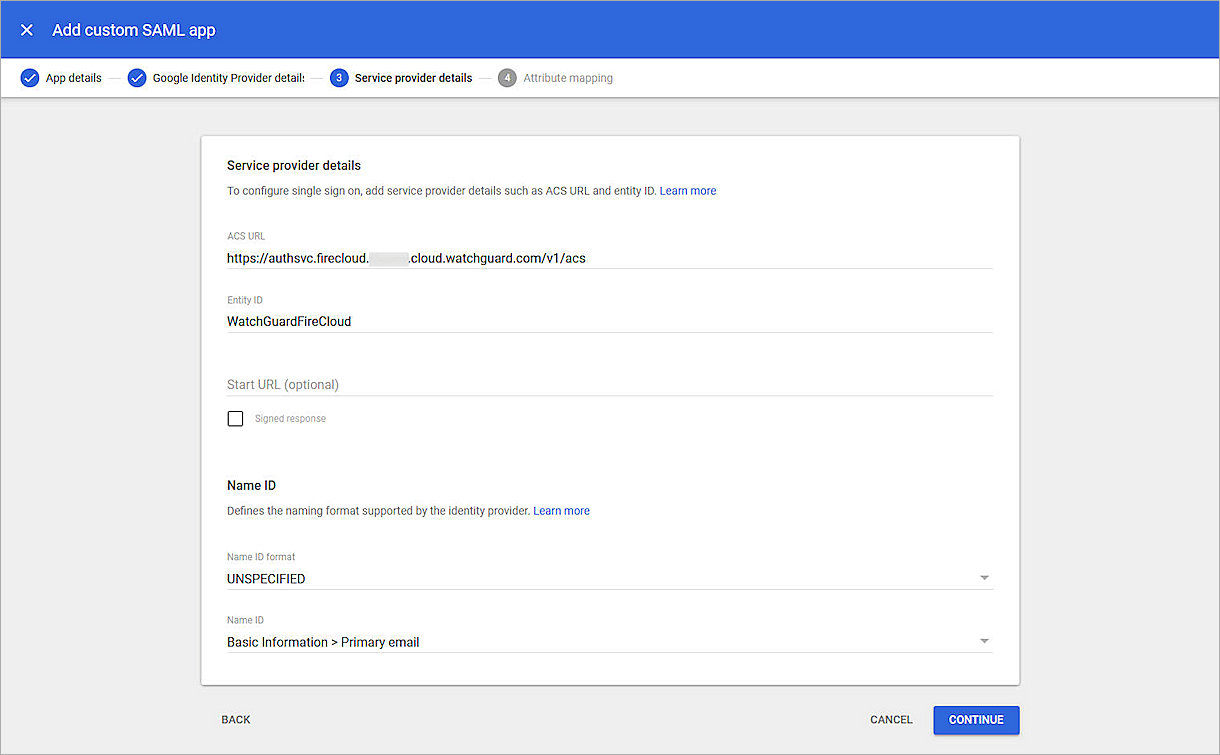
- Click Continue.
The wizard continues to the Attribute mapping page. - In the Group membership (optional) section, click Search for a group. Then select the group you created in the previous section.
- In the App attribute text box, type groups.
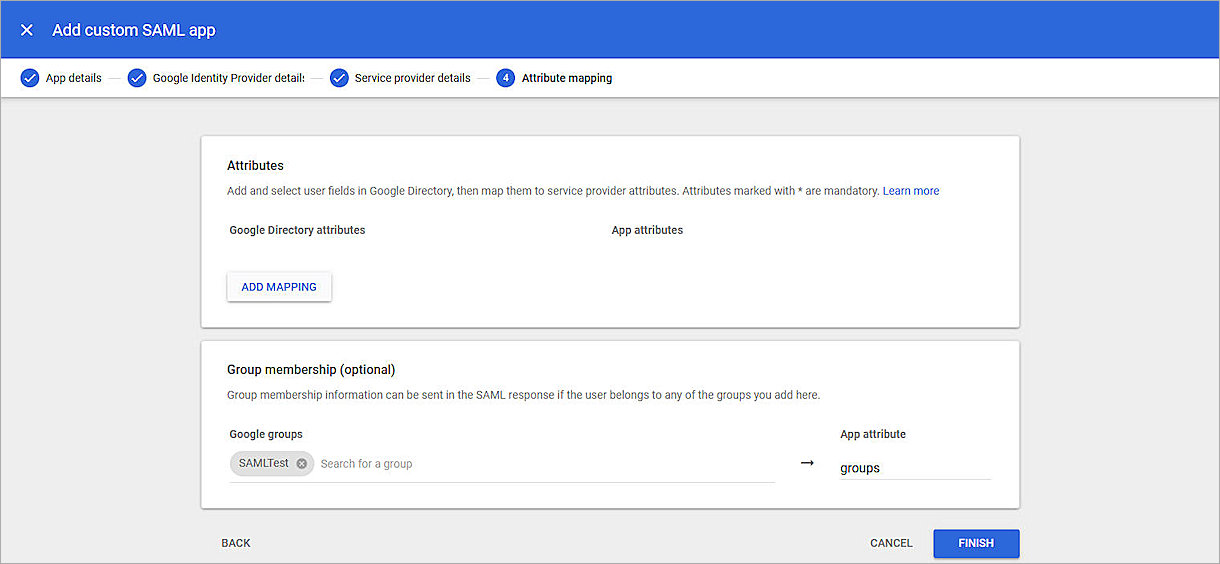
- Click Finish.
The App page opens. In this example, our app is named FireCloud.
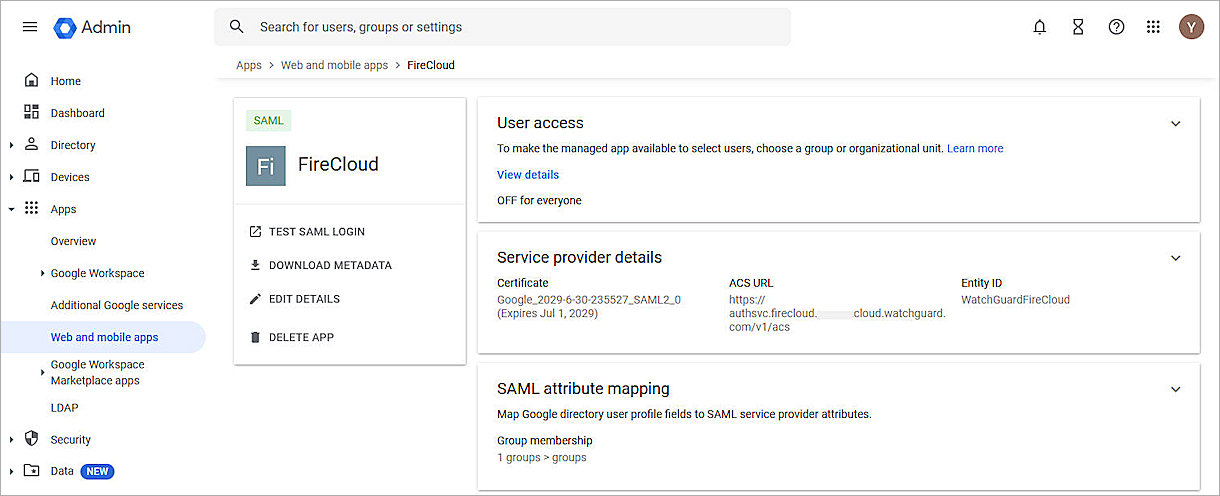
- In the User access section, click .
The Service status page opens. - On the left toolbar, click to expand the Groups section. Then search for and select the group you created in the previous section.
The Apply policies to security groups window opens.
- Click Close.
- Select the Service status check box.
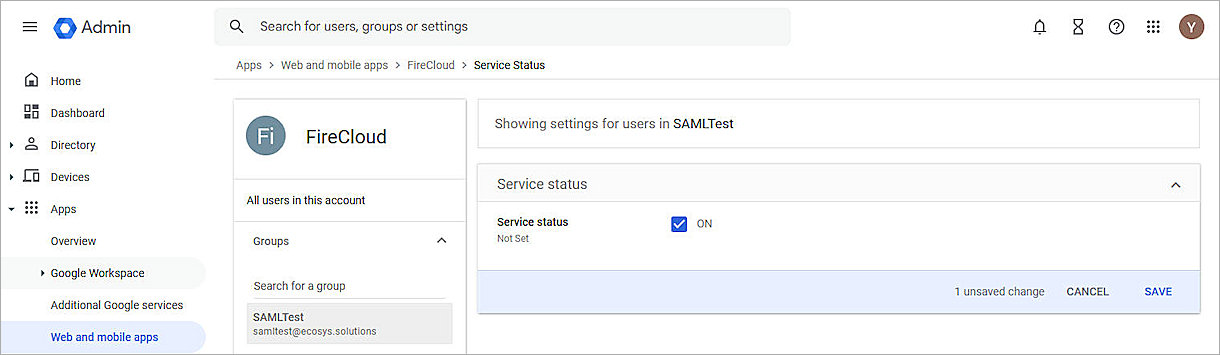
- Click Save.
Configure FireCloud
To configure SSO for FireCloud:
- Log in to WatchGuard Cloud with your WatchGuard Cloud operator account credentials. If you have a Service Provider account, you must select an account from the Account Manager.
- Select Configure > FireCloud.
- Click Set Up FireCloud.
- Click Connect to Your Identity Provider.
- Click Next.
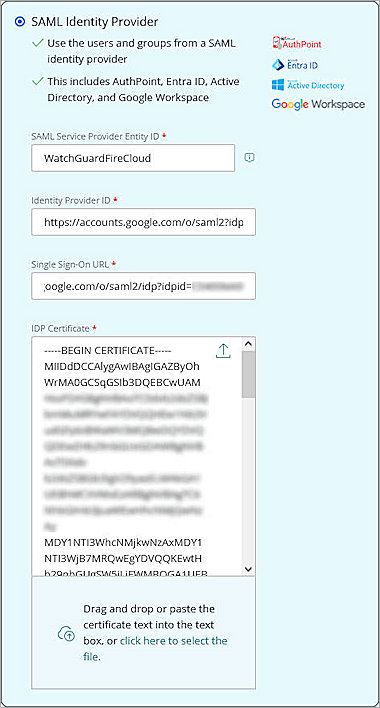
- In the SAML Service Provider Entity ID text box, type the Entity ID value that you configured in the previous section. In our example, we enter WatchGuardFireCloud.
- In the Identity Provider ID text box, type or paste the Google Workspace Entity ID value you copied from the previous section.
- In the Single Sign-On URL text box, type or paste the SSO URL value you copied from the previous section.
- In the IDP Certificate text box, click the upload icon
 and upload the certificate you downloaded in the previous section.
- Click Save.
- Click Done.
- From the navigation menu, select Client Download.
- Click Download Installer.
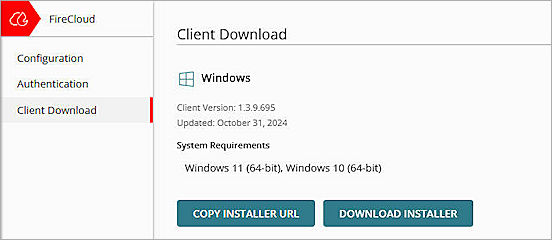
- Run the client installer on your Windows client.
- Click Install. The installation of the WatchGuard Agent can take several minutes.
- When the installation is complete, click Finish.
- After the WatchGuard Agent is installed, the agent automatically downloads and installs the Connection Manager. When this is finished, the Connection Manager opens and you are prompted to enter your credentials to connect to FireCloud. We will test the login process in the next section.
Caution: You cannot install the WatchGuard Connection Manager on computers that have Panda endpoint security products installed. The WatchGuard Connection Manager is only compatible with WatchGuard Endpoint Security products.
Test the Integration
To test Google MFA with FireCloud, you can authenticate with a mobile token on your mobile device. You can choose Google Prompts, one-time password (OTP), passkeys, text messages, or phone calls.
In this example, we use the OTP authentication method.
- Open the WatchGuard Connection Manager .
- In the Email or phone text box, type your user email address or phone number.
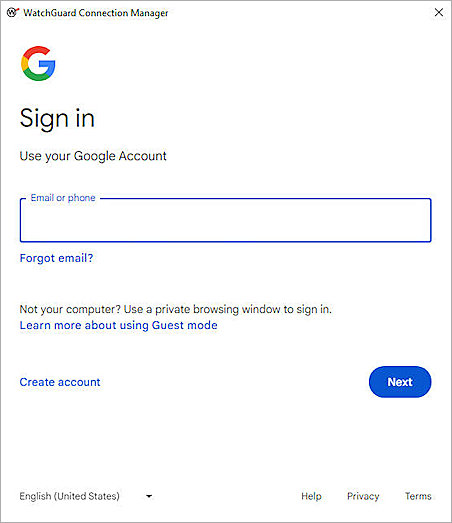
- Click Next.
- In the Enter your password text box, type your password.
- Click Next.
The 2-Step Verification page opens.

- Type the code from your Google Authenticator App.
- Click Next.
You are successfully connected to FireCloud.