Applies To: DNSWatch in WatchGuard Cloud
References to DNSWatch in this topic relate to DNSWatch in WatchGuard Cloud. To learn about the legacy DNSWatch UI, go to About WatchGuard DNSWatch in Fireware Help.
To use DNSWatch in WatchGuard Cloud to protect your network from malicious sites and filter content, you must create DNSWatch configurations. DNSWatch configurations define the settings and content filters that DNSWatch uses to determine whether to block a site.
Your operator role determines what you can view and do in WatchGuard Cloud. Your role must have the DNSWatch permission to view or configure this feature. For more information, go to Manage WatchGuard Cloud Operators and Roles.
Add a DNSWatch Configuration
To add a DNSWatch configuration, in WatchGuard Cloud:
- Log in to WatchGuard Cloud.
- Select Configure > DNSWatch.
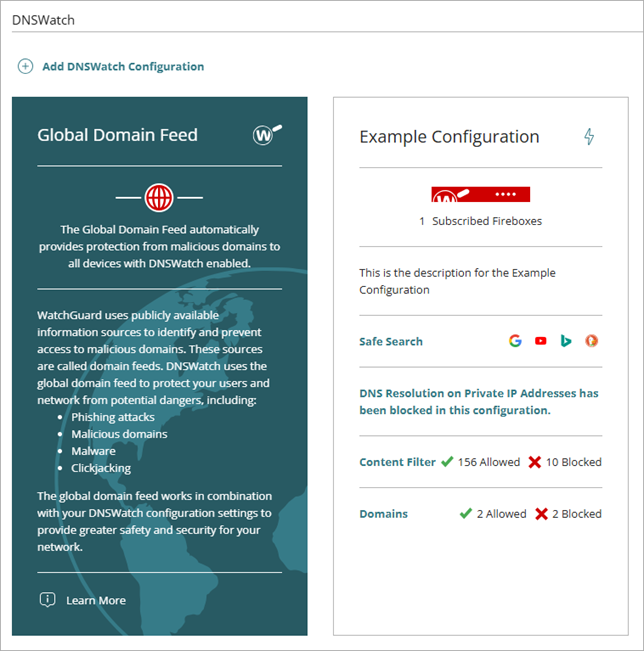
The DNSWatch page opens.
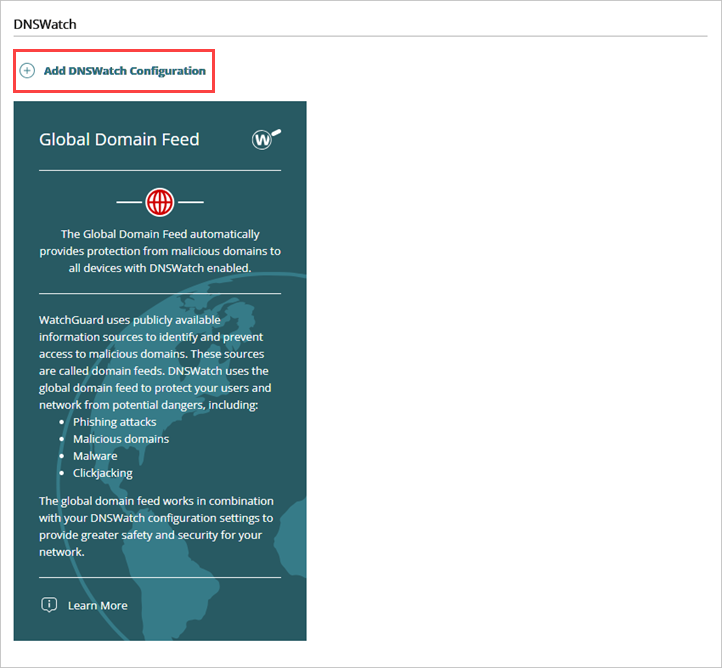
- Click Add DNSWatch Configuration.
The Add DNSWatch Configuration wizard opens.
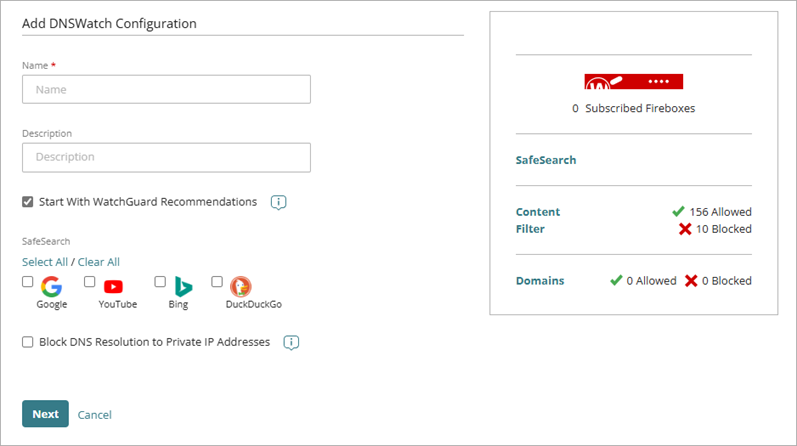
- In the Name text box, enter a name for the configuration.
- In the Description text box, enter a description for the configuration.
- To automatically populate the Content Filter list with WatchGuard recommendations, select Start With WatchGuard Recommendations.
- In the SafeSearch section, select the web browser search engines you want to enable SafeSearch for. For more information, go to About SafeSearch in DNSWatch in WatchGuard Cloud. You can enable SafeSearch enforcement for these search engines:
- YouTube
- Bing
- DuckDuckGo
- To block responses for any domain names that resolve to IP addresses in the three private IP ranges reserved by the Internet Engineering Task Force (IETF), select Block DNS Resolution to Private IP Addresses.This can help protect your network from DNS rebinding attacks, which attempt to gain access to resources on your network that use private IP addresses.
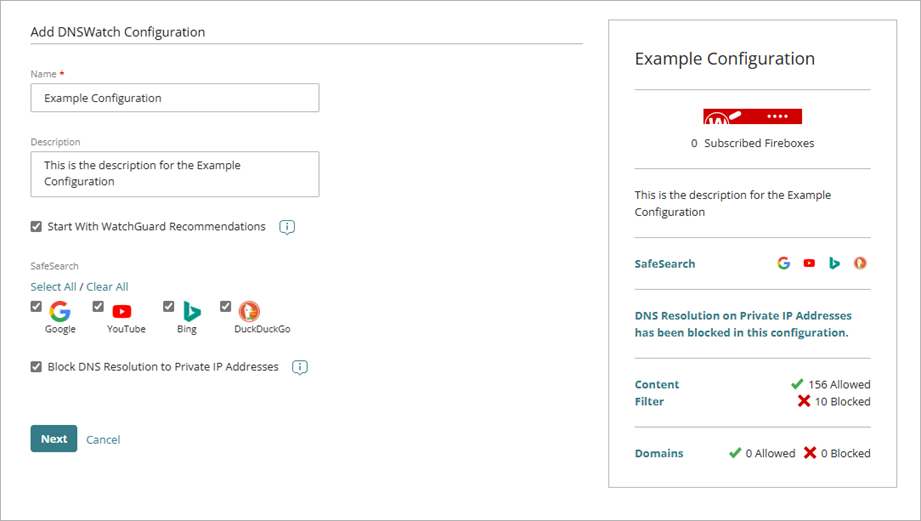
- Click Next.
The Content Filter page of the Add DNSWatch Configuration wizard opens.

- In the Content Filter list, select or clear the check box next to a content category or subcategory to allow or block it. If you selected Start With WatchGuard Recommendations in Step 6, some categories are automatically selected. For more information about DNSWatch content filter categories, go to About Content Filter Categories in DNSWatch in WatchGuard Cloud.
- Allow — Users can connect to sites in these categories and DNSWatch does not return a content filtering block page in their browser.
- Block — Users cannot connect to blocked site and DNSWatch returns a content filtering block page in the browser.
For information on how to customize the security and content filtering block pages, go to Manage the Block Pages for DNSWatch in WatchGuard Cloud
- Click Next.
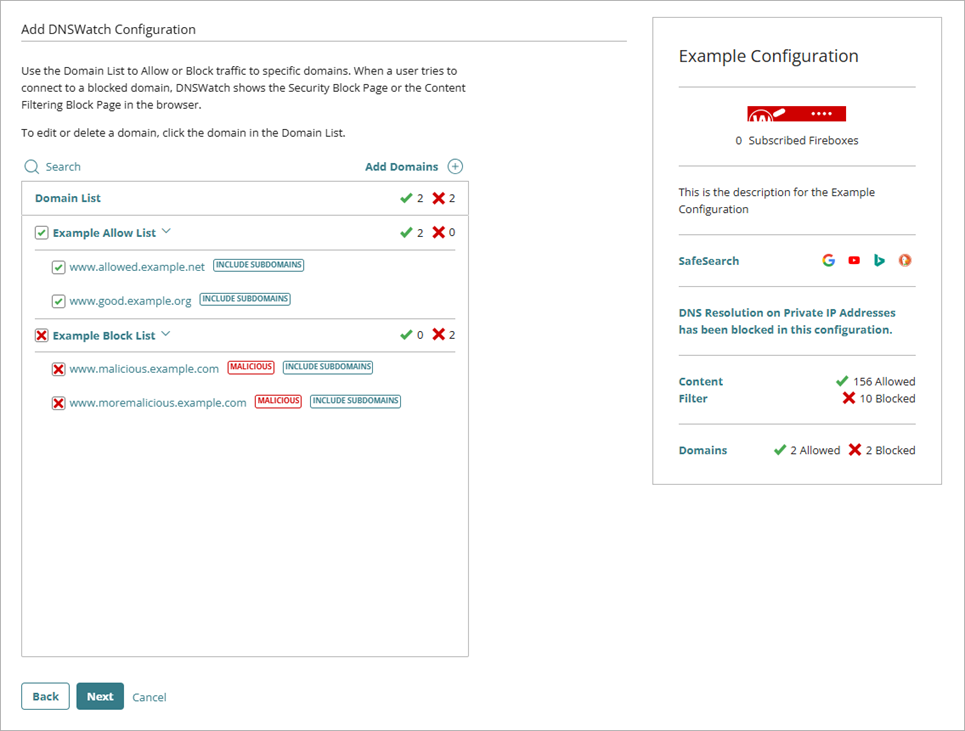
The Domains List page of the Add DNSWatch Configuration wizard opens.
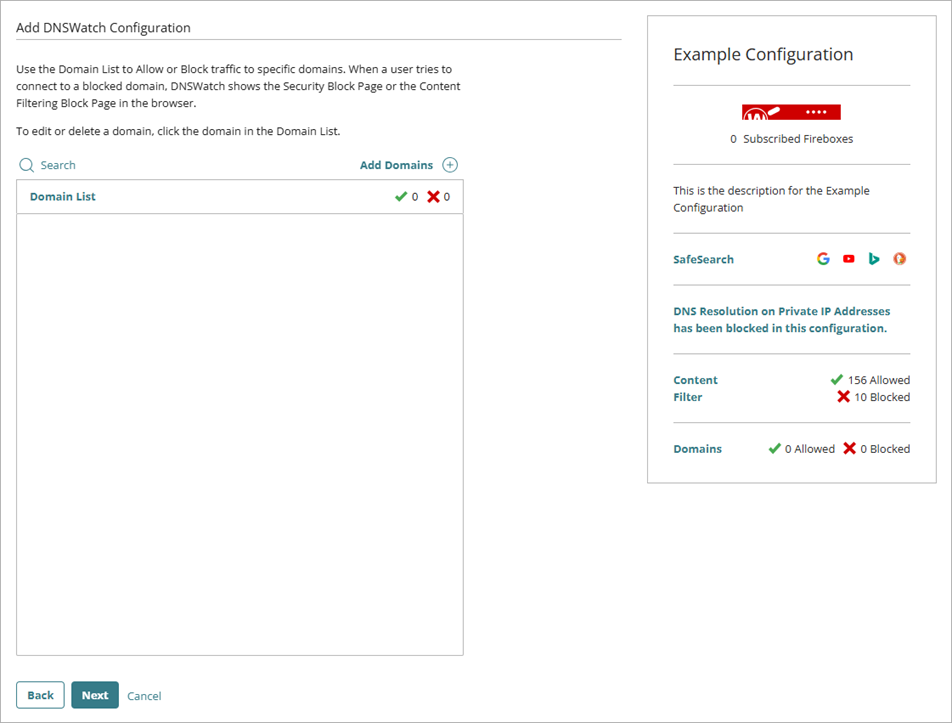
- To allow or block traffic to specific domains, click Add Domains.
The Add Domains dialog box opens.

- In the List Name text box, enter a name for the list.
- In the Domain List text box, enter or paste a list of domain names. You can specify one domain name on each line or you can use a comma, space, or semicolon to separate each domain name. To upload a CSV or TXT file with a list of domain names, click the upload icon.

- In the List Type drop-down list, select the action you want DNSWatch to take for the domains in the list. You can select:
- Allow — Users can connect to the domain and DNSWatch does not return a security block page in the browser.
- Block — Users cannot connect to the domain and DNSWatch returns a security block page in the browser.
- For Block type domain lists, to mark every listed domain as malicious, select Mark all as Malicious.
When you mark a domain as malicious and a user attempts to visit that domain, DNSWatch returns the security block page to the user. When you block a domain but do not mark it as malicious and a user attempts to visit that domain, DNSWatch returns the content filter block page to the user.
- To also block or allow the subdomains of all listed domains, select Include Subdomains.

- Click Add.
The added domains appear in the Domains List.
- Repeat Steps 12 to 18 to add additional block and allow lists.
- Click Next.
- From the list, select the accounts and Fireboxes you want to apply this DNSWatch configuration to. The number of Fireboxes the configuration applies to appears as the number of Subscribed Fireboxes on the configuration widget.
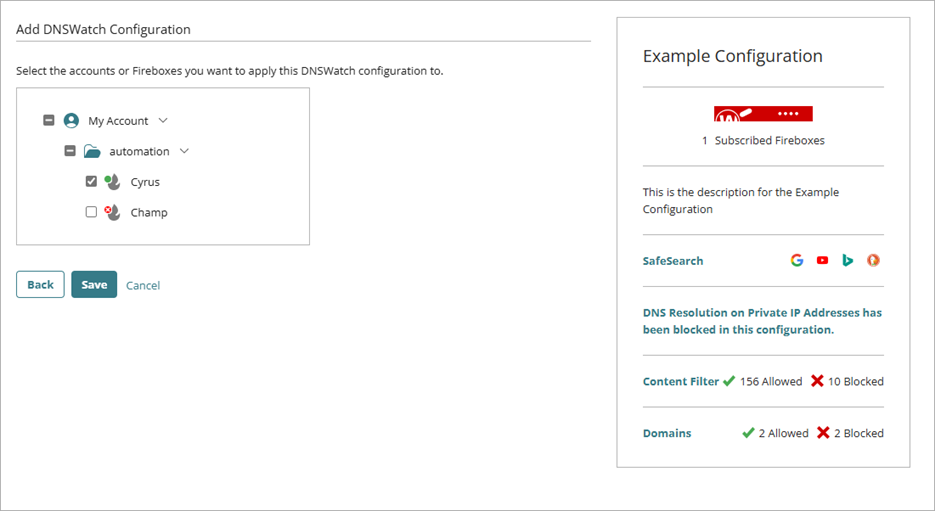
- Click Save.
The saved DNSWatch configuration appears as a widget on the DNSWatch page.
About Configurations in DNSWatch in WatchGuard Cloud
About Content Filter Categories in DNSWatch in WatchGuard Cloud