
Related Topics
Configure BOVPN over TLS in Client Mode
BOVPN over TLS uses a client-server model for VPN tunnel communication. You must configure at least one Firebox as a TLS Client, and at least one Firebox as a TLS Server.
By default, the BOVPN over TLS server assigns addresses in the 192.168.113.0/24 pool to BOVPN over TLS clients. Mobile VPN with SSL also uses the 192.168.113.0/24 pool by default. If BOVPN over TLS in Client mode and Mobile VPN with SSL are enabled on the same Firebox, you must specify a different address pool for one of these features. If both features use the same IP address pool, BOVPN over TLS traffic is not sent through the tunnel properly.
In Fireware v12.1, you must use the Web UI to configure BOVPN over TLS.
To configure a Firebox in Client mode, from Fireware Web UI:
- Select VPN > BOVPN over TLS.

- Click Enable.
The BOVPN over TLS Mode dialog box appears.
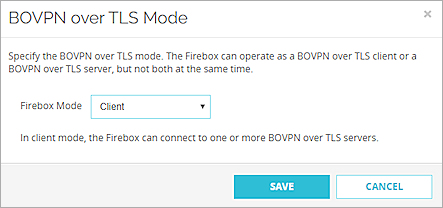
- From the Firebox Mode drop-down list, select Client.
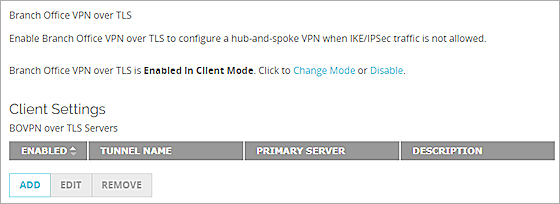
- Click Add.
The Add Server page appears.

- In the Tunnel Name text box, type a name for the tunnel.
- In the Description text box, type a description of the tunnel.
- Keep the Enabled check box selected to enable this tunnel.
- In the Primary Server text box, type the IP address or domain name of the TLS server.
The TLS server is a remote Firebox configured in TLS Server mode. - (Optional) In the Backup Server text box, type the IP address or domain name of a backup TLS server.
- In the Tunnel ID text box, type a name for the tunnel. You must specify the same Tunnel ID on the TLS server.
- In the Pre-Shared Key check box, type the pre-shared key.
The pre-shared key must be between 8 and 23 characters in length.
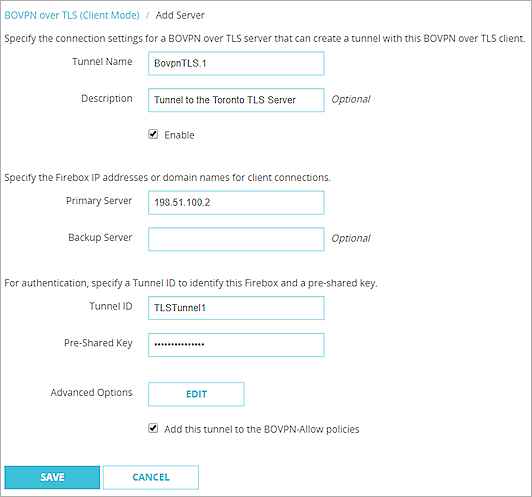
- (Optional) To change the default communication settings, click Edit.
The Advanced Settings dialog box appears.
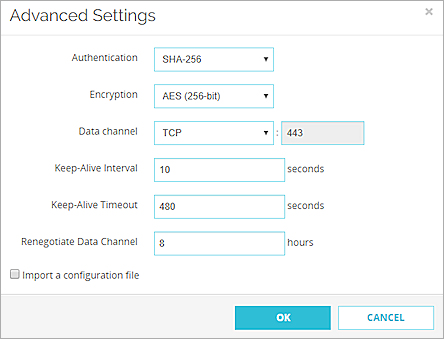
- In the Authentication drop-down list, select SHA-1, SHA-256, or SHA-512.
- In the Encryption drop-down list, select 3DES, AES (128-bit), AES (192-bit), or AES (256-bit).
- From the Data channel drop-down list, select TCP or UDP.
- If you selected UDP, specify a port number in the adjacent text box.
- In the Keep-Alive Interval text box, type an interval in seconds.
- In the Keep-Alive Timeout text box, type an interval in seconds.
- In the Renegotiate Data Channel text box, type an interval in hours.
The Import a configuration file option is for internal testing purposes and is not supported.