Applies To: AuthPoint Multi-Factor Authentication, AuthPoint Total Identity Security
You can configure an OIDC resouce in AuthPoint to exchange information between a service provider and an identity provider.
Add OIDC resources in AuthPoint and then create Zero Trust policies for the resources to require that users authenticate before they can connect to those services and applications.
Refer to the AuthPoint Integration Guides for steps to configure AuthPoint MFA for specific applications and services.
OIDC Authentication Data Flow
This diagram shows the data flow of an MFA transaction for an OIDC resource with the push authentication method.
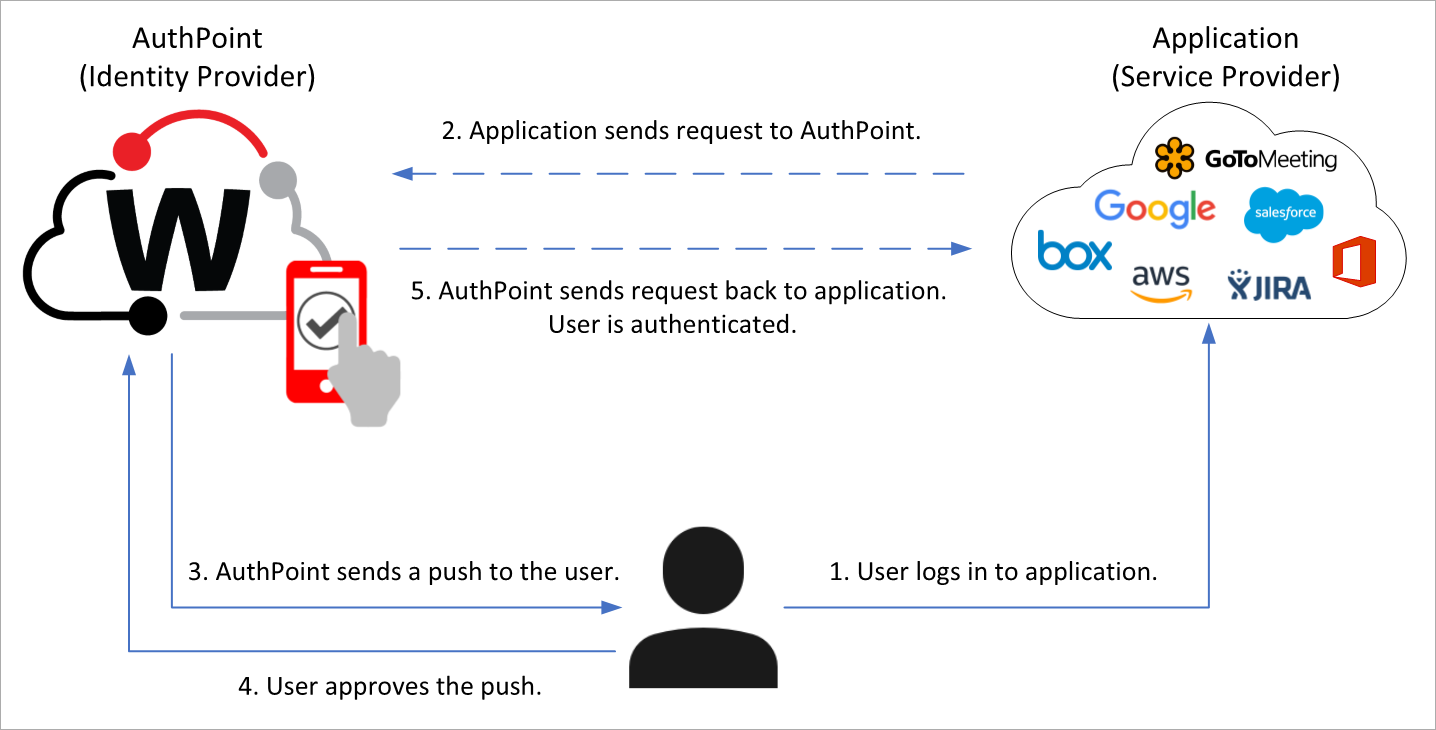
When the user tries to log in to an application that requires authentication, the AuthPoint authentication page appears. To log in, the user types their AuthPoint password (if required) and chooses an authentication method. In this example, the user chooses to authenticate with a push notification. AuthPoint sends a push notification to the user's mobile device that the user approves to authenticate and log in.
When a user authenticates to an OIDC resource, the user receives a prompt to share their location. This prompt appears even if your AuthPoint account does not use geofence and geokinetics policy objects.
Configure an OIDC Resource in AuthPoint
To configure an OIDC resource in AuthPoint, complete these steps:
Add an OIDC Resource
To add an OIDC resource in the AuthPoint management UI:
- From the AuthPoint navigation menu, select Resources.
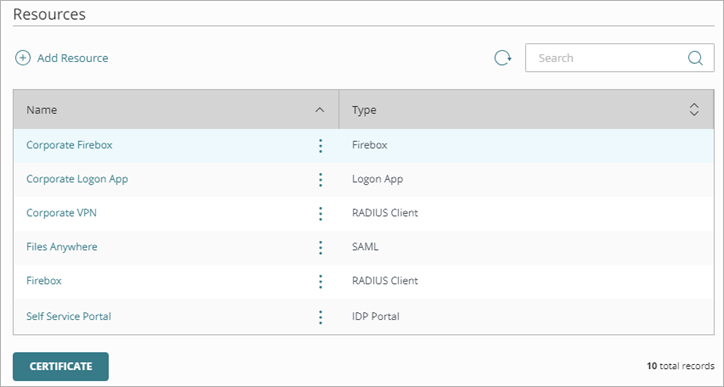
- Click Add Resource.
The Add Resource page opens.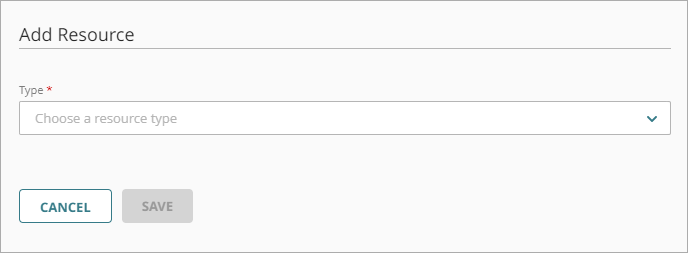
- From the Type drop-down list, select OIDC.
The OIDC settings appear.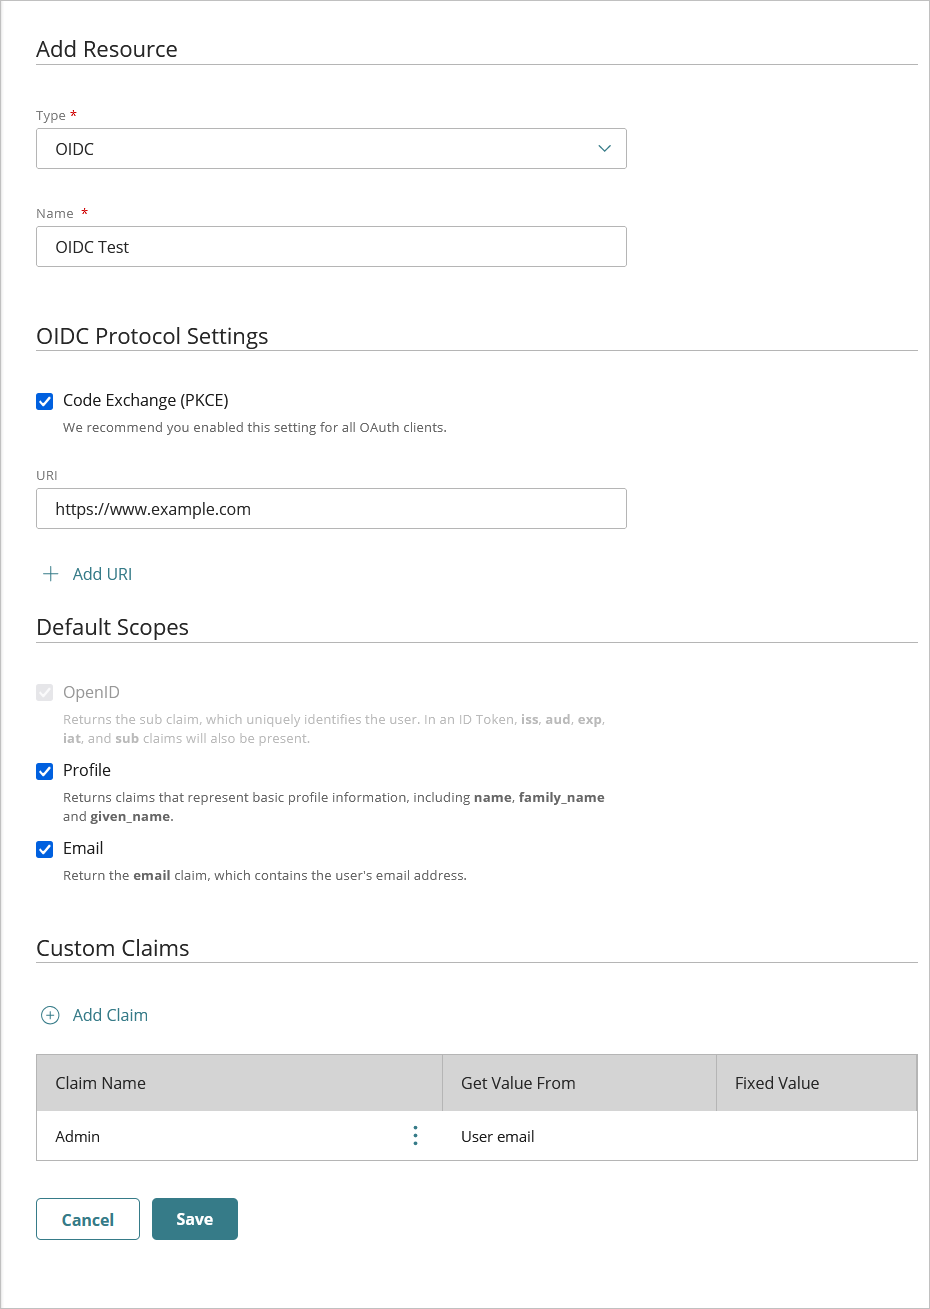
- In the Name text box, type a name for the resource.
- In the OIDC Protocol Settings section, enable Code Exchange (PKCE).
We recommend you enable this setting for all OAuth clients to improve security.
- In the URI text box, type the Redirect URI for your application.
- To add more URIs, click Add URI and type the additional Redirect URI.
- In the Default Scopes section, select the scopes that the application requires:
- OpenID (required) — Returns the sub claim, which uniquely identifies the user.
- Profile — Returns claims that represent basic profile information, including name, family_name, and given_name.
- Email — Returns the email claim with the email address of the user.
- To add a custom claim, in the Custom Claim section, click Add Claim.
The Add Claim dialog box opens.- In the Claim Name text box, type the name of the claim.
- In the Get Value From column, select the source of the claim name.
- (Optional) In the Fixed Value column, type a static value.
The Fixed Value option enables you to assign a constant value to the claim for all users who authenticate through this resource. You use this when the application expects a specific claim with the same value for every user (for example, role=admin or tenant=default).
Click Save.

- Click Save.
View OIDC Resource Information
After you add an OIDC resource in AuthPoint, you can view these OIDC resource information to integrate with your third-party application:
- Issuer URL
- Client ID
- Client Secret
To view the OIDC resource information, in the AuthPoint management UI:
- From the AuthPoint navigation menu, select Resources.
The Resources page opens.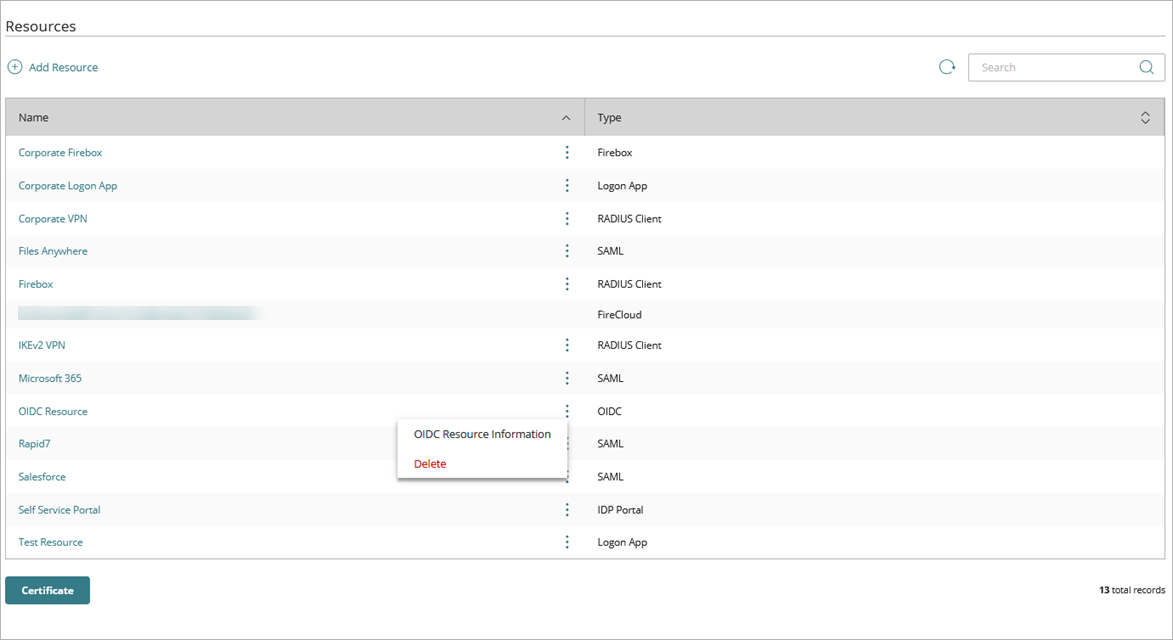
- Next to the OIDC resource you want to view the information for, click
 .
. - Select OIDC Resource Information.
The OIDC Resource Information page opens.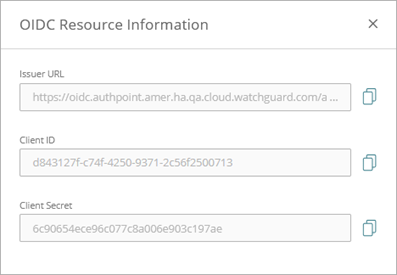
- To get the configuration URL. from the Issuer URL text box, copy the issuer URL and at the end of the URL add /.well-known/openid-configuration.
For example:
Issuer URL: https://oidc.authpoint.emea.ha.cloud.watchguard.com/authx/account/ACC-XXXXXXX
Configuration URL: https://oidc.authpoint.emea.ha.cloud.watchguard.com/authx/account/ACC-XXXXXXX/.well-known/openid-configuration - From the Client ID text box, copy the client ID value for OIDC integration.
- From the Client Secret text box, copy the client secret value for OIDC integration.