Applies To: ThreatSync+ NDR, Total NDR
This feature is only available with a ThreatSync+ NDR or Total NDR license. For more information, go to About ThreatSync+ NDR Licenses and About Total NDR Licenses.
Configuration of a Security Information and Event Management (SIEM) integration is a three-step process:
- Add and configure a SIEM integration.
- Configure alerts.
- Configure notification rules.
Before You Begin
To configure SIEM integration with ThreatSync+ NDR, make sure:
- You have a ThreatSync+ NDR or Total NDR license.
- You have a ThreatSync+ NDR Collection Agent that has network connectivity to the SIEM server.
For more information, go to:
Add a SIEM Integration
To add a SIEM integration, you must have the SIEM server IP address, port, and a connected ThreatSync+ NDR Collection Agent.
To add a SIEM integration, from WatchGuard Cloud:
- Log in to your WatchGuard Cloud Subscriber account.
- Select Administration > System > Integrations.
The Integrations page opens.
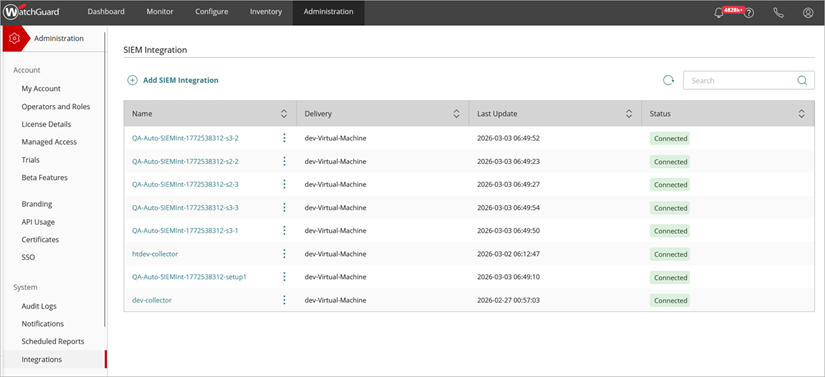
- Click Add SIEM Integration.
The Add SIEM Integration page opens.
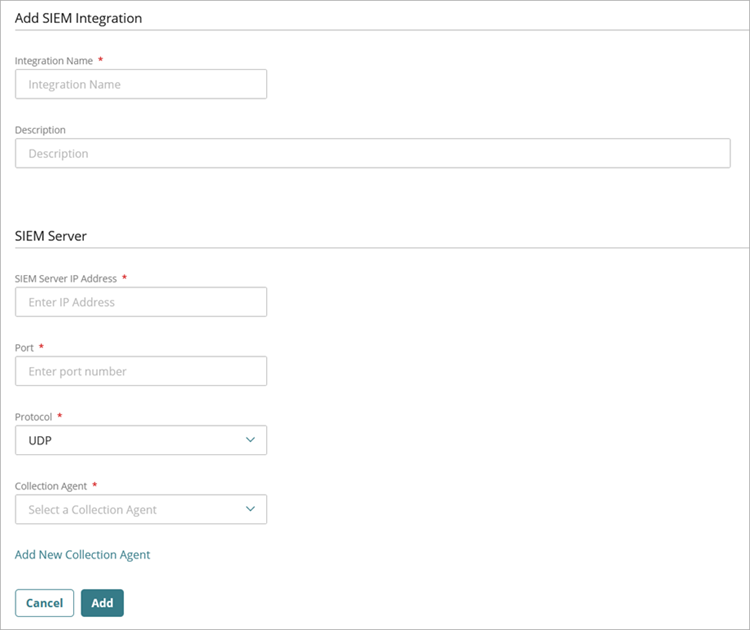
- In the Integration Name text box, enter a name for the SIEM integration.
- (Optional) In the Description text box, add a description to describe the SIEM integration.
- In the SIEM Server section, in the SIEM Server IP Address text box, enter the IP address of the SIEM server.
To send notifications from the ThreatSync+ NDR Collection Agent to the SIEM server, the SIEM server must have network connectivity from the ThreatSync+ NDR Collection Agent.
- In the Port text box, enter the port number the SIEM server listens on for incoming syslog events. For example, 514.
- From the Protocol drop-down list, select UDP.
- From the Collection Agent drop-down list, select the connected ThreatSync+ NDR Collection Agent that will forward syslog data to the SIEM server.
- If you want to assign syslog forwarding to a new or different collection agent, click Add New Collection Agent to go to the Collection Agents page in the ThreatSync+ Integrations UI.
The collection agent must be version 1.0.0.63 or higher.
- Click Add.
The SIEM Integration page opens with the new integration added to the table. - After the status changes to Connected, the SIEM integration configuration is complete. It might take a few minutes for the status to change to Connected. Click
 to refresh the page.
Edit a SIEM Integration
You can edit a SIEM integration to change the description or update SIEM server details.
To edit an SIEM integration:
- Select Administration > System > Integrations.
The Integrations page opens. - Click the name of the SIEM integration you want to edit.
The SIEM Integration Details page opens. - (Optional) In the SIEM Server IP Address text box, edit the SIEM server IP address.
- (Optional) In the Port text box, update the port number.
- (Optional) From the Collection Agent drop-down list, select a different ThreatSync+ NDR Collection Agent.
- Click Save.
Delete a SIEM Integration
You can delete a SIEM integration from the SIEM Integration page.
To delete a SIEM integration:
- Select Administration > System > Integrations.
The Integrations page opens. - Click
 next to the name of the SIEM integration you want to delete.
The Delete SIEM Integration dialog box opens.
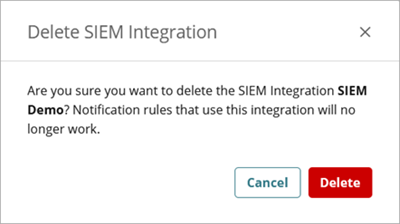
When you delete a SIEM integration, you also delete notification rules that use the SIEM integration.
- Click Delete.
Configure SIEM Alerts and Notification Rules
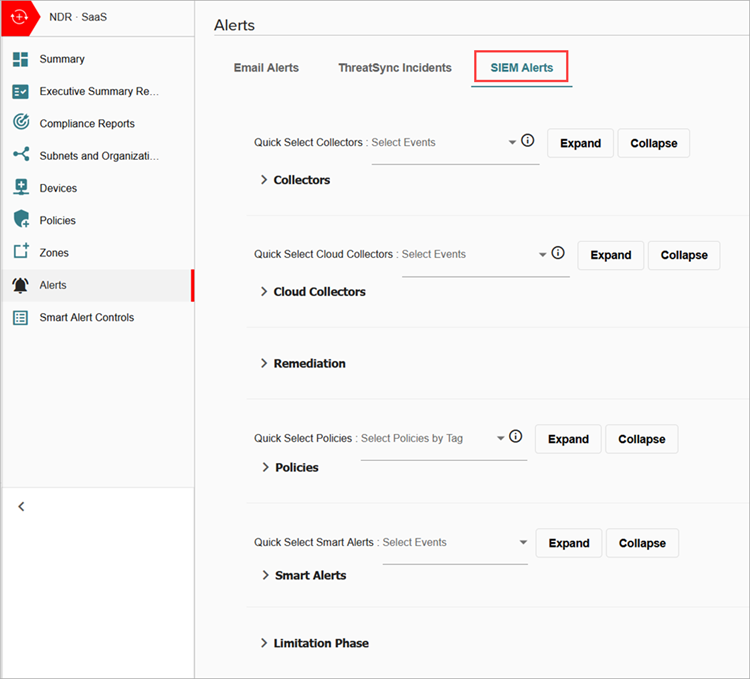
To configure SIEM alerts and notification rules, you specify which alerts generate a notification when they are created or updated.
From the SIEM Alerts tab on the Configure > ThreatSync+ > Alerts page, select which alerts you want included in your notifications.
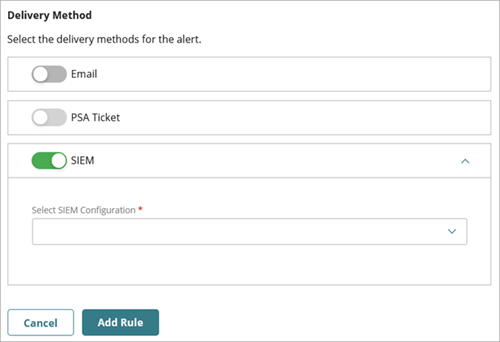
To configure SIEM notifications, enable SIEM on the Administration > Notifications page and select which SIEM configuration to use for the notifications.
Because Total NDR includes ThreatSync+ SaaS, the SIEM delivery method is available for ThreatSync+ SaaS notifications in accounts with a Total NDR license.
For more information, go to Configure ThreatSync+ Alerts and Notification Rules.