Applies To: AuthPoint Multi-Factor Authentication, AuthPoint Total Identity Security
The Identity Provider (IdP) portal resource is a portal page that shows users a list of SAML resources available to them. It makes it easier for users to access resources. Users log in to the IdP portal and see each resource they have access to. They can click on the tile for any resource to open it in a new tab.
If you enable the feature, users can also log in to the IdP portal to activate hardware and software tokens.
Multiple Zero Trust policies can use the same IdP Portal resource. You do not have to add additional IdP resources in AuthPoint.
When a user authenticates to the IdP portal, the user receives a prompt to share their location. This prompt appears even if your AuthPoint account does not use geofence and geokinetics policy objects.
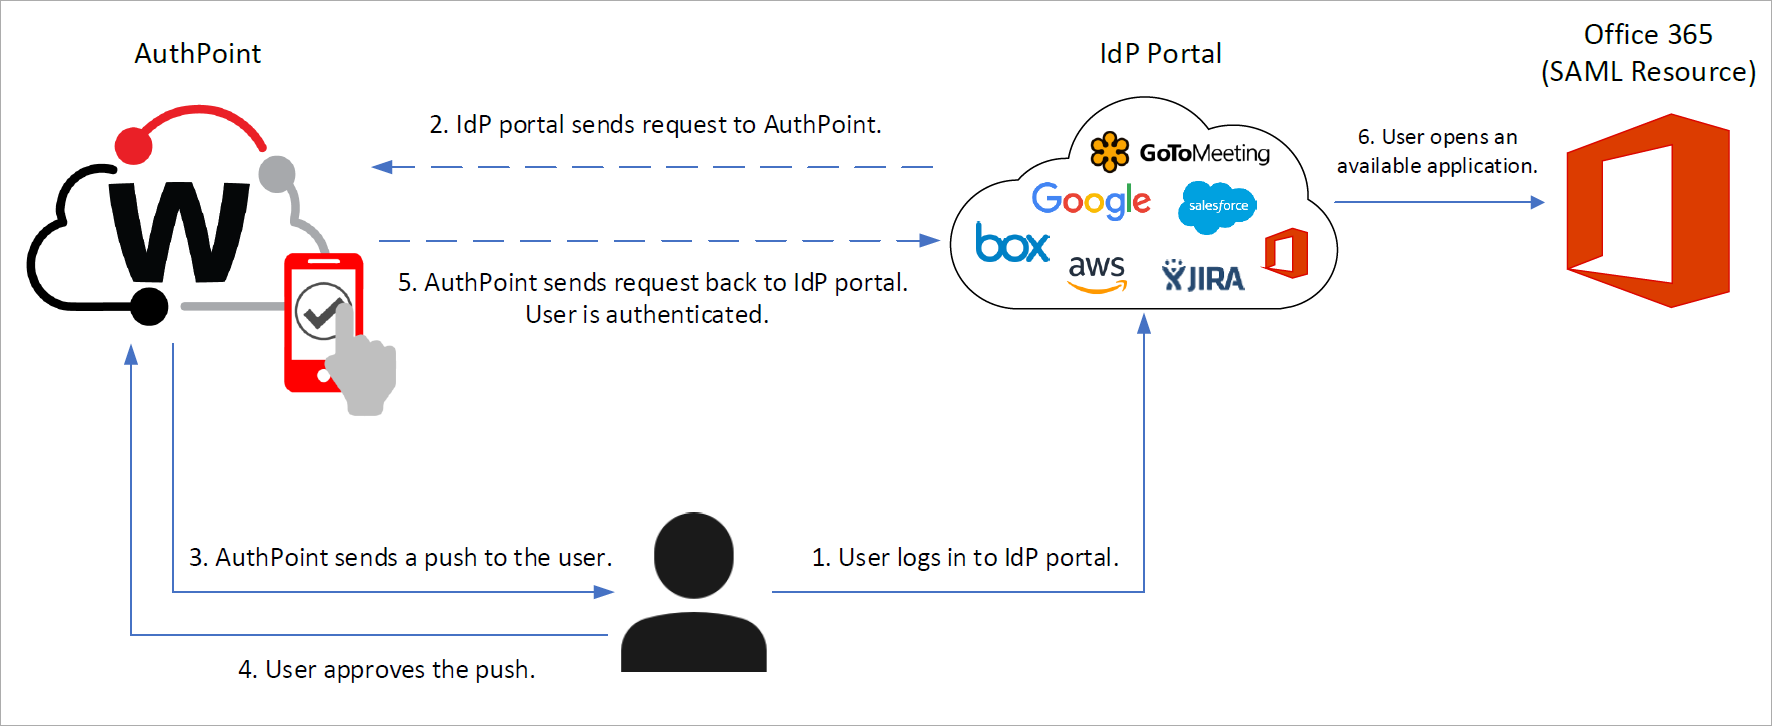
This diagram shows the data flow of an MFA transaction for the IdP portal when a user authenticates with the push authentication method.
To set up AuthPoint with an IdP portal:
- Select Resources.
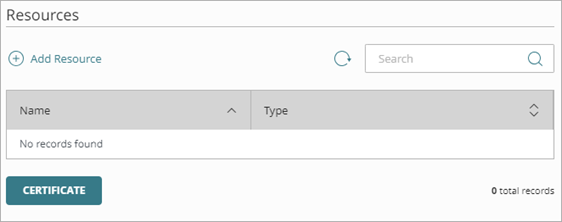
- Click Add Resource.
The Add Resource page opens.
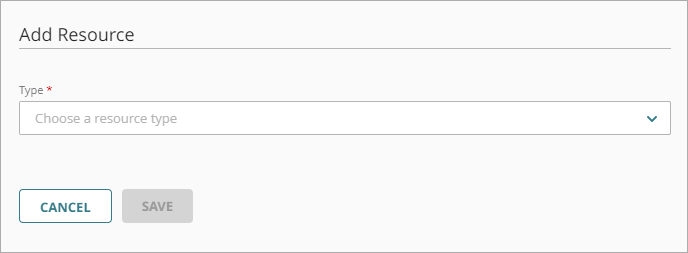
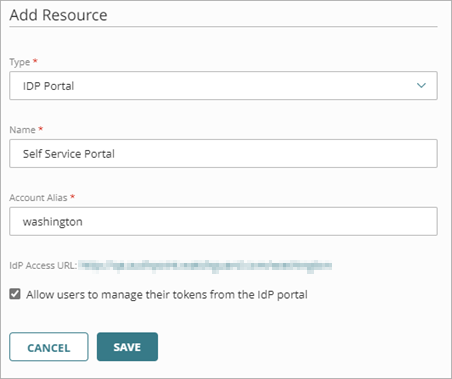
- From the Type drop-down list, select IDP Portal.
- In the Name text box, type a descriptive name for the resource.
- In the Account Alias text box, type a unique value to append to the URL for your IdP portal. The URL for the IdP portal is always https://authpoint.watchguard.com/account_alias. In our example, the account alias is washington, so the URL for the IdP portal is https://authpoint.watchguard.com/washington.
- To allow users to activate hardware and software tokens from the IdP portal, enable the Allow users to manage their tokens from the IdP portal toggle.
- Click Save.
- Add the IdP portal resource to your existing Zero Trust policies, or add new policies for the IdP portal resource. Zero Trust policies specify which resources users can authenticate to and which authentication methods they can use. For more information, go to About Zero Trust Policies.
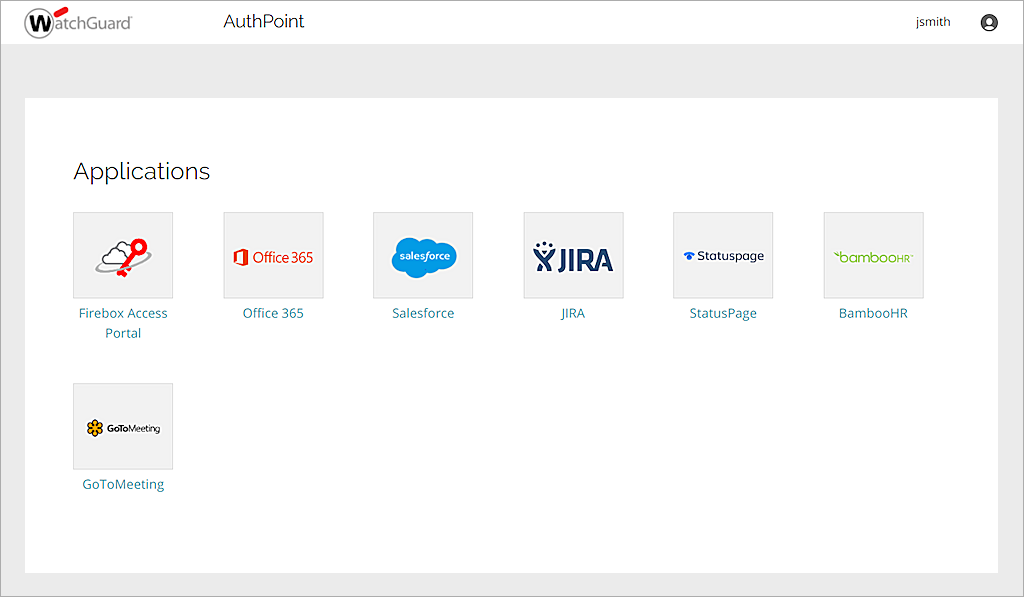
After you set up the IdP portal, users can go to your IdP access URL to log in to the portal. The portal page shows users all SAML resources available to them.
The URL for the IdP portal is always https://authpoint.watchguard.com/<account_alias>.
When a user logs in to the IdP portal, they see each resource they have access to. The user can click the tile for any resource to open that application in a new tab.
Configure MFA for an Application or Service with SAML or OIDC