Applies To: ThreatSync+ SaaS
To monitor and detect anomalies in Google Workspace, ThreatSync+ SaaS requires access to your Google Workspace data. To collect this data and monitor Google Workspace traffic, you must add and configure a cloud integration in WatchGuard Cloud.
Configuration of a Google Workspace integration is a two-step process. You must first complete configuration in Google Workspace, and then create the Google Workspace integration in the ThreatSync+ Integrations UI.
This page is only available with a ThreatSync+ SaaS or Total NDR license. For more information, go to About ThreatSync+ SaaS Licenses and About Total NDR Licenses.
Before You Begin
Before you can create a cloud integration with Google Workspace, make sure you have:
- A Google Workspace super administrator account for the target domain
- A Google Cloud service account with the required APIs enabled
- The service account credentials JSON file
- The Google Workspace Customer ID
- The primary domain name of your Google Workspace organization
The service account credentials must be generated in Google Cloud and granted domain-wide delegation to access Google Workspace APIs.
Follow these steps to configure Google Workspace to integrate with ThreatSync+:
- Assign a Role to a User
- Create a Google Cloud Project
- Enable Required APIs
- Create a Service Account
- Create and Download a Service Account Key
- Configure Domain-Wide Delegation
Assign a Role to a User
To assign a role to a user:
- Log in to the Google Admin console (https://admin.google.com/).
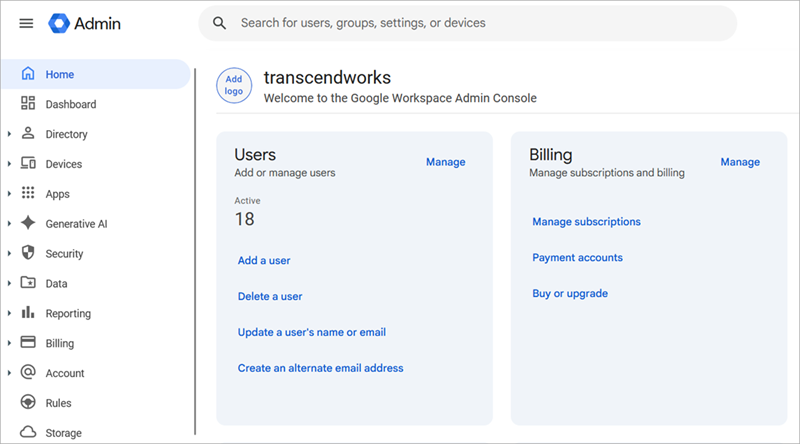
- In the Users widget, click Manage.
The Users page opens. - Click the name of the user you want to assign a role to.
- Select Admin roles and privileges.
- In the Admin roles and privileges section, enable the toggle of role you want to assign to the user.
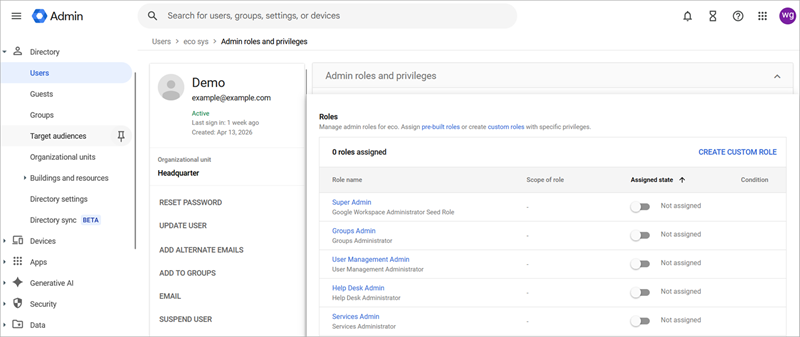
- Click Save.
Create a Google Cloud Project
- Log in to the Google Cloud console (https://console.cloud.google.com).
- Select the Open project picker. Click New Project.

- Enter a name for the project (for example: WatchGuard Google Workspace).
- Select the organization you want to use.
- Click Create.
Enable Required APIs
In the Google Cloud Console:
- From the navigation menu, select APIs & Services > Library.
- In the Search for APIs & Servcies text box, search for Admin SDK API.
- Select the Admin SDK API widget.
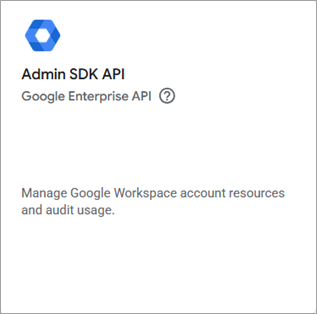
- Click Enable.
- Return to the API library and search for Google Workspace Alert Center API.
- Select the Google Workspace Alert Center API widget.

- Click Enable.
Create a Service Account
In the Google Cloud console:
- Go to IAM & Admin > Service Accounts.
- Click Create Service Account.
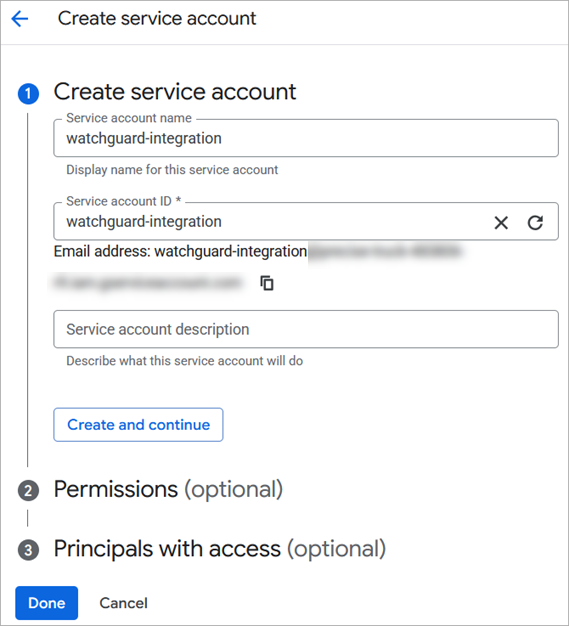
- Enter a Service Account Name (for example, WatchGuard-integration) and an optional description.
- Click Create and continue.
- In the Permissions section, from the Select a role drop-down list, search and select Service Account Token Creator (roles/iam/serviceAccountTokenCreator).
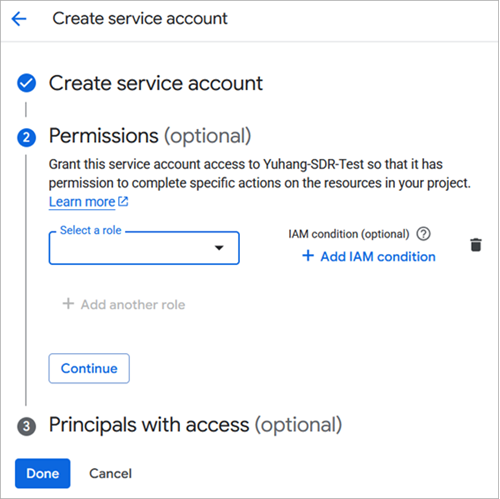
- Click Continue.
- Click Done.
Save the Client ID
Save the Client ID to use in the Admin console to authorize domain-wide delegation.
To save the Client ID:
- Select the service account you created.
- On the Details tab, in the Advanced settings section, copy the Client ID in the Domain-wide Delegation section.
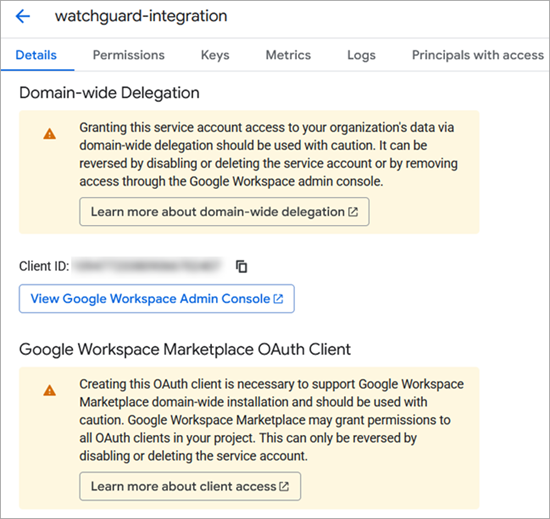
- Save this value. You will use it later to authorize domain-wide delegation.
Create and Download a Service Account Key
To create and download a JSON key:
- Open the service account details.
- Select the Keys tab.
- From the Add key drop-down list, select Create new key.
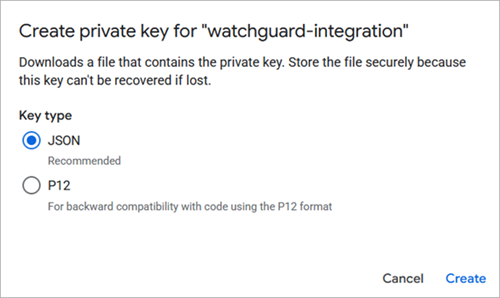
- Select JSON.
- Click Create.
A JSON private key file downloads automatically.
Save the downloaded JSON file in a secure location. You cannot download the key again. The JSON file will be used in the Google Workspace integration configuration in WatchGuard Cloud.
To find your Client ID in the JSON file:
- Open the JSON key file on your local machine in a text editor.
- Find the Client ID and copy the number.
Configure Domain-Wide Delegation
To link the APIs to Google Workspace, configure domain-wide delegation.
To configure domain-wide delegation:
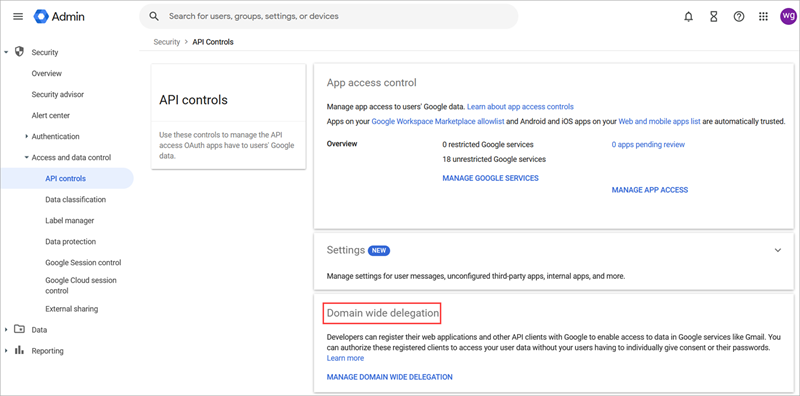
- In the Google Admin console, go to Security > Access and data control > API controls.
- In the Domain wide delegation section, click Manage domain wide delegation.
- Click Add new.
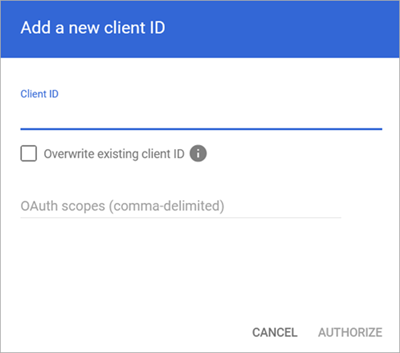
- In the Add a new Client ID text box, paste the Client_ID from the service account.
- In the OAuth scopes (comma-delimited) section, paste these scopes:
- https://www.googleapis.com/auth/admin.reports.audit.readonly
- https://www.googleapis.com/auth/admin.directory.user.readonly
- Click Authorize.
The service account now has permission to access your Google Workspace domain.
Create a Cloud Integration
To create a cloud integration, you must have the Google Workspace domain name and the administrator user account credentials for your cloud integration.
To create a cloud integration, from WatchGuard Cloud:
- Select Configure > ThreatSync+ Integrations > Cloud Integration.
The Cloud Integration page opens. - Click Add Cloud Integration.

- From the Cloud Service drop-down list, select Google Workspace.
You cannot add a Google Workspace integration if you have an existing Microsoft 365 integration.
- In the Domain Name text box, enter the primary domain name for your Google Workspace organization.
- In the User Email text box, enter the email address of the Google Workspace administrator account.
- In the Customer ID text box, enter your unique Customer ID for the Google Workspace integration.
The Customer ID if found in your Google Admin profile and must begin with an uppercase "C".
- In the Service Account Credentials text box, paste your service account credentials in JSON format. The service account credentials are used to connect to the Google Workspace service.
- (Optional) In the Description text, box describe what this integration is used for.
- Click Activate.
The Google Workspace integration shows on the Cloud Integration page.

- After the status changes to Active, the cloud integration configuration is complete. To view the Google Workspace Flow Logs Status and Conversation Flow Count, click the integration name in the Name column to view the Overview tab on the Cloud Integration Details page.
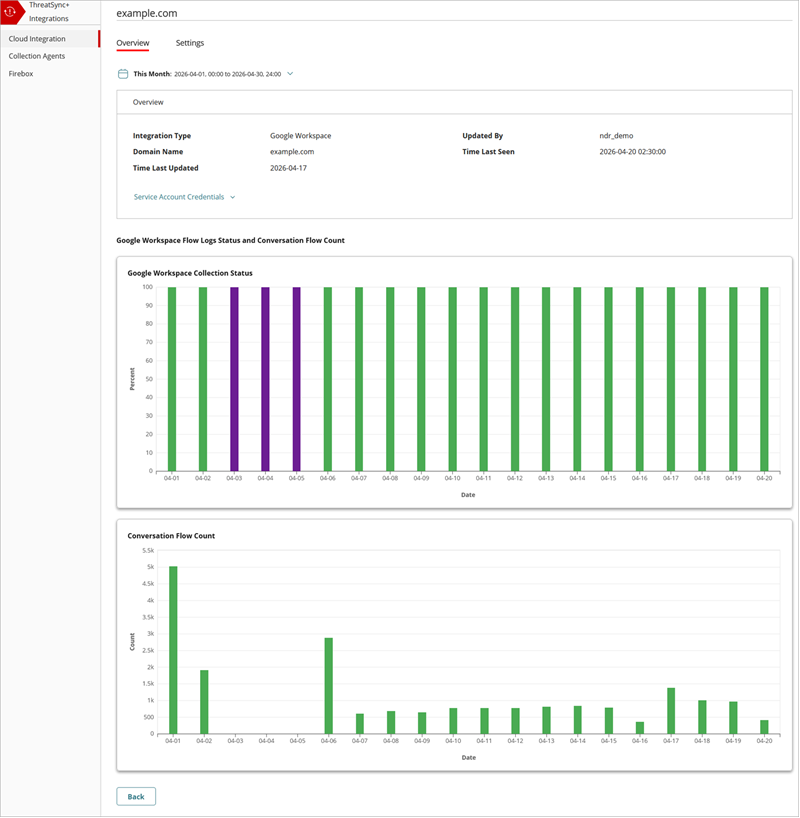
It might take up to seven days for ThreatSync+ SaaS to learn your environment and start to show alerts in the Monitor menu.
Edit a Google Workspace Cloud Integration
You can edit an existing, active Google Workspace cloud integration to update the user email address, the service account credentials, change the description, or mute repeated failure notifications.
To edit a Google Workspace cloud integration:
- Select Configure > ThreatSync+ Integrations > Cloud Integration.
The Cloud Integration page opens. - Click the name of the cloud integration you want to edit.
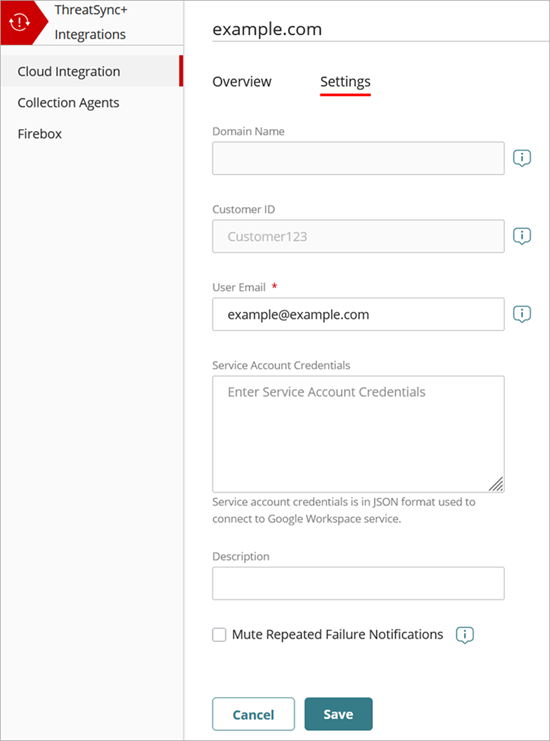
The Cloud Integration Details page opens with the Overview tab open by default. - Select the Settings tab.
- (Optional) In the User Email text box, edit the email address.
- In the Service Account Credentials text box, paste updated service account credentials in JSON format.
- (Optional) In the Description text box, edit the name of the cloud integration.
- Select the Mute Repeated Failure Notifications check box if you only want a single notification sent for this cloud integration when a cloud integration failure occurs.
- Click Save.
About ThreatSync+ SaaS Integration — Google Workspace