Applies To: Endpoint Security Elite, Endpoint Security 360, Endpoint Security Prime, WatchGuard EDR, and EDR Core
RDP Attack Containment mode enables Endpoint Security to automatically stop remote desktop (RDP) attacks. Endpoint Security monitors for brute-force attacks on RDP and credentials compromised after brute force attacks.
In an Indicators of Attack settings profile, you can configure the behavior when Endpoint Security identifies an RDP attack. When you enable the RDP Attack toggle in the settings profile, Endpoint Security executes these actions on the recipient computers:
- Logs remote access attempts via RDP on each protected computer over the last 24 hours, which originated outside the customer network.
- Determines whether the computer is subject to an RDP brute force attack.
- Detects if any of the computer accounts have already been compromised to access resources on the system.
- Blocks RDP connections to mitigate the attack.
Your operator role determines what you can see and do in WatchGuard Cloud. Your role must have the Configure IOA permission to view or configure this feature. For more information, go to Manage WatchGuard Cloud Operators and Roles.
To configure RDP Attack response settings:
- In WatchGuard Cloud, select Configure > Endpoint Security.
- Select Settings.
- From the left pane, select Indicators of Attack.
- Select an existing security settings profile to edit, copy an existing profile, or in the upper-right corner of the window, click Add to create a new profile.
The Add Settings or Edit Settings page opens. - Enter a Name and Description for the profile, if required.
- Enable the RDP Attack toggle.
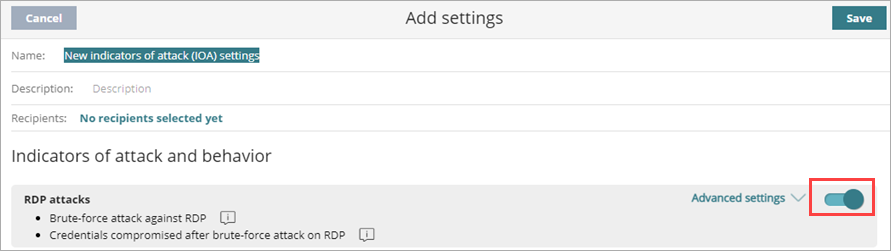
- Select Advanced Settings.
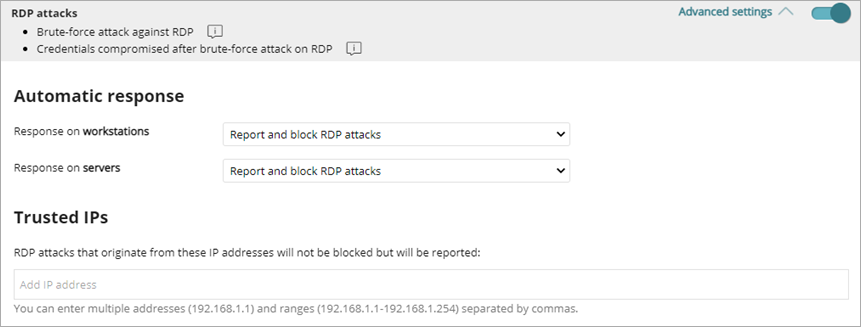
- In the Automatic Response section, specify the automatic remediation for workstations and servers (Report or Report and Block).
-
In the Trusted IPs section, add IP addresses and IP ranges to exclude.
Thi s is a list of computers you consider secure. These IPs are reported but not blocked. - Click Save.
- Select the profile and assign recipients, if required.
For more information, go to Assign a Settings Profile.