Applies To: Locally-managed Fireboxes
Any wireless-capable Firebox can be configured as a wireless access point with more than one different security zone.
- You can enable wireless clients to connect to the wireless Firebox as part of the trusted or optional network.
- You can also use a custom network to enable a wireless guest services network for your Firebox, or use bridge or VLAN networks in your wireless configuration.
When you configure a wireless interface with the interface type of Trusted, all existing policies in your configuration that allow traffic to or from the Any-Trusted alias also allow traffic to or from wireless clients that connect to the trusted wireless interface. Wireless users will have full Internet access based on the rules you configure for outgoing access on your Firebox.
If you want your wireless users to be on the same network as your wired trusted network, you must use a network bridge between the trusted wireless interface and trusted wired interface.
We recommend that you use Policy Manager to perform this task. The Fireware Web UI requires a management connection to your trusted interface that needs to be temporarily disabled during the procedure.
To bridge the wireless interface with your Trusted interface in Policy Manager:
- Connect to the Firebox device with WatchGuard System Manager.
- Open Policy Manager.
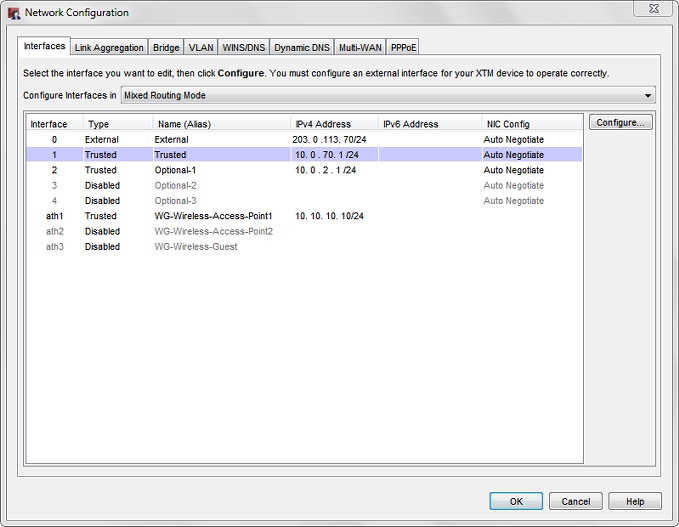
- Go to Network > Configuration and configure the Trusted interface.
- Copy down all of the settings for this interface. (For example: IP address, DHCP pool, reserved MAC addressing)
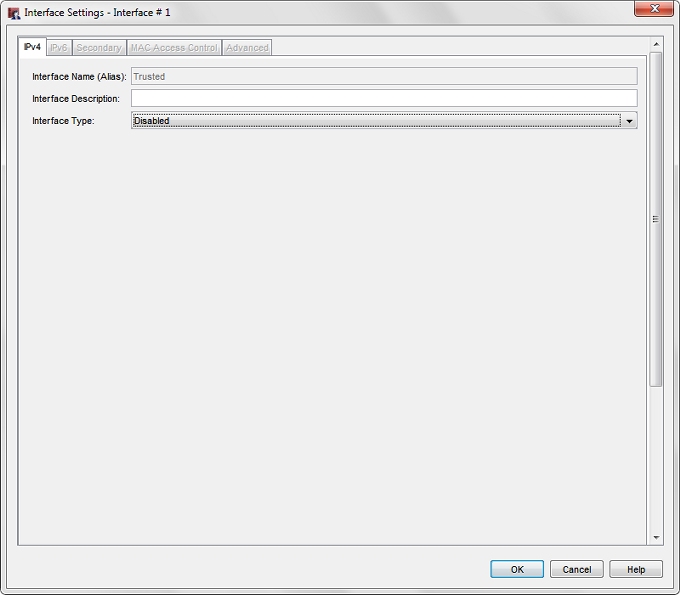
- From the Interface Type drop-down list, select Disabled, then click OK.
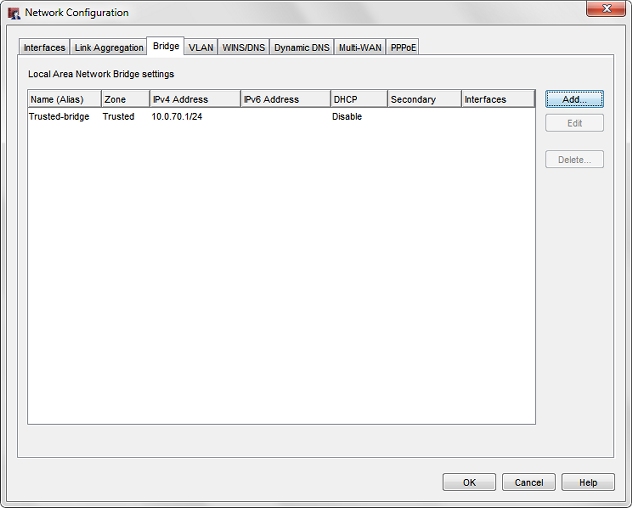
- In the Network Configuration dialog box, select the Bridge tab.
- Click Add.
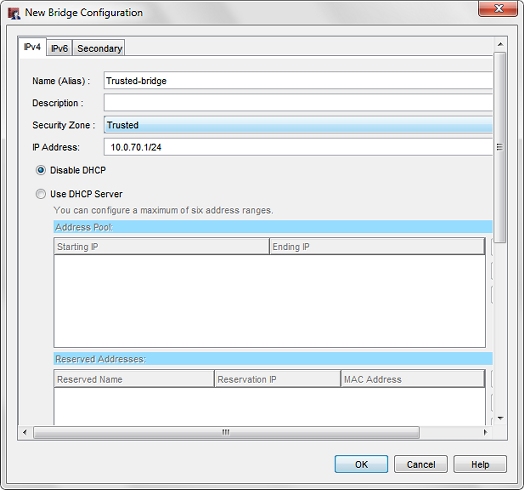
- Configure the Bridge interface profile identically to how the Trusted interface was configured with the same settings, then click OK.
- In the Network Configuration dialog box, select the Interfaces tab.
- Edit the Trusted interface that you previously disabled.
- From the Interface Type drop-down list, select Bridge.
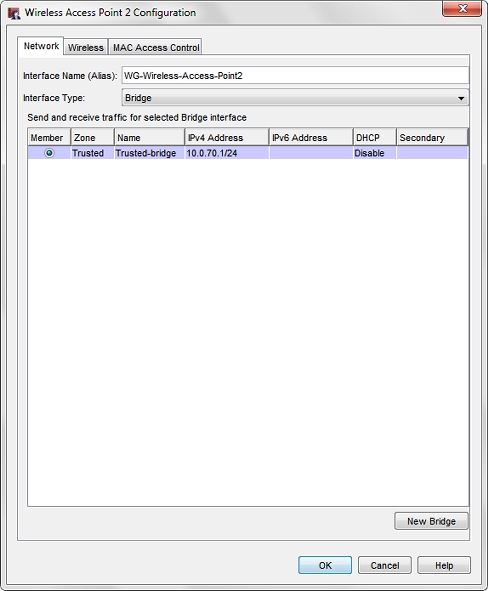
- The Bridge interface profile you created appears in the window below. Select the radio button associated with this Bridge interface and click OK.

- Click OK to close the Network Configuration dialog box.
- From Policy Manager, go to Network > Wireless.
- Configure the wireless interface that you want to bridge with the Trusted interface.
- From the Interface Type drop-down list, select Bridge.
- Select the radio button next to the Bridge profile you created in the previous steps, then click OK.
- Click OK to close the wireless interface configuration dialog box.
- Save the configuration to the Firebox.
Configure a Network Bridge in Fireware Web UI
If you want to use the Web UI to change an interface to a bridge interface, you must connect to a different interface to make this change.
Make sure the Firebox device has at least one other interface that you can use to connect to with the Web UI for management.
Caution: Do not change the interface that you are currently use to connect to with the Web UI to a bridge interface. This causes you to immediately lose the management connection to the device.
Use these steps to change the trusted or optional interface you use for management with the Web UI to a bridge interface.
From Fireware Web UI:
- Configure another trusted or optional interface to use as a temporary management interface.
- Connect the management computer to the new interface, and log in to the Web UI.
- Change the original management interface to a bridge interface, and configure a LAN bridge that includes this interface.
- Connect the management computer to the original management interface.
- Disable the temporary management interface.
For more detailed information, go to Create a Network Bridge Configuration.