HTTP Response: Content Types
Applies To: Locally-managed Fireboxes
When a web server sends HTTP traffic, it usually adds an IANA media type (formerly known as MIME types), or content type, to the packet header that shows what kind of content is in the packet. The HTTP header on the data stream contains this content type. It is added before the data is sent.
Certain kinds of content that users request from websites can be a security threat to your network. Other kinds of content can decrease the productivity of your users. The HTTP-proxy includes a list of commonly used content types that you can add to the ruleset. You can also add, delete, or modify the definitions.
The format of a content type is type/subtype. For example, if you wanted to allow JPEG images, you would add image/jpg to the proxy definition. You can also use the asterisk (*) as a wildcard. To allow any image format, you add image/*.
For a list of current, registered IANA media types, go to http://www.iana.org/assignments/media-types.
Add, Delete, or Modify Content Types
- On the Edit page for the proxy, select the Proxy Action tab.
- From the HTTP Response drop-down list, select Content Types.
The Content Types settings appear.
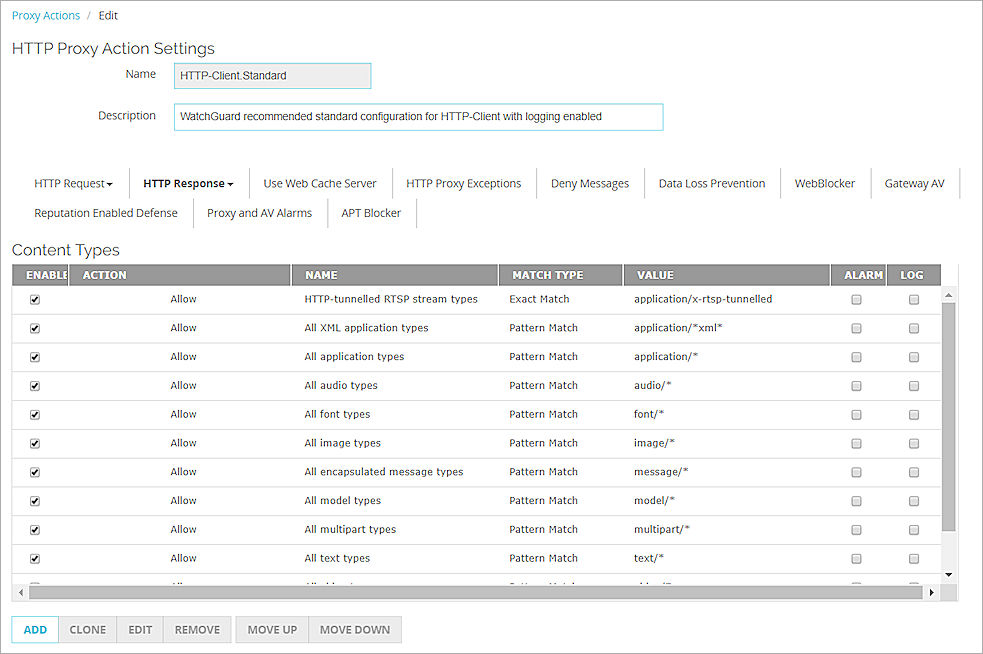
- Configure the rule action.
For more information, go to Add, Change, or Delete Rules. - To change settings for another category in this proxy, see the topic for that category.
- Click Save.
To add, delete, or modify content types, from Policy Manager:
- In the Categories tree, select HTTP Response > Content Types.
The Rules (simple view) list appears.
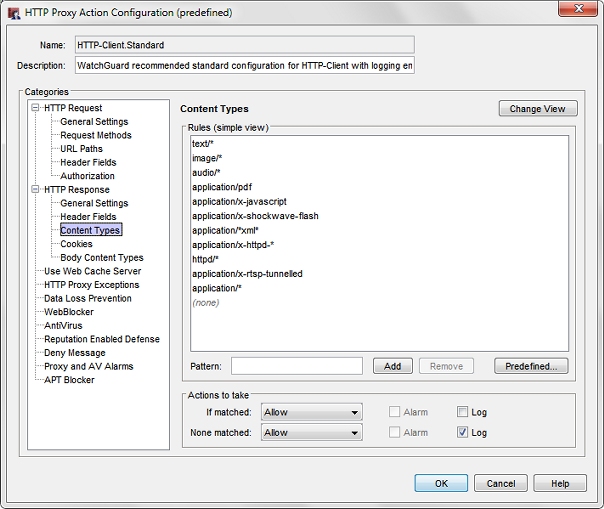
- Configure the rule action.
For more information, go to Add, Change, or Delete Rules. - To add content types, click Predefined .
The Select Content Type dialog box appears. - Select the type or types you want to add, and click OK.
The new types appear in the Rules box. - To change settings for another category in this proxy, see the topic for that category.
- Click OK.
If you modified a predefined proxy action, when you save the changes you are prompted to clone (copy) your settings to a new action.
For more information on predefined proxy actions, go to About Proxy Actions.