Applies To: Endpoint Security 360
You can temporarily manage Endpoint Security protection settings. To do so, you use the local administrator panel to enable and disable Endpoint Security protection settings. This can be useful when you want to troubleshoot an issue with the protections.
Your operator role determines what you can see and do in WatchGuard Cloud. Your role must have the Configure Per-Computer Settings permission to view or configure this feature. For more information, go to Manage WatchGuard Cloud Operators and Roles.
To allow the administrator panel to enable and disable Endpoint Security protection settings:
- In WatchGuard Cloud, select Configure > Endpoint Security.
- Select Settings > Per-Computer Settings.
- Select a security settings profile to edit.
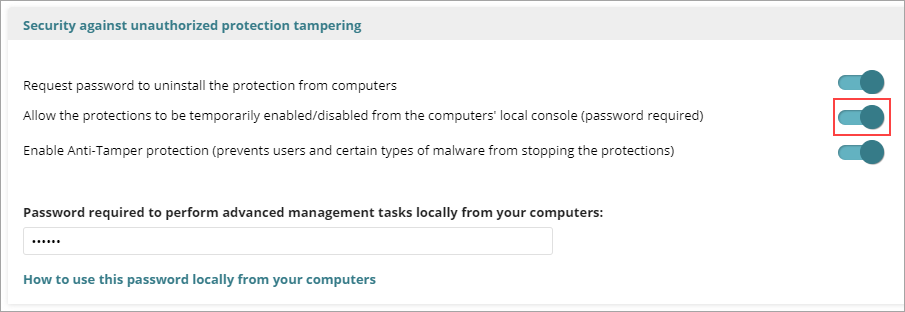
- Select Security Against Unauthorized Protection Tampering.
- Enable the Allow the Protections to Be Temporarily Enabled/Disabled from the Computer's Local Console toggle.
If you enable this option, users must enter the configured password to open the administrator panel on the protected computer, where users can temporarily enable and disable Endpoint Security protections. After the specified time period, the changes revert to the settings specified in the profile that you applied to the computer.
- From the local computer, open the endpoint security Administrator Panel.
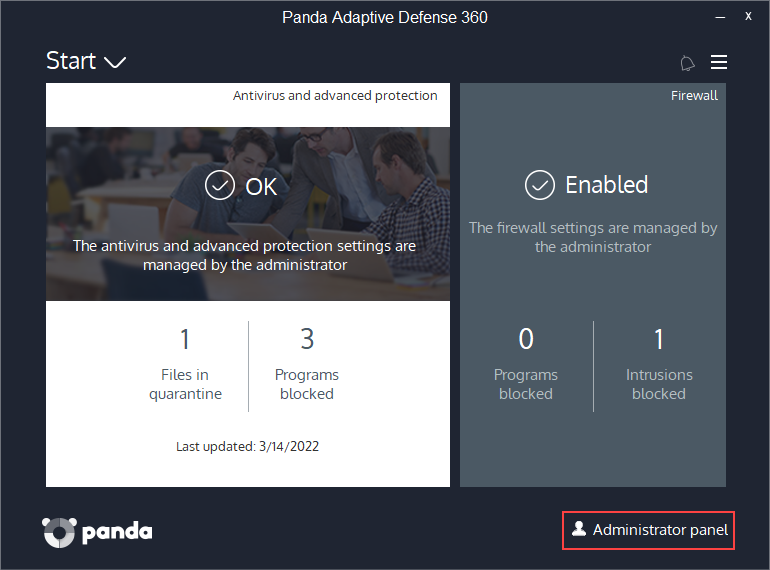
- In the Log In as Administrator text box, type the administrator password, and click Log In.
The Protection Status page opens. - Enable or disable an Endpoint Security protection.
- From the Cancel Changes drop-down list, select the amount of time to keep the changes.

- Click Log Out.
Contact Support
Use the PSInfo tool to provide diagnostic logs to help Support troubleshoot your issue. For more information, go to Get Started with PSInfo.