About the Navigator and Location Folders
To simplify management of your Wi-Fi networks, location subfolders inherit the SSID profiles, device settings, and security policies from the parent location folder. This also enables you to create a custom configuration for a specific location folder.
In Discover, click System > Navigator to view and manage your location folders.
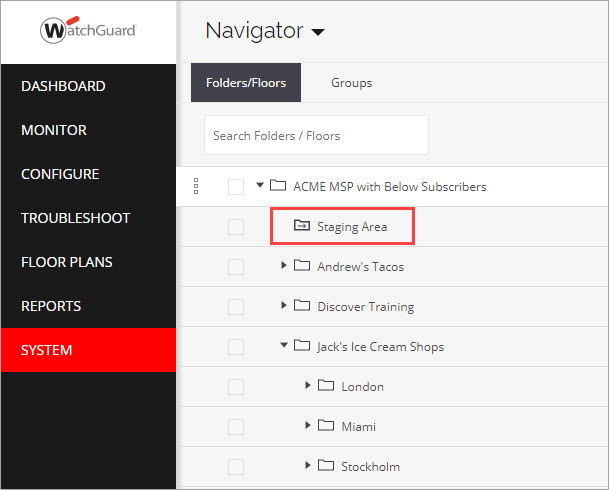
When new APs are deployed, they appear by default in the Staging Area folder.
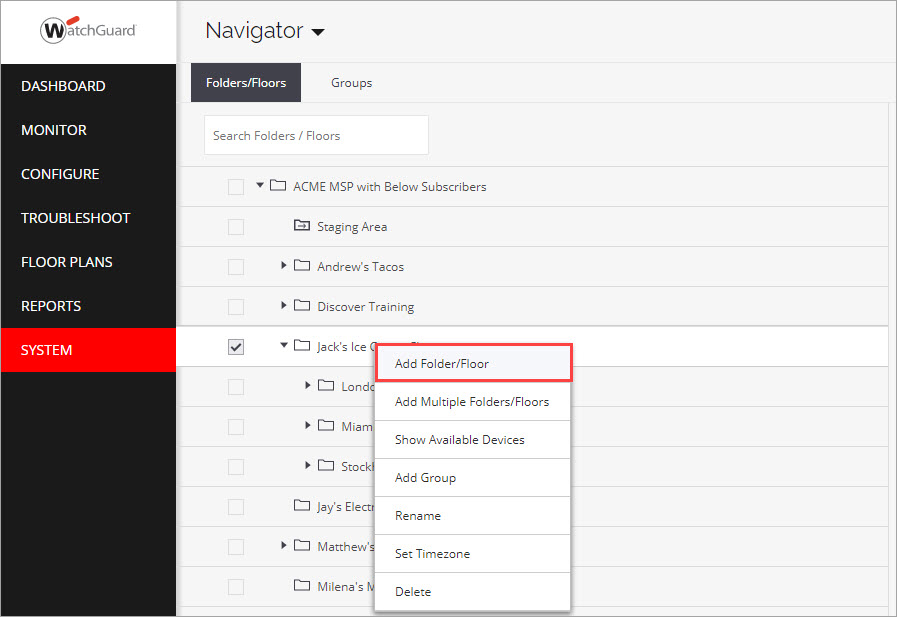
Add a New Folder
You can add new location folders to create an organizational structure for your Wi-Fi network.
To add a new location folder:
- In Discover, select System > Navigator.
- Right-click an existing folder, then select Add Folder/Floor. To add multiple folders and floors at the same time, click Add Multiple Folders/Floors.
- Type the name of the new location folder or floor, then click Add.
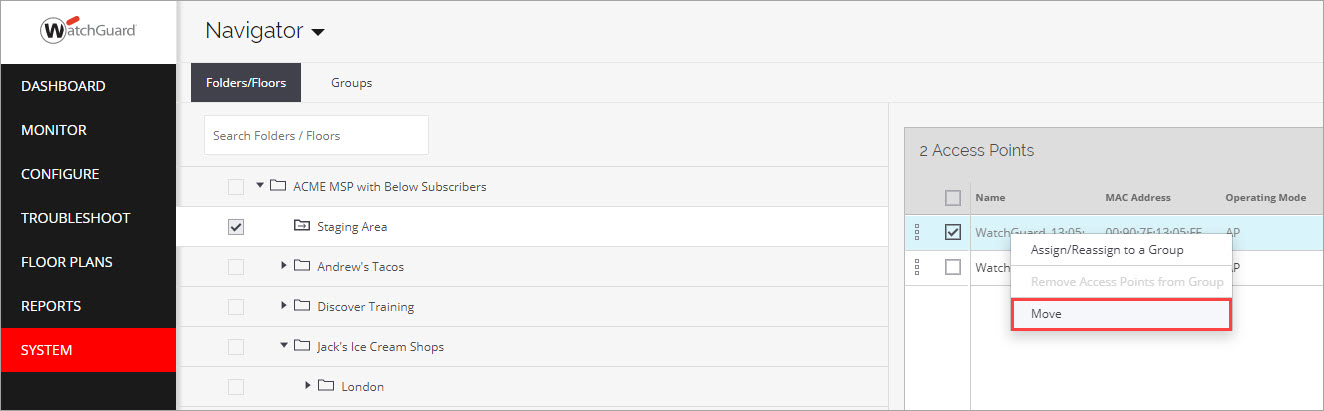
Move an AP to a New Folder
You can add new location folders and move your new APs from the Staging Area folder or existing APs in any folder to a new folder.
To move an AP to a new location folder:
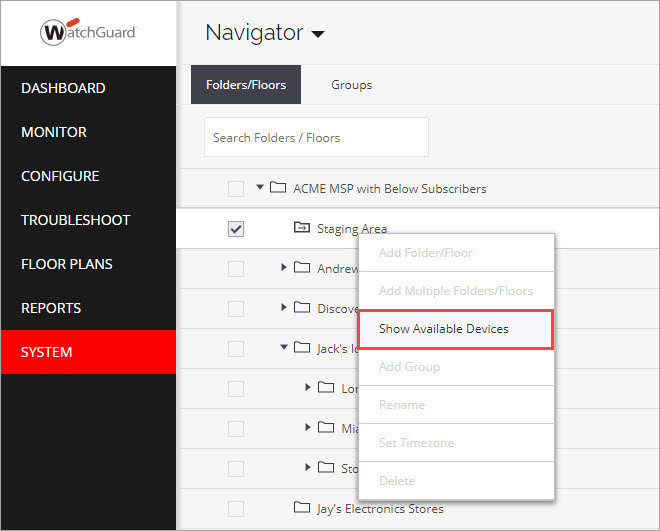
- Open Discover.
- Select System > Navigator.
- Right-click the location folder, then select Show Available Devices.
- From the Access Points list, right-click the AP to move, then select Move. Select the new location folder, then click Move.