Configure SSID Profiles
Applies To: Wi-Fi Cloud-managed Access Points (AP120, AP125, AP225W, AP320, AP322, AP325, AP327X, AP420)
To configure an SSID:
- Open Discover.
- From the Navigator, select a location for the SSID. SSIDs are automatically inherited by subfolder locations. Make sure to select the correct top-level location when you create an SSID.
- Select Configure > WiFi.
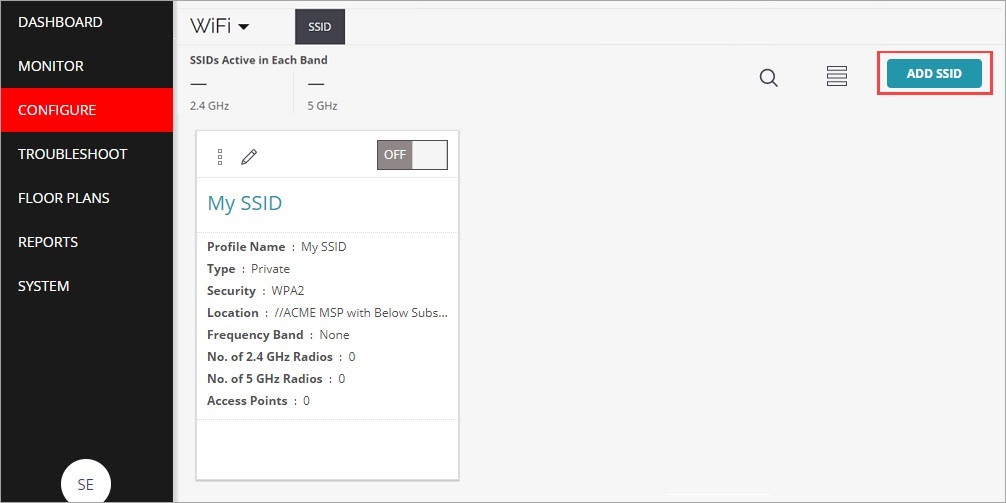
- Click Add SSID or select an existing SSID to configure.
- Configure these SSID settings:
Basic Settings
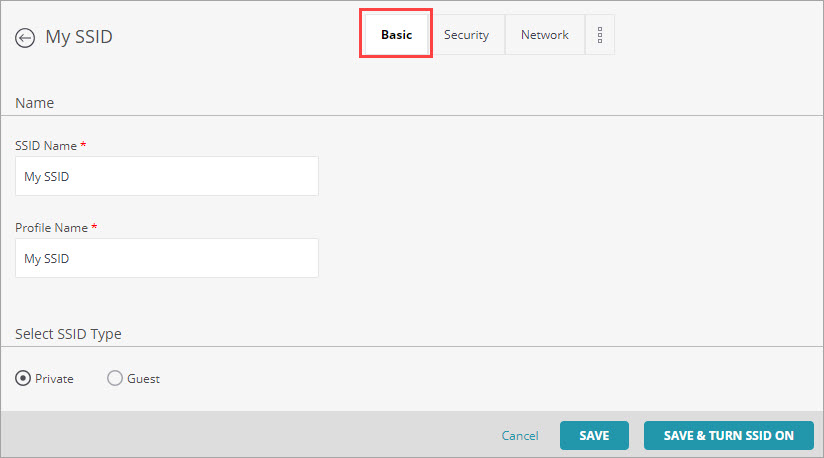
- Type the SSID Name and Profile Name. Use a descriptive name for the SSID and Profile name for your specific deployment.
- In the Select SSID Type section, select Private for a private Wi-Fi network SSID, or select Guest for a guest SSID Wi-Fi network.
- (Optional) Select the Hide SSID check box to not broadcast the SSID name on the Wi-Fi network.
- Click Next or click the Security tab to go to the next configuration section.
Security Settings
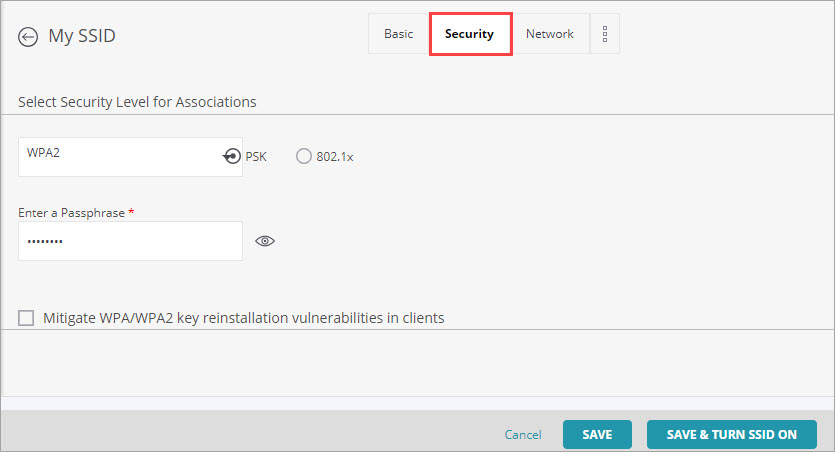
- From the Select Security Level for Associations drop-down list, we recommend at minimum you select WPA2 with PSK security. If required, you can customize the security settings specific to your deployment.
- Type a Passphrase for the security mode you selected.
- Keep other settings at their default value or customize the settings for your deployment as required.
Network and Other SSID Settings
- Leave the default settings in this section unless you have specific configuration requirements for your deployment.
- Click Save to save the SSID settings, or click Save & Turn SSID On to save your settings and enable the SSID on your Wi-Fi network.
Repeat these steps to add additional SSIDs to your network.