You can see all messages on the Quarantine Server in the Quarantine Server Client. You can sort messages by user, quarantine status, sender, subject, and date/time received.
You must use the Quarantine Server Client to manage messages quarantined by DLP. Messages quarantined by DLP are not visible to users in the Quarantine Email Web UI on the Quarantine Server.
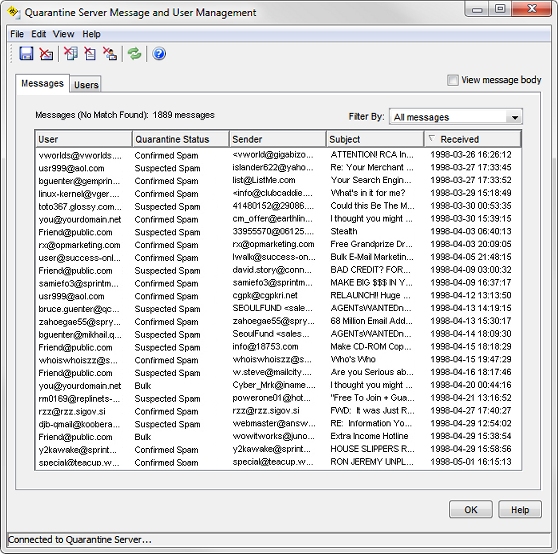
View Quarantined Messages
To launch the Quarantine Server client from WatchGuard System Manager, select Tools > Quarantine Server Client. For details, go to About the Quarantine Server Client. The Quarantine Server Message and User Management dialog box appears. The quarantined messages appear in the Messages tab.
Set Message Viewing Options
Click on any column heading to sort the list of messages. You can use the Filter By drop-down list to see all messages or only those with a specified quarantine status.
To see the body of a message, select the View message body check box. Select any message. A second pane appears at the bottom of the dialog box that shows the message body. You can also select any message and select Edit > View Message Body, or right-click any message and select View Message Body.
Save Messages to a Local File
You can save a copy of a message on the Quarantine Server to a file.
- On the Messages tab of the Quarantine Server Message and User Management dialog box, select the message to save. You can save only one message at a time.
- Click
 .
.
Or, select File > Save As.
Or, right-click the message and select Save As. - Type or select the location where you want to save the file. Click Save.
Release Quarantined Messages to the Recipient
You can only release spam email messages to users. You cannot release messages that contain or are suspected to contain viruses, such as those detected by APT Blocker and Gateway AntiVirus.
- On the Messages tab, select the message or messages to release.
- To select a range of messages, click the first message, hold down the Shift key, and click the last message in the range.
- To select multiple messages that are not in a range, hold down Ctrl as you select each message.
- To select all messages, select Edit >Select All. Or, right-click any message and select Select All.
- Select Edit > Release Message.
Or, right-click a selected message and select Release Message.
After the message is sent to the user, the message is removed from the Messages tab.
Delete Messages Manually
- On the Messages tab, select the message or messages to delete.
- To select a range of messages, select the first message, hold down the Shift key, and select the last message in the range.
- To select multiple messages that are not in a range, hold down Ctrl as you select messages.
- To select all messages, select Edit >Select All.
Or, right-click any message and select Select All.
- Click
 .
.
Or, select Edit > Delete.
Delete Messages Automatically
You can have Quarantine Server automatically delete all future email messages from a specified domain or sender, or automatically delete messages that contain specified text in the subject line. All additional messages sent to any user with these properties are automatically deleted.
- On the Messages tab, select the message or messages with the properties to automatically delete.
- To select a range of messages, click the first message, press the Shift key, and click the last message in the range.
- To select multiple messages that are not in a range, hold down Ctrl as you select messages.
- To select all messages, select Edit > Select All. Or, right-click any message and select Select All.
- Choose an option for automatic deletion.
- From the Edit menu, select Auto-Remove > Sender Domain, Auto-Remove > Sender, or Auto-Remove > Subject. These options are also available from the right-click (context) menu.
- You can also use the equivalent icons to select these options.