Create Schedules for Firebox Actions
A schedule is a set of times for which a firewall policy is active or disabled. You must use a schedule if you want a policy action to automatically become active or inactive at the times you specify. You can apply a schedule you create to more than one policy if you want those policies or actions to be active at the same times.
For example, an organization wants to restrict certain types of network traffic during normal business hours. The network administrator could create a schedule that is active on weekdays, and set each policy in the configuration to use the same schedule.
If you want to apply an operating schedule to a feature such as WebBlocker, you must create multiple policies with WebBlocker enabled and apply separate schedules to the two policies.
- Select Firewall > Scheduling.
The Scheduling page appears. - To modify an existing schedule, select the schedule and click Edit.
The Schedule Settings page appears. - To create a new schedule, click Add.
The Add Schedule page appears.
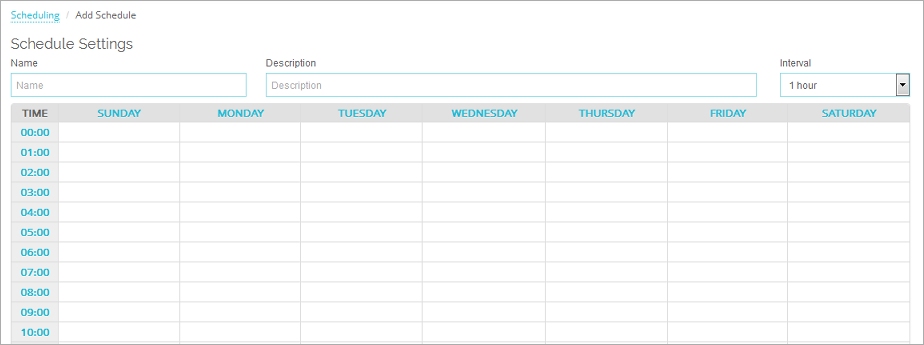
- For a new schedule, in the Name text box, type a descriptive name for the schedule.
You cannot modify the name of a saved schedule. - From the drop-down list, select the time interval to see in the schedule: 15 minutes, 30 minutes, 1 hour.
- Select the times for the schedule to operate for each day of the week.
- To abandon your changes, reload the page, and return to the current settings in the configuration file, click Restore.
- Click Save.
To create a schedule, from Policy Manager:
- Select Setup > Actions > Schedules.
The Schedules dialog box appears.
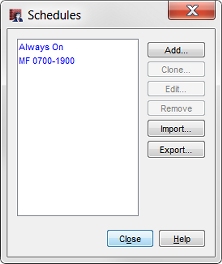
- To edit a schedule, select the schedule name in the Schedule dialog box and click Edit.
To create a new schedule from an existing one, select the schedule name and click Clone.
To create a new schedule, click Add.
The New Schedule dialog box appears. The chart in the dialog box shows days of the week along the x-axis (horizontal) and increments of the day on the y-axis (vertical).
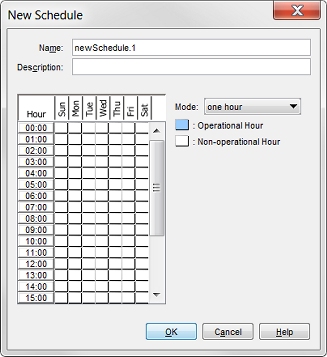
- Type a schedule name and description.
Make sure that the name is easy to remember.
The schedule name appears in the Schedules dialog box. - In the Mode drop-down list, select the time increment for the schedule: one hour, 30 minutes, or 15 minutes.
The chart on the left of the New Schedule dialog box shows your entry in the drop-down list. - Click boxes in the chart to change them to operational hours (when the policy is active) or non-operational hours (when the policy is not in effect).
- Click OK to close the New Schedule dialog box.
- Click Close to close the Schedules dialog box.