From Dimension, you can manually run a task to back up the historical data in your Dimension database. The amount of time it takes to create a backup file depends on the amount of log data to be included in the backup. You can back up historical data in 24-hour increments. You can also run a task to restore the historical data from a backup file to your Dimension database.
Only users with Super Administrator credentials can back up and restore historical data to Dimension.
Before you can create a backup file, you must specify a directory where the backup files are saved. The backup directory location is specified in the Dimension System Settings > Configuration settings. For more information and instructions to specify the backup directory location, see Configure Remote Backup Settings.
You can monitor the progress of the backup or restore tasks from the Manage Tasks page.
Manually Back Up Historical Data
To manually create a backup file of the historical data on your instance of Dimension:
- Select

 > Administration > Administration > Manage Tasks.
The Manage Tasks page opens.
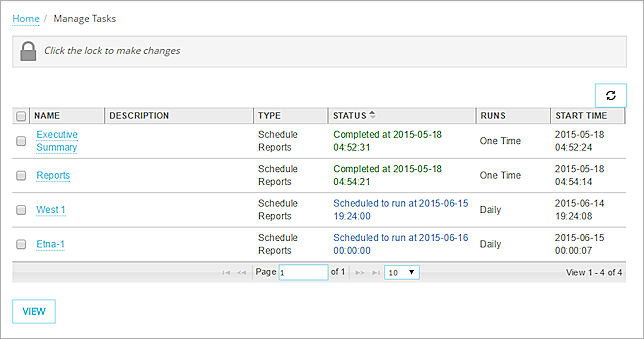
- To unlock the configuration so you can make changes, click
 .
.
For more information about how to unlock and lock the Dimension configuration, go to Lock and Unlock the Dimension Configuration.
The configuration is unlocked and the Add, Edit, and Remove buttons appear.
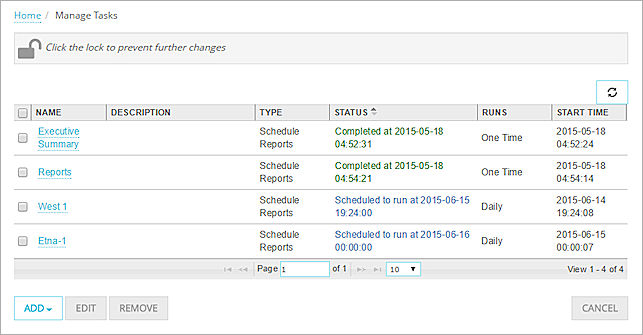
- Click
 and select Back Up Historical Data.
The Back Up Historical Data dialog box opens. - In the Task Name text box, specify a name for this task.
- (Optional) In the Description text box, type a description of this task.
- In the Start date text box, type or select the start of the date range of the historical data to include in the backup file, in UTC time.
- In the End date text box, type or select the end of the date range of the historical data to include in the backup file, in UTC time.
The End date must be later than the Start date and cannot be later than the current date. - To notify the Dimension administrator when the task completes or fails, select the Send an email notification to the administrator when logs are backed up successfully or when backup fails check box.
- Click Backup Now.
The backup file is generated and saved to the remote backup directory you selected. One backup file is created for each UTC day in the date range you specified. The name of the backup file is the date the file was generated.
Restore Historical Data
When you restore a backup file of historical data to your Dimension server database, the data in the backup file are added to the existing log files in your database. If the files you import do not increase the size of your Dimension server database to over 95% of the maximum database size, all of the existing and newly imported log files are maintained in the Dimension server database. If the log files you import increase the size of your Dimension server database to 95% of the maximum database size, the oldest log files are purged until the database size is reduced to under the maximum database size.
To restore a backup historical data file:
- Select > Administration > Administration > Manage Tasks.
The Manage Tasks page opens. - Click and select Restore Historical Data.
The Restore Historical Data dialog box opens. - In the Task Name text box, specify a name for this task.
- (Optional) In the Description text box, type a description of this task.
- In the Start Date text boxes, type or select the start of the date and time range for the historical data backup file, in UTC time.
- In the End Date text boxes, type or select the end of the date and time range for the historical data backup file, in UTC time.
- Click Restore Now.
The selected historical data records are restored to the Dimension server database.
See Also
Configure General Server Settings