Applies To: WatchGuard Advanced Reporting Tool and Data Control
Sending policies enable you to define how to send generated alerts. You can deliver alerts to servers, groups, or individuals either in real-time or at set intervals.
When you create a sending policy, you include the anti-flooding policy and delivery methods. For more information, see Create an Anti-Flooding Policy for Alerts and Configure Delivery Methods for Alerts.
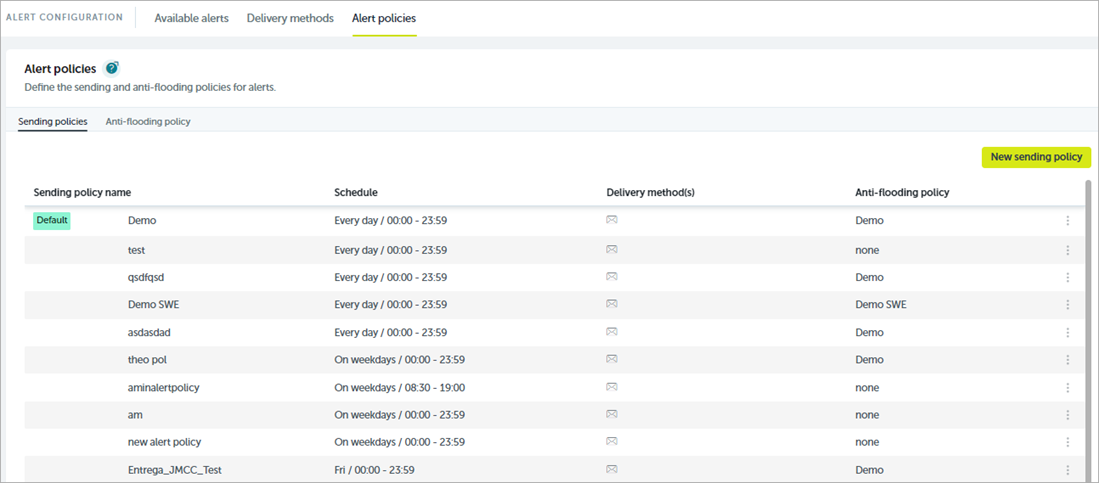
To create a sending policy, in the Advanced Visualization Tool:
- From the left pane, select Administration > Alerts Configuration.
- Select Alert Policies.
- Select Sending Policy.
- Click New Sending Policy.
The New Sending Policy dialog box opens.
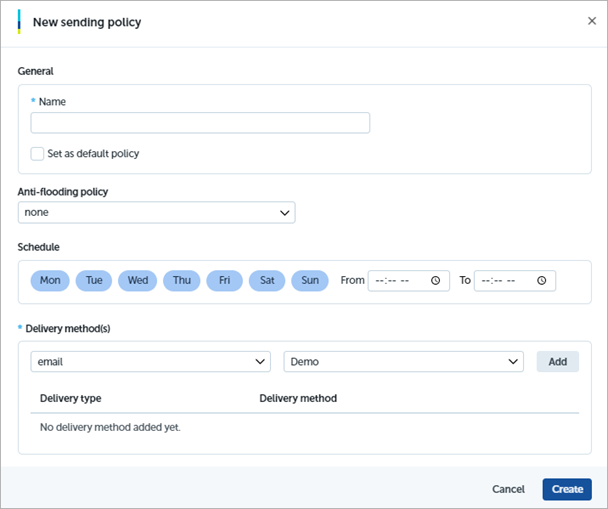
- In the Name text box, type a unique name for the sending policy.
- To automatically assign this policy as the sending policy when an alert does not have a sending policy, select the Set as Default Policy check box.
- From the Anti-flooding Policy drop-down list, select the anti-flooding policy you want to apply.
For more information, go to Create an Anti-Flooding Policy for Alerts. - In the schedule section, select the days of the week and the time period when the sending policy is active.
-
From the drop-down lists, select a delivery type and delivery method.
For more information, go to Configure Delivery Methods for Alerts. - Click Add.
- Repeat steps 9 and 10 for each delivery method you want to add.
- Click Create.
Assign a Sending Policy to an Alert
After you create a sending policy, you can assign it to alerts on the Available Alerts tab.
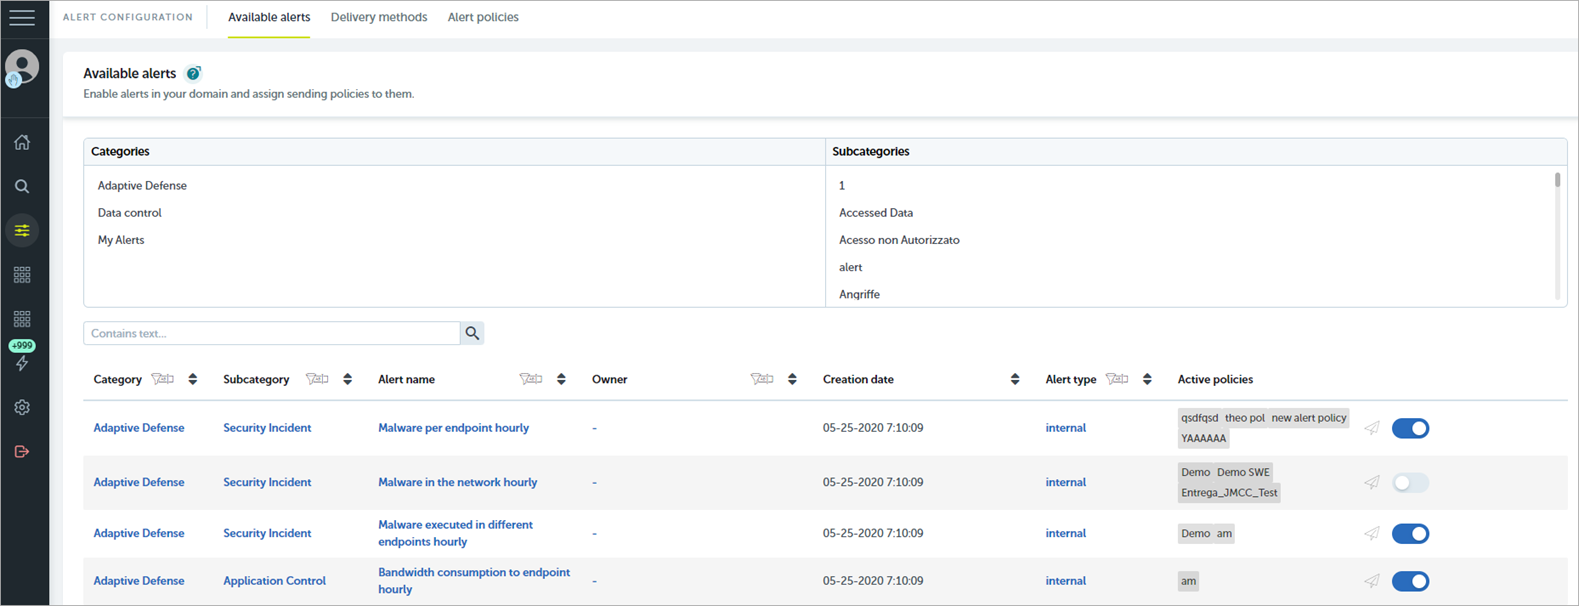
To assign a sending policy to an alert:
- From the left pane, select Administration > Alerts Configuration.
- Select Available Alerts.
- To filter the list of alerts, use the All Categories and All Subcategories boxes.
- To further reduce the number of alerts in the list, enter keywords in the Filter box.
- From the list, select the alert you want to assign a sending policy to.
- In the Active Policies column, click
 .
.
The Sending Policies dialog box opens.
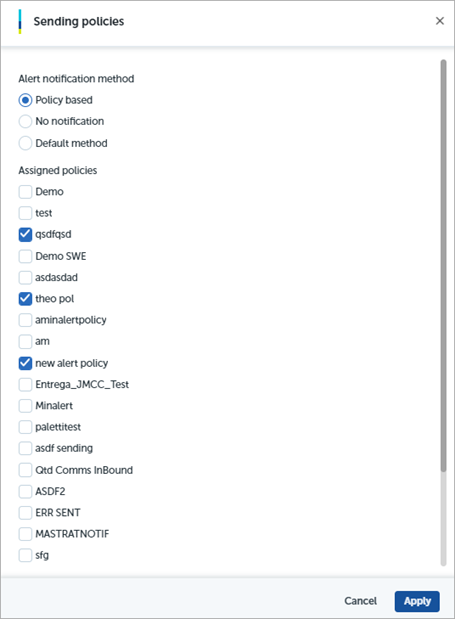
- Select the sending policies you want to assign to the alert.
- Click Apply.
Edit and Delete Sending Policies
You can edit or delete an existing policy on the Sending Policy tab.
To edit a sending policy, in the Advanced Visualization Tool:
- From the left pane, select Administration > Alerts Configuration.
- Select Alert Policies.
- Select Sending Policy.
- From the list of policies, click
 in the row for the policy you want to edit.
 - Select Edit.
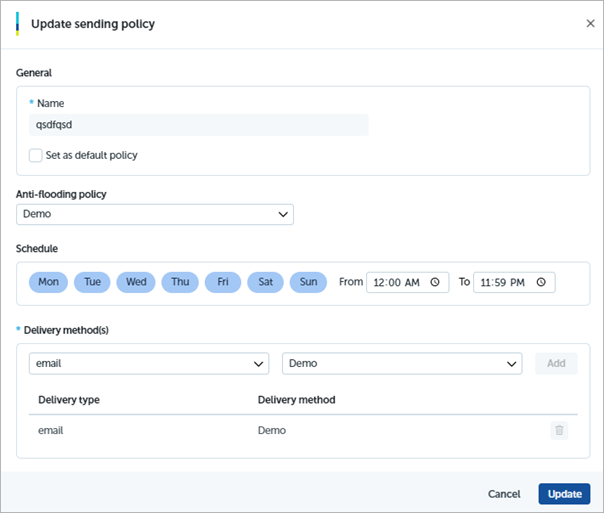
- To automatically assign this policy as the sending policy when an alert does not have a sending policy, select the Set as Default Policy check box.
- From the Anti-flooding Policy drop-down list, select the anti-flooding policy you want to apply.
- In the schedule section, select the days of the week and the time period when the sending policy is active.
- From the drop-down lists, select a delivery type and delivery method. Click Add.
- To delete an existing delivery type and method, in the row of the method you want to delete, click
 .
. - Click Update.
To delete a sending policy, in the Advanced Visualization Tool:
- From the left pane, select Administration > Alerts Configuration.
- Select Alert Policies.
- Select Sending Policy.
- From the list of policies, click in the row for the policy you want to delete.
- Select Delete.
A Warning dialog box opens.
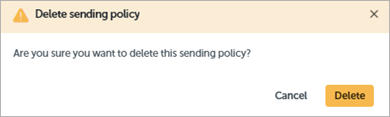
- Click Delete.