Applies To: Endpoint Security Elite, Endpoint Security 360, Endpoint Security Prime, WatchGuard EDR, WatchGuard EDR Core, Endpoint Security Basic
On the Network Services > Cache page, you designate Windows computers that can act as repositories of signature files, security patches, and other components used to update the WatchGuard Endpoint Security software installed on other computers and devices.
In a Network Settings profile you configure how to use computers with the cache role. For more information, go to Configure Cache Computers Use on the Network.
How a Cache Computer Works
When you designate a computer as cache, it broadcasts its status to the network segments to which its interfaces connect. All workstations and servers set to automatically detect cache computers receive the notification and connect to the cache computer. If there is more than one designated cache computer on a network segment, computers on the subnet connect to the most appropriate one based on the amount of free resources it has. Computers on the network set to automatically detect cache computers check periodically whether there are new computers with the cache role.
In a Network Settings profile you configure whether to use computers with the cache role automatically or in a specific order. When you enable automatic mode, the computer with the cache role assigned and the computer that downloads items from it must be on the same subnet. If a cache computer has multiple network cards, it is able to act as a repository on each network segment to which it is connected. All other computers automatically discover the presence of the cache and redirect their update requests to it.
In addition to being on the same subnet, the cache computer must have a WatchGuard Endpoint Security license assigned. The firewall must be configured to allow incoming and outgoing Universal Plug and Play (UPnP) and Simple Service Discovery Protocol (SSDP) traffic on User Datagram Protocol (UDP) port 21226 and Transmission Control Protocol (TCP) port 18226.
When you manually configure the cache computers and the order they are used, the computer with the cache role assigned and the computer that downloads items from do not need to be on the same subnet. The cache computer must have a WatchGuard Endpoint Security license assigned and the firewall must be configured to allow incoming and outgoing traffic on User Datagram Protocol (UDP) port and Transmission Control Protocol (TCP) port 21226, and TCP port 18226.
Cached Items and Capacity
Cache computers download and store files required by other computers with WatchGuard Endpoint Security installed. Access to cache computers can speed up updates and patch downloads. Cache computers save bandwidth because not every computer has to separately download the updates they need. They download all updates centrally for other computers that require them.
A computer designated with the cache role can cache these items:
- Signature Files — Cached until they are no longer valid
- Installation Packages — Cached until they are no longer valid
- Update Patches for Patch Management — Cached for 30 days
The capacity of a cache computer depends on the number of simultaneous connections it can accommodate and the type of traffic it manages (such as signature file downloads or installer downloads). A cache computer can serve approximately 1,000 computers simultaneously.
Designate a Computer as a Cache Computer
You designate a computer as a cache computer and then add it to a Network Settings profile that is assigned to computers and devices on the network.
We recommend that you designate a computer with the cache role on each network segment on the corporate network.
Your operator role determines what you can see and do in WatchGuard Cloud. Your role must have the Add, Discover, and Delete Computers permission to view or configure this feature. For more information, go to Manage WatchGuard Cloud Operators and Roles.
To designate a computer as a cache computer:
- In WatchGuard Cloud, select Configure > Endpoint Security.
- Select Settings.
- From the left pane, select Network Services.
- Select the Cache tab.
The Cache page opens with a list of all computers that have been configured as a cache computer. - Click Add Cache Computer.
The Add Cache Computer dialog box opens with a list of all the Windows computers.
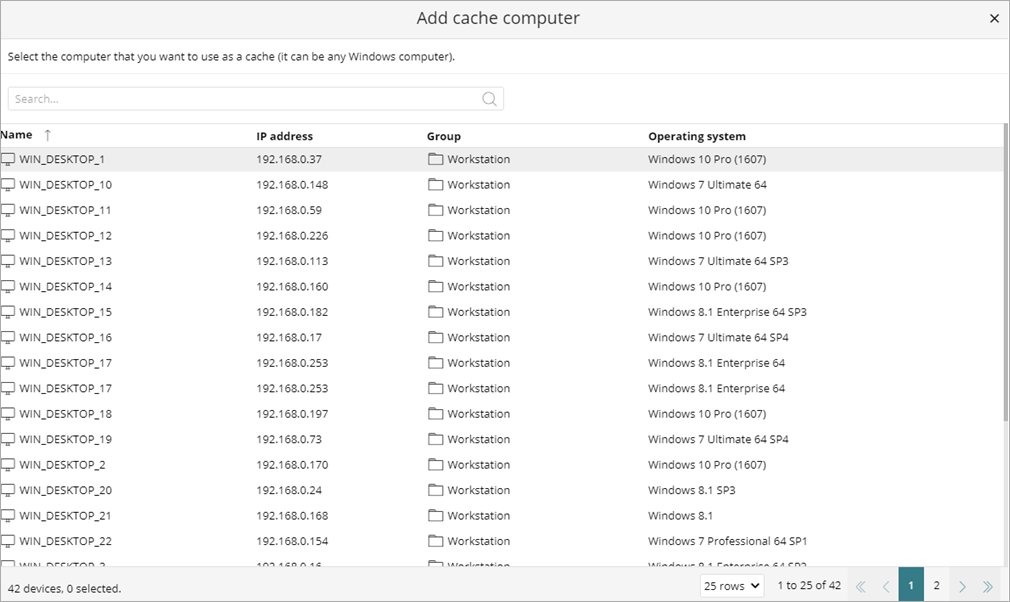
- In the search bar, type search terms, such as the name of the computer you want to add as a cache computer.
- Select the computer you want to add.
The selected computer downloads all necessary files to keep its repository automatically synchronized.
Remove the Cache Role from a Computer
To remove the cache role from a computer:
- In WatchGuard Cloud, select Configure > Endpoint Security.
- Select Settings.
- From the left pane, select Network Services.
- Select the Cache tab.
- Next to the computer you want to remove from the list, click
 .
.
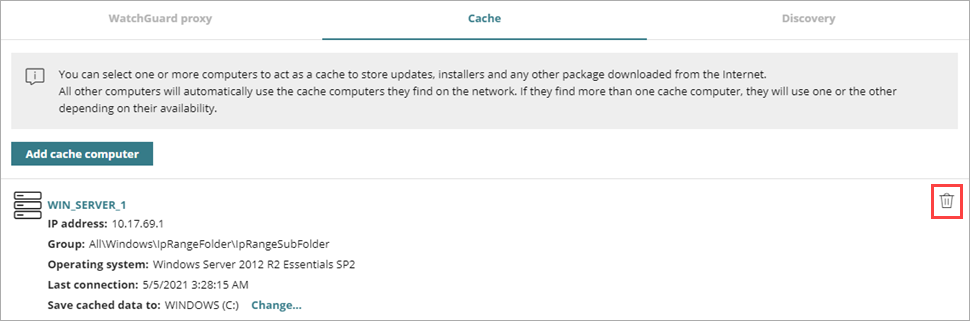
- Click Delete.
WatchGuard Endpoint Security empties the cache. The computer will no longer provide updates and other packages to the other computers on the network.
Specify the Storage Drive
You can configure the WatchGuard Agent to store cached items on a specific drive of the cache computer.
You can only select a drive on a computer which has reported its status to WatchGuard Cloud. If the drive has not reported its status, the drive that stores the WatchGuard Endpoint Security installation files is selected by default.
To specify the cache drive:
- In WatchGuard Cloud, select Configure > Endpoint Security.
- Select Settings.
- From the left pane, select Network Services.
- Click the Cache tab.
- Select a computer from the list of cache computers.
- Click Change.
The Select Drive dialog box opens and shows the available drives. - To view the space on a drive, point the mouse at the tile.
A tooltip shows the percentage of used and free space. Only drives with 1 GB or more of free space are available to store cached items. - Select the drive where you want to store the cached items.
- Click Select.
WatchGuard Endpoint Security starts to copy the cached items. When the process is complete, the items are deleted from their original location.
If there is not enough free space or a write error occurs when you select the drive, an error message appears below the cache computer and indicates the cause of the problem.