This document describes how to set up SAML authentication through the WatchGuard Access Portal with Okta as the Identity Provider.
You can configure Single Sign-On to use SAML authentication and enable your users to log in through one portal and get access to multiple services.
Contents
Integration Summary
The hardware and software used in this guide include:
- Okta
- WatchGuard Firebox:
- Fireware v12.10
- Feature key with an Access Portal license
Test Topology
This integration uses Okta Identity Cloud services to communicate with a WatchGuard Firebox over a public Internet connection:

Configure Your Firebox for Okta
The WatchGuard Access Portal is a subscription service. Before you can configure Access Portal on your Firebox, your feature key must have an active Total Security Suite license.
To configure the Access Portal settings on your Firebox for Okta, from Fireware Web UI:
- Log in to Fireware Web UI.
- Select Subscription Services > Access Portal.
The Access Portal page opens.
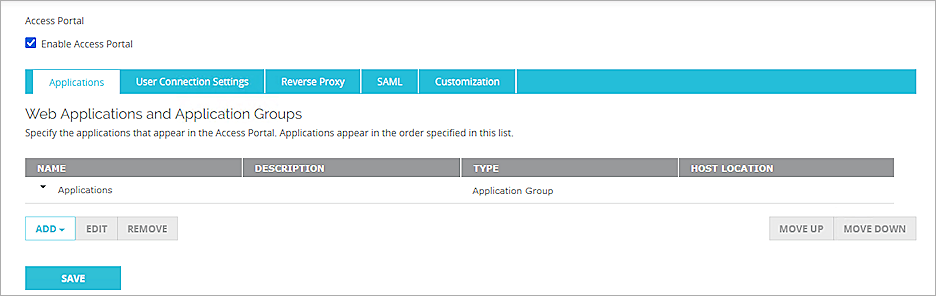
- Select the Enable Access Portal check box.
- Select the SAML tab.
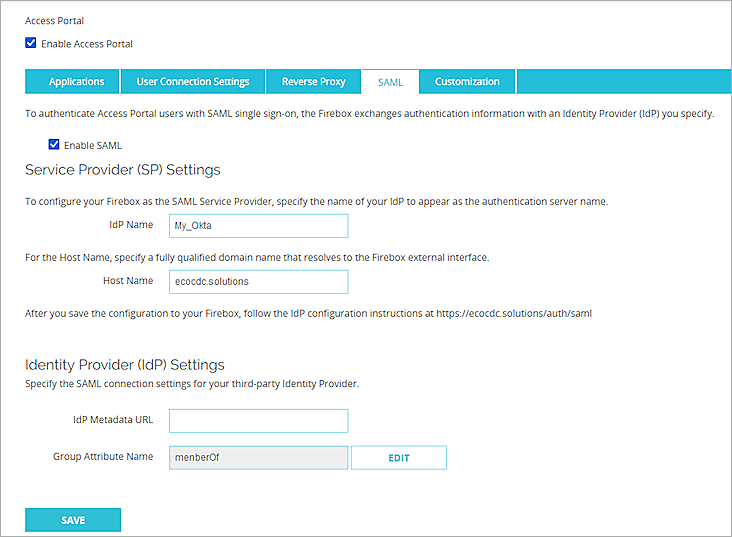
- Select the Enable SAML check box.
- In the Service Provider (SP) Settings section, provide these details:
You add the IdP settings later in this process.- IdP Name — Specify a name for the SAML authentication to appear in other Firebox settings as the server name. In this example, we use My_Okta.
- Host Name — Specify the fully qualified domain name that resolves to the Firebox external interface.
- Click Save.
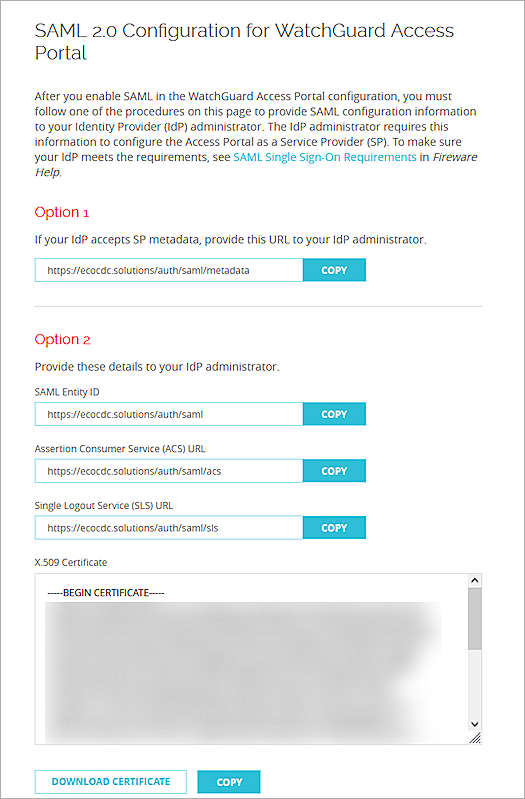
- Open a web browser, and go to https://<host name or IP Address>/auth/saml. If you configure an Access Portal port number other than 443, you must go to https://<Firebox interface IP address>:<custom port number>/auth/saml.
The configuration instructions page appears.Several Firebox features uses SSL/TLS for secure communication. For more information, go to Shared Settings and Policy.
- Copy these values from the configuration instructions page:
- SAML Entity ID in this format: https://<host name>/auth/saml
- Assertion Consumer Service (ACS) URL in this format: https://<host name>/auth/saml/acs
- Single Logout Service (SLS) URL in this format: https://<host name>/auth/saml/sls
- Click Download Certificate.
Configure Okta
To configure Okta, complete these steps:
Add an Okta Group and User
To add an Okta group and user:
- Log in to the Okta Admin Console.
- Select Directory > Groups > Add Group.
- In the Name text box, type a group name.
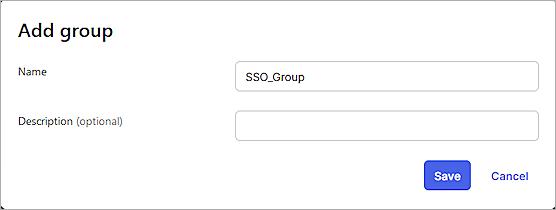
- Click Save.
- To add a user in Okta, select Directory > People > Add Person.
You can add your own user information.
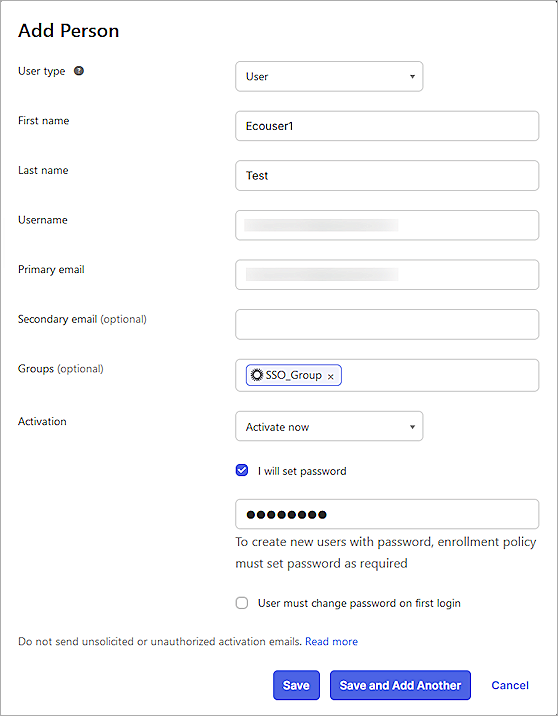
- On the Add Person page, type the required details, then click Save.
You can import users and groups from Active Directory to Okta. For more information, go to the Okta documentation.
Configure a SAML 2.0 Application
To configure a SAML 2.0 application:
- Select Applications > Applications.
The Applications page opens.
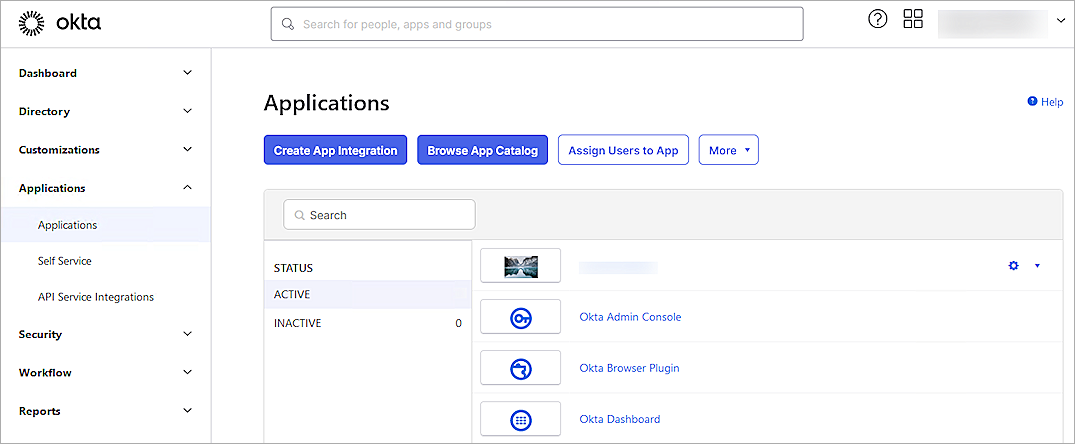
- Click Create App Integration.
The Create a New App Integration page opens.
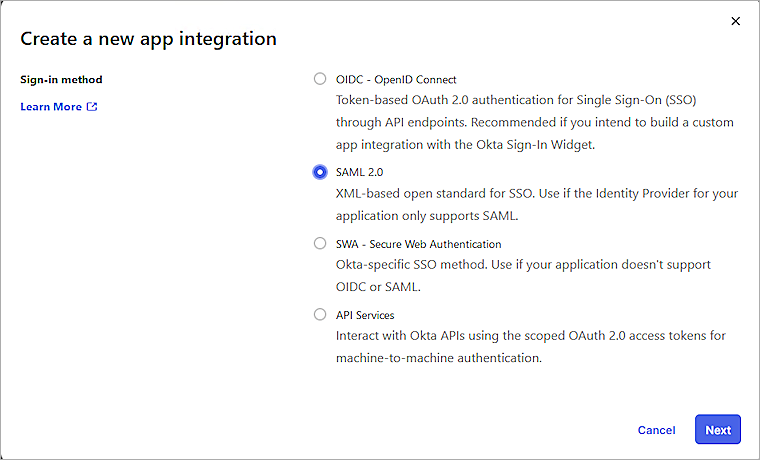
- Select SAML 2.0 as the sign-in method, then click Next.
The Create SAML Integration page opens.
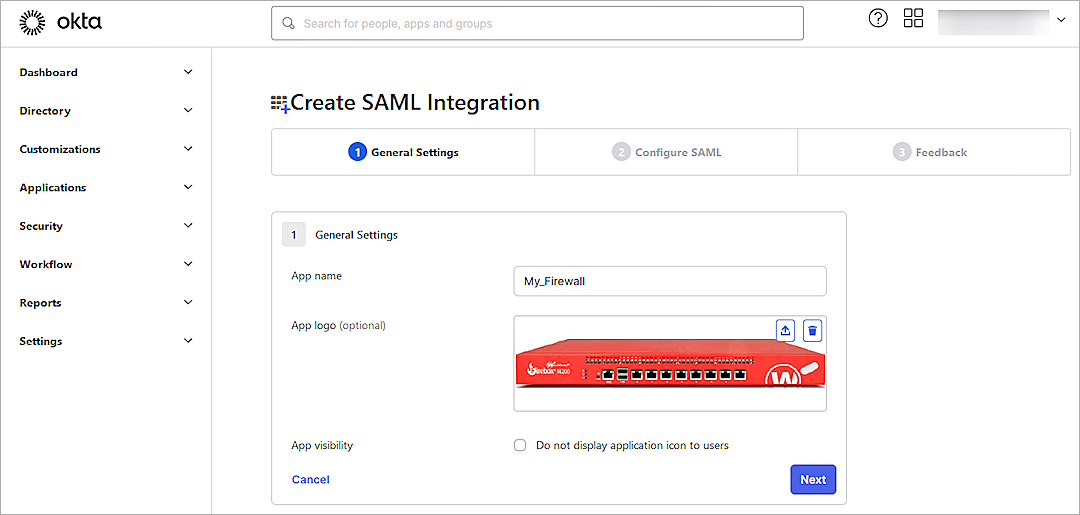
- In the App Name text box, type a name.
- (Optional) To upload a logo, from the App Logo section, click the Upload icon, then select an image to upload.
- Click Next.
The Configure SAML tab opens.
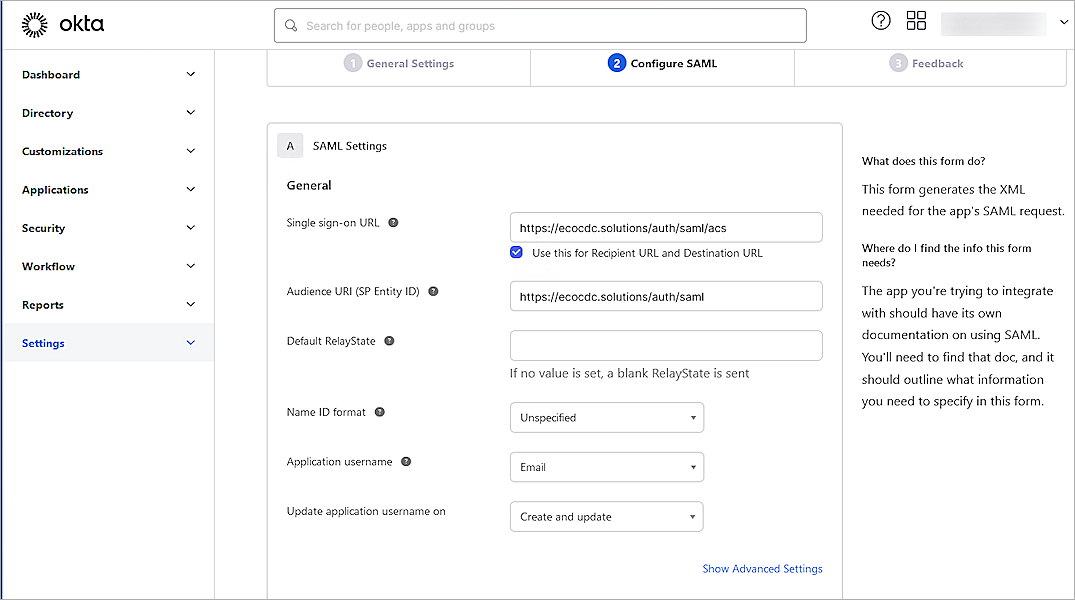
- On the SAML Settings page, in the General section, configure these settings:
Single Sign On URL
Type or paste the URL in this format: https://<host name>/auth/saml/acs
The WatchGuard label is the Assertion Consumer Service (ACS) URL.
Audience URL (SP Entity ID)
Type or paste the URL in this format: https://<host name>/auth/saml
The WatchGuard label is the SAML Entity ID.
Leave the Default RelayState text box blank.
Name ID Format
Select Unspecified.
Application Username
Select Email.
Update Application Username On
Select Create and Update.
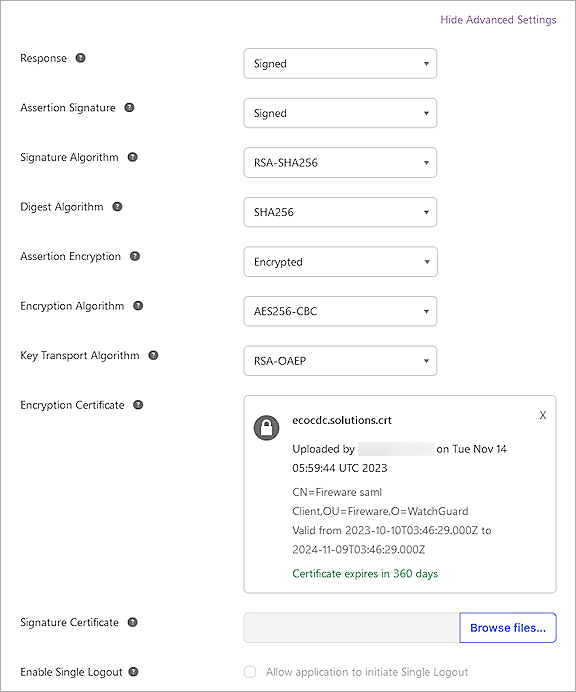
- Click Show Advanced Settings, then specify these settings:
Response
Select Signed.
Assertion Signature
Select Signed.
Signature Algorithm
Select RSA-SHA256.
Digest Algorithm
Select SHA256.
Assertion Encryption
Select Encrypted.
Encryption Algorithm
Select AES256-CBC.
Key Transport Algorithm
Select RSA-OAEP.
Encryption Certificate
Click Browse Files, then select the certificate you downloaded from the WatchGuard SAML 2.0 Configuration for WatchGuard Access Portal in the Configure Your Firebox for Okta section of this document.
- Keep the default values for other settings.
- In the Group Attribute Statements (optional) section:
- In the Name text box, type memberOf. This example uses group authentication. If you want to use user authentication, skip this step.
- From the Filter drop-down list, select Equals.
- In the adjacent text box, type the Okta group name you created.
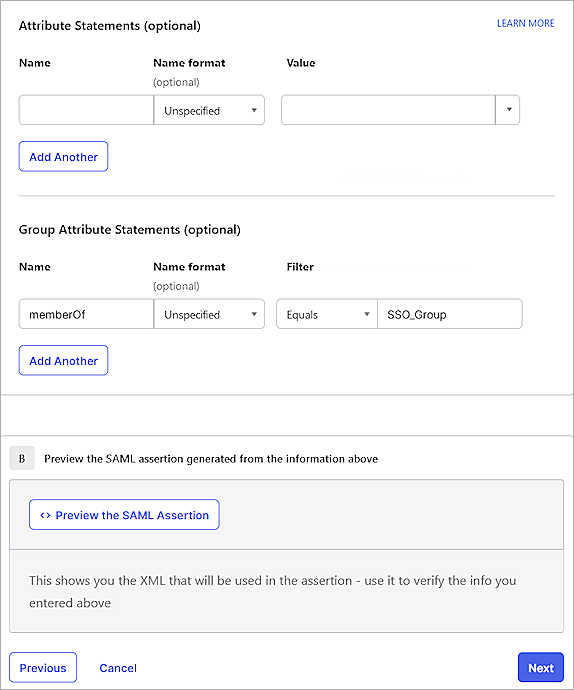
- Click Next.
- In the Are you a customer or partner? section, select one of these options:
- I'm an Okta Customer Adding an Internal App — Most deployments are in this category.
- I'm a Software Vendor. I'd Like to Integrate my App with Okta — Select this option if your company deploys a service for general public use.
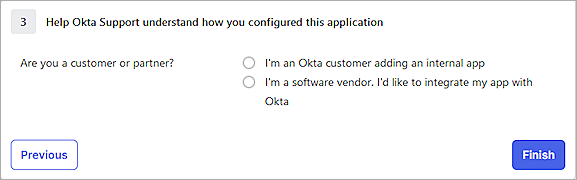
- Click Finish.
- Select the Sign On tab.
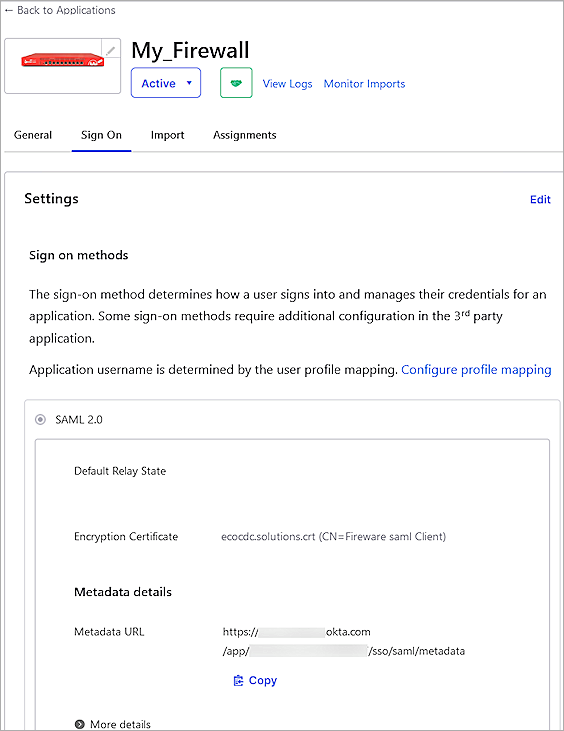
- From the Metadata Details section, copy the text in the Metadata URL text box. The Okta Metadata URL is used in the WatchGuard Access Portal.
The link is in this format: https://<okta account name>.okta.com/app/<random value>/sso/saml/metadata - Select the Assignments tab.
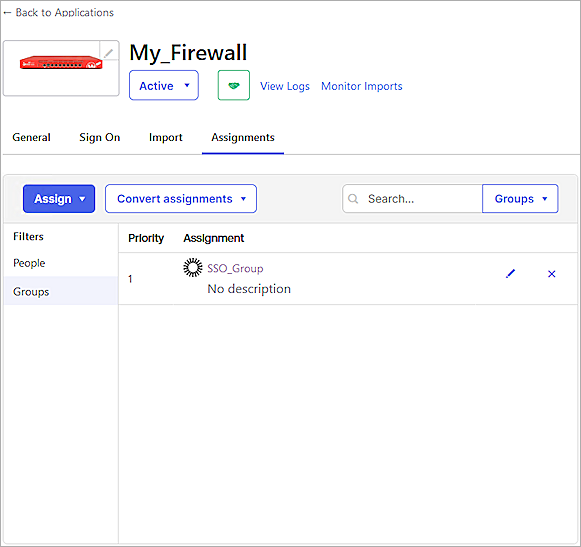
- Select Assign > Assign to Groups.
If you select Assign to People, the user must belong to the group you configured in the Group Attribute Statements section. - Select the group, then click Assign.
- Click Done.
Complete the WatchGuard SAML Setup
To complete the WatchGuard SAML setup, from Fireware Web UI:
- Log in to Fireware Web UI.
- Select Subscription Services > Access Portal.
- Select the SAML tab.
The Access Portal page opens.
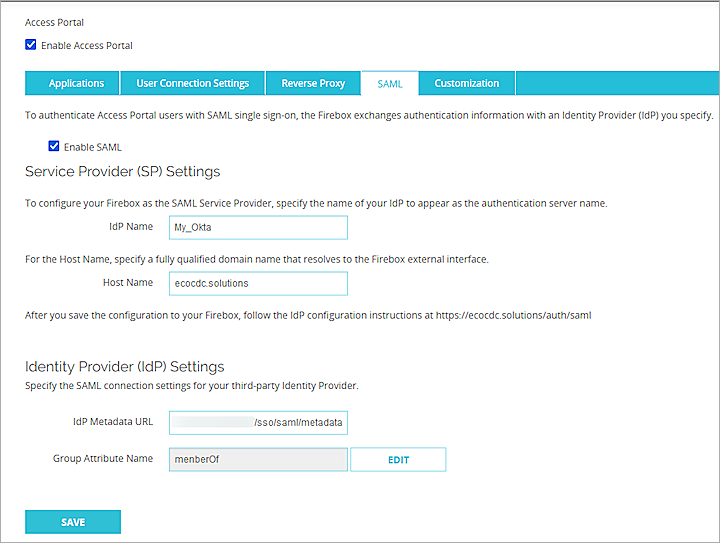
- From the Identity Provider (IdP) Settings section, in the IdP Metadata URL text box, type or paste the IdP Metadata URL you copied from Okta in the Configure a SAML 2.0 Application section of this document.
- Click Save.
- Select Authentication > Users and Groups.
- Click Add.
The Add User or Group page opens. You can add a user or a group. The example in this document adds a group. If you add a user, the name of the user must match the name of the Okta user. - For Type, select Group.
- In the Name text box, type a name for the group. The group name must be the same as the group name specified in the memberOf attribute on Okta.
- From the Authentication Server drop-down list, select the authentication server where the user or group exists. In this example, we select My_Okta.
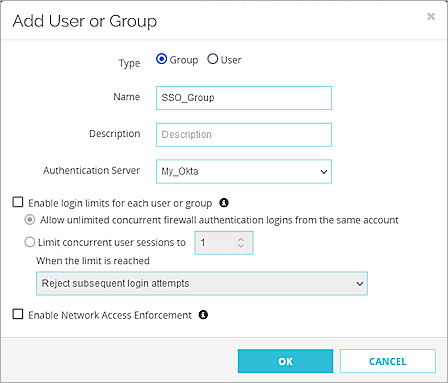
- Click OK.
- Click Save.
- To add an application to the Access Portal, select Subscription Services > Access Portal.
- From the Applications section, click Add. In this example, we use Web Application.
The selected application page opens.
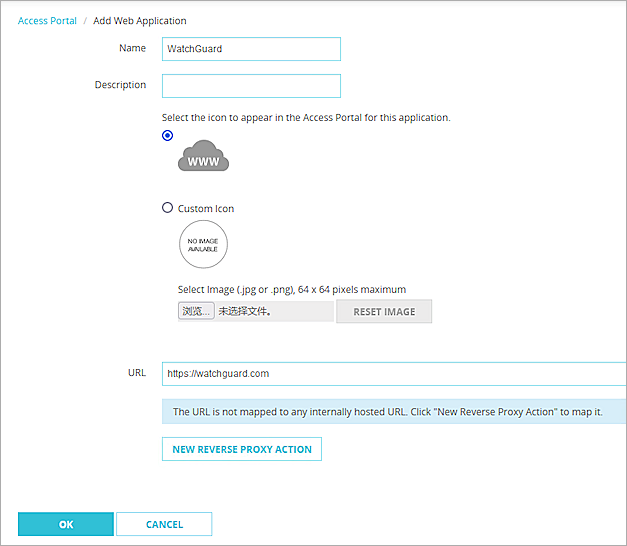
- In the Name text box, type a descriptive name.
- In the URL text box, type the URL of the web application.
- Click OK.
- Click Save.
- Select the User Connection Settings tab.
- (Optional) To give all users and groups the permission to connect to all applications, in the User Access section, select All Applications are Available to All Users and Groups Authenticated With the Access Portal.
- To specify the applications a user and group can access, select Specify the Applications Available to Each User and Group.
- Click Add.
The Add User or Group page opens.
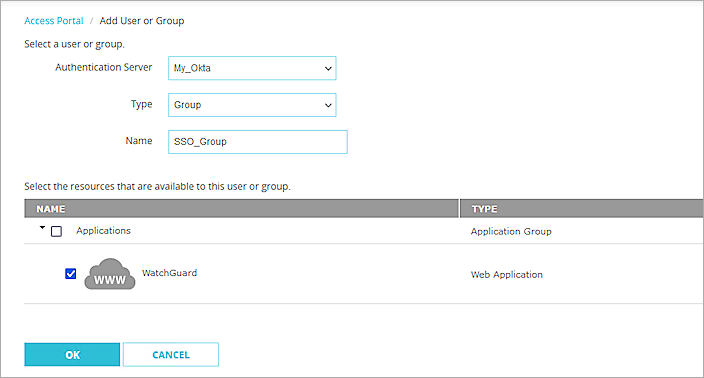
- From the Select a User or Group section, from the Authentication Server drop-down list, select the authentication server. In this example, we select My_Okta.
- From the Type drop-down list, select Group.
- In the Name text box, type the group name. The group name must be the same as the group name specified in the memberOf attribute on Okta.
- Select the applications that are available to this group.
- Click OK.
- Click Save.
Test the Integration
After you complete these configuration steps, users in the group you added can sign in to either the Okta account or to a resource configured with Okta SAML Single Sign-On.
To test the integration:
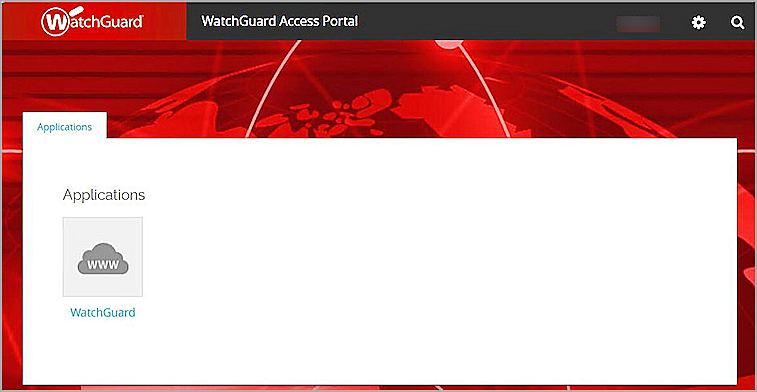
- In a web browser, go to the Access Portal URL (https://<Host Name or IP address>).
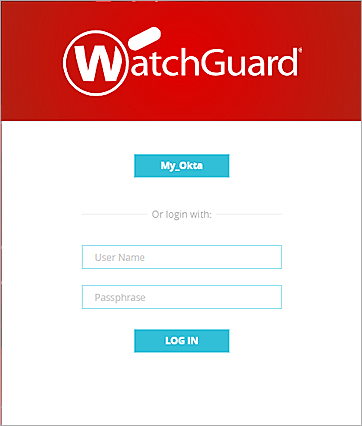
- To log in, click the name of the SAML portal. In this example, click My_Okta.
- Complete the authentication process in Okta.
After successful authentication, the user gets access to the resource.