Applies To: Cloud-managed Fireboxes
RADIUS (Remote Authentication Dial-In User Service) authenticates local wired and wireless clients, and remote users on a company network. RADIUS is a client/server system that keeps the authentication information for users, remote access servers, VPN gateways, and other resources in one central database.
To configure a cloud-managed wireless Firebox to use WPA2 or WPA3 Enterprise RADIUS authentication for wireless clients, you must add a RADIUS server to an WatchGuard Cloud authentication domain, and then configure the wireless Fireboxes in your account to use that domain for authentication.
Before You Begin
Before you configure your wireless Firebox to use a RADIUS authentication server for WPA2 and WPA3 Enterprise authentication, you must have this information for each RADIUS server:
- Primary RADIUS server — IP address and RADIUS port
- Shared secret — Case-sensitive password that is the same on the WatchGuard Cloud authentication domain and on the RADIUS server
- Authentication methods — Configure your RADIUS server to allow the authentication method for your Firebox. For wireless authentication, this is EAP-PEAP with MSCHAPv2 (Protected Extensible Authentication Protocol with Microsoft Challenge Handshake Authentication Protocol as the tunnel protocol)
Configure the RADIUS Server
- Each wireless Firebox that performs Enterprise WPA2 or WPA3 Enterprise authentication must have its IP address configured as a client on the RADIUS server.
- Make sure you configure each wireless Firebox with a static IP address or use DHCP reserved addresses.
- Make sure wireless Fireboxes can connect to the IP address and port for the RADIUS server, and that communications are not blocked by a firewall rule.
- Make sure the RADIUS server is set up to use the correct EAP authentication method for the Firebox.
Configure a WatchGuard Cloud Authentication Domain
To add an authentication domain, from WatchGuard Cloud:
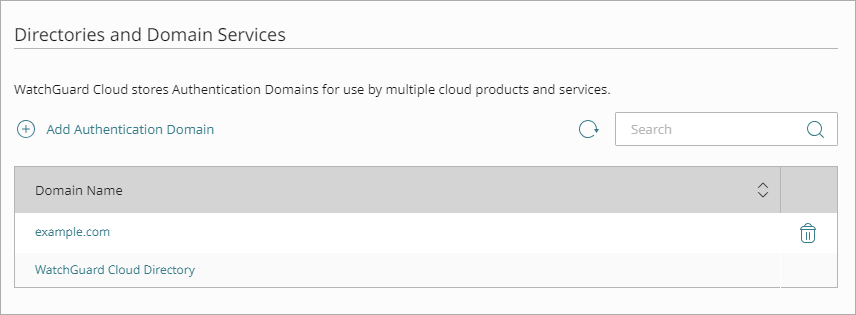
- Select Configure > Directories and Domain Services in a subscriber account.
The Authentication Domains page opens.
- Click Add Authentication Domain.
The Add Authentication Domain page opens.

- Select External Directory, then click Next.
- Select RADIUS as the authentication domain type.
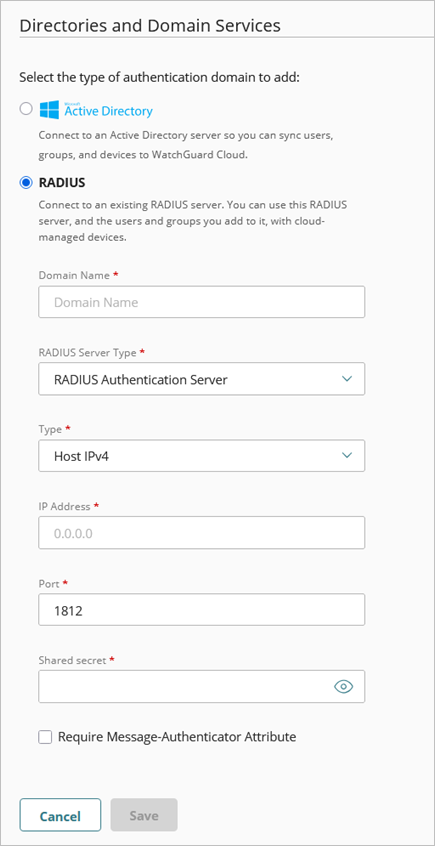
- In the Domain Name text box, type the domain name to add. The domain name must include a domain suffix. For example, type example.com, not example.
- From the RADIUS Server Type drop-down list, select RADIUS Authentication Server.
- From the Type drop-down list, select the IP address type.
- In the IP Address text box, type the IP address of the RADIUS server.
- In the Port text box, type the port number RADIUS uses for authentication. Most RADIUS servers use port 1812 by default.
- In the Shared Secret text box, type the shared secret for connections to the RADIUS server.
- In the Confirm Shared Secret text box, type the shared secret again.
- (Fireware v12.11.1 or higher) To require RADIUS authentication servers to use the Message-Authenticator attribute, select the Require Message-Authenticator Attribute check box. The Message-Authenticator attribute in RADIUS packets verifies the integrity of the packet and prevents spoofing.
- Click Save.
Make sure your RADIUS server is also configured to accept connections from each cloud-managed Firebox as a RADIUS client.
For more information, go to WatchGuard Cloud Authentication Domains.
Add the Authentication Domain to the Wireless Firebox Configuration
To add an authentication domain to a Firebox, from WatchGuard Cloud:
- Select Configure > Devices.
- Select the Firebox.
- Click Device Configuration.
The Device Configuration page opens. - Click Domains.
The Authentication Domains page opens.
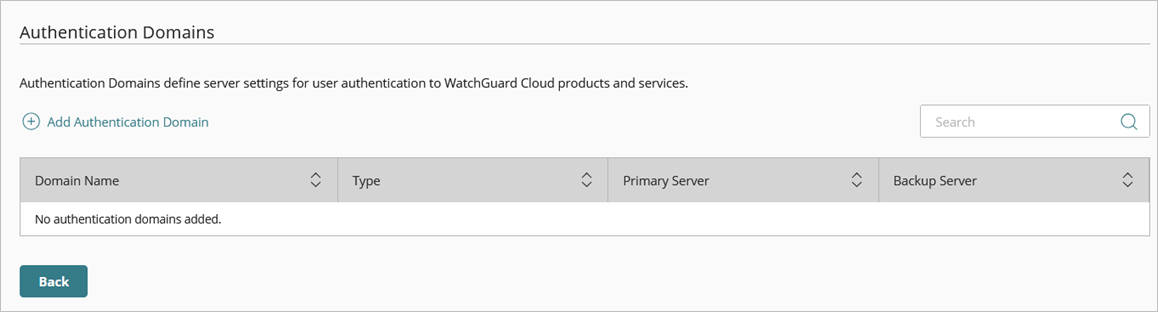
- Click Add Authentication Domain.
The Add Authentication Domain page opens.
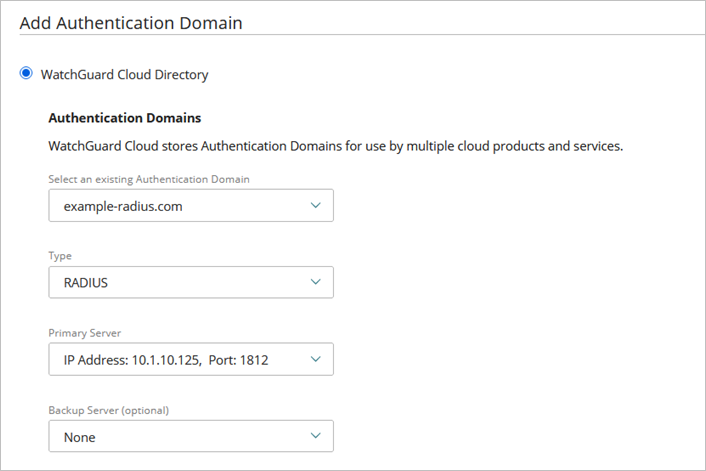
- Select an existing Authentication Domain and RADIUS server.
- Click Save.
You can now select the authentication domain and RADIUS server you created when you configure an SSID with WPA2 or WPA3 Enterprise authentication.
Configure RADIUS Authentication for Firebox Wireless Clients in WatchGuard Cloud
From the Firebox configuration page, you can select the network where you want to enable wireless. In this example, we enable a wireless network on the primary internal network.
To configure a wireless Firebox SSID with RADIUS authentication on the internal network in WatchGuard Cloud:
- Select Configure > Devices.
- Select the cloud-managed Firebox.
- Click Device Configuration.
- Click the Networks tile.
The Networks configuration page opens. - To edit the network, click the tile for the Internal network.
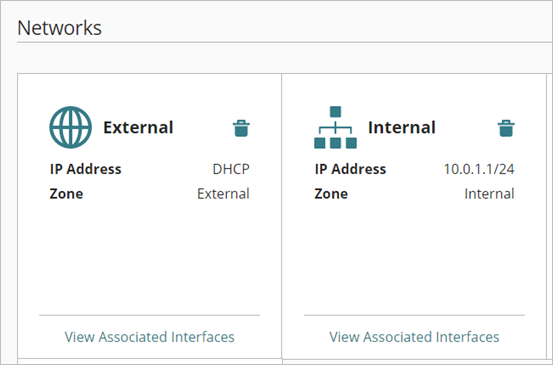
You can also create a new internal network for your wireless network. For more information, go to Configure a Firebox Internal or Guest Network.
- In the Wireless section of the network configuration, click Add SSID.
The Add SSID page opens.
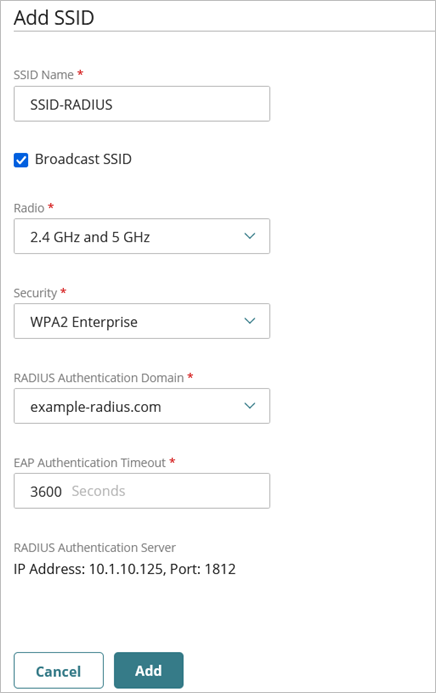
- Configure the wireless settings:
- SSID Name — Type a unique SSID name to identify your wireless network.
- Broadcast SSID — To configure the wireless interface to send and answer SSID requests, select the Broadcast SSID check box.
- Radio — Select the radios that broadcast this SSID. You can select the 2.4 GHz radio, the 5 GHz radio, or both.
- Security — From the Security drop-down list, select WPA2 Enterprise or WPA3 Enterprise.
- RADIUS Authentication Domain — Select your RADIUS authentication domain from the drop-down list.
- EAP Authentication Timeout — The timeout value for a wireless client authentication session after which the client reauthenticates to the RADIUS server. The default is 3600 seconds. To disable reauthentication, set the timeout to 0.
- To save the wireless settings, click Add.
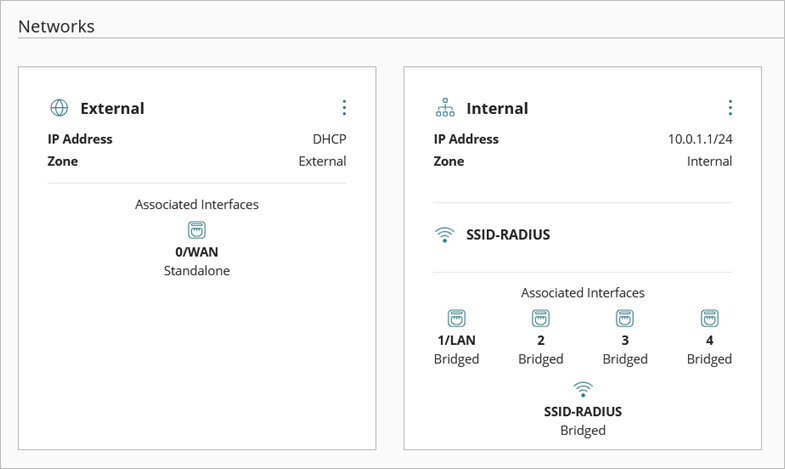
- To save configuration changes to the cloud, click Save.
The networks page shows the internal network with wireless enabled.
Troubleshooting RADIUS Authentication
If you encounter issues with wireless client authentication with RADIUS, verify the following:
- Make sure your wireless Fireboxes can communicate with the RADIUS server and that UDP ports 1812 and 1813 are open for communication.
- Make sure the shared secret for the SSID matches the RADIUS client configuration for the Firebox on the RADIUS server.
- Examine the successful and failed authentication attempts in the RADIUS server logs to help you narrow down the issue.
- Examine the Firebox logs for troubleshooting information about the connection to the RADIUS server.
Common Configuration Errors
These common configuration errors might result in failed RADIUS authentication attempts:
- You have not added the Fireboxes as RADIUS clients on the RADIUS server.
- Fireboxes are configured for dynamic IP addresses with DHCP.
- Incorrect RADIUS shared secret set in the Authentication Domains in WatchGuard Cloud or in the RADIUS client configuration on the RADIUS server.
- Incorrect credentials provided by the wireless client.
Configure Firebox Wireless Networks