Applies To: Cloud-managed Fireboxes
You can register the external IP address of your cloud-managed Firebox with a dynamic Domain Name System (DNS) service provider. A dynamic DNS (DDNS) service makes sure that the IP address attached to your domain name changes if the external IP address of your Firebox changes.
In WatchGuard Cloud, you can configure a connection to one of these dynamic DNS service providers:
- Dyn.com
- No-ip.com
- Dynu.com
- Dnsdynamic.org
- Afraid.org
- Duckdns.org
Dyn.com offers tiered pricing; the other providers offer free services. WatchGuard is not affiliated with these providers. WatchGuard Cloud supports only these dynamic DNS service providers.
How It Works
You must configure your cloud-managed Firebox with an operational DNS server. The Firebox uses the DNS server to resolve the domain name of the service provider specified in the dynamic DNS configuration. Next, the Firebox logs in to your account on the service provider website. The Firebox registers its external IP address for the domain name you purchased.
The Firebox immediately sends updated information to your dynamic DNS service provider if:
- The Firebox is configured as a DHCP client, and the external interface is assigned a new IP address by your ISP
- You manually change the external IP address of the Firebox
- You make any changes to the dynamic DNS configuration on your Firebox
The Firebox also contacts the dynamic DNS service provider every 28 days by default. You can specify an update interval from 1 to 28 days.
For information about the DNS server configuration in WatchGuard Cloud, see Configure Firebox DNS Settings.
Configure Dynamic DNS
To configure dynamic DNS, from WatchGuard Cloud:
- Select Configure > Devices.
- Select your cloud-managed Firebox.
- Click Device Configuration.
- Click the Networks tile.
The Networks configuration page opens. - On the Networks page, click the tile of the external network to edit.
The network configuration page opens. - Select the Dynamic DNS tab.
The Dynamic DNS configuration page opens. - Select Enable Dynamic DNS for this network.
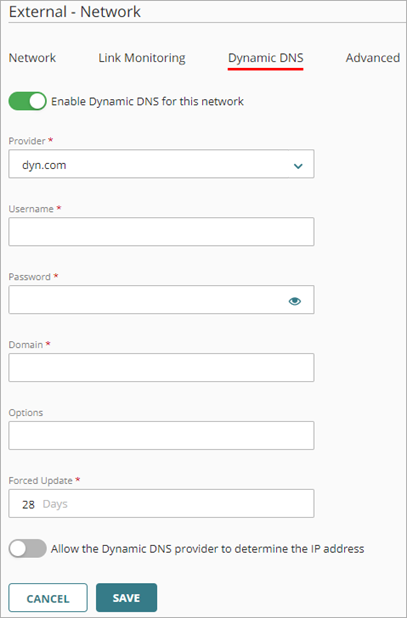
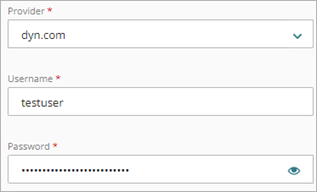
- From the Provider drop-down list, select one these dynamic DNS providers:
- Dyn.com
- No-ip.com
- Dynu.com
- Dnsdynamic.org
- Afraid.org
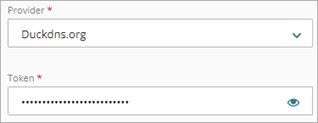
- Duckdns.org
- For providers except Duckdns.org, specify the Username for your dynamic DNS account. This is the account that you configured on your dynamic DNS provider's website.
- For providers except Duckdns.org, specify the Password for your dynamic DNS account.
- For Duckdns.org, specify the Token for your Duckdns.org account.
- In the Domain text box, type the FQDN that you registered with your dynamic DNS provider.
- For Dyn.com, No-ip.com, Dynu.com, and Duckdns.org, in the Options text box, type one or more of these options:
- mx=mailexchanger& — Specifies a Mail eXchanger (MX) for use with the hostname.
- backmx=YES|NO& — Requests that the MX in the previous parameter is set up as a backup MX (includes the host as an MX with a lower preference value).
- wildcard=ON|OFF|NOCHG& — Enables or disables wildcards for this host (specify ON to enable).
- offline=YES|NO — Sets the hostname to offline mode.
You can join one or more options with the ampersand character. For example: &mx=backup.example.com&backmx=YES&wildcard=ON
For more information about these options, see https://help.dyn.com/remote-access-api/perform-update or the documentation from your dynamic DNS service provider.
- In the Forced Update text box, specify a time interval to force an IP address update. Tip!
- For the dynamic DNS provider to use the IP address from your router or NAT device, select the Allow the dynamic DNS provider to determine the IP address check box. Tip!
- To save configuration changes to the cloud, click Save.